
Last updated September 24, 2026
Insulation Permits, Codes & Inspections in CA: What You Need to Know
In California, adding insulation to an existing attic typically does not require a permit - but the moment you replace HVAC equipment or alter the building envelope in the same scope of work, Title 24 compliance verification kicks in and the rules change completely. We’ve been through this cycle hundreds of times in Cupertino homes built between 1960 and 1995, where owners start with a simple attic insulation upgrade and discover mid-project that their concurrent furnace swap triggered HERS rater requirements they hadn’t budgeted for. This guide maps the real permit thresholds, the Title 24 sections that apply to retrofit work, and what actually happens when the building inspector climbs into your attic. For more guides & resources on Cupertino home performance, see our blog.
Quick Answer
Most standalone insulation retrofits in California - adding blown-in fiberglass to an attic, dense-packing cellulose into walls, or installing spray foam in a crawl space - do not require a building permit under the California Residential Code. However, if the same project scope includes HVAC replacement, structural modification, or envelope alterations that affect combustion safety, Title 24 Part 6 mandates compliance documentation that may require a HERS rater, and Cupertino’s adoption of the California Building Code with local amendments adds inspection requirements for spray foam applications over certain thicknesses.
Table of Contents
- When Is a Permit Actually Required for Insulation Work?
- Title 24 Part 6: The Real Triggers for HERS and Self-Certification
- Cupertino Local Amendments and What They Change
- What the Building Inspector Actually Checks
- How to Read a Title 24 Compliance Certificate
- Unpermitted Work and Selling Your Home in Santa Clara County
- Permit Costs, Timeline, and Documentation in Cupertino
- Preparing Your Attic for Inspection: A Step-by-Step Guide
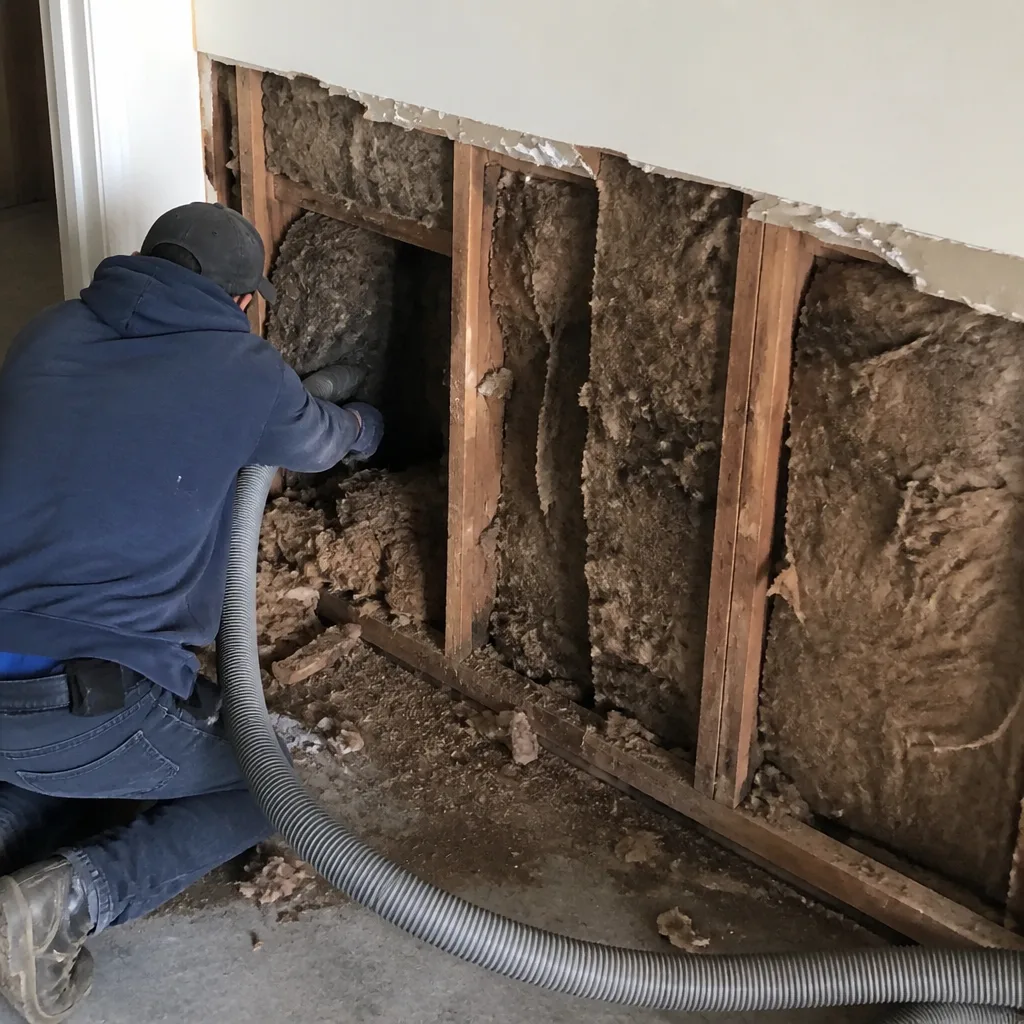 Before
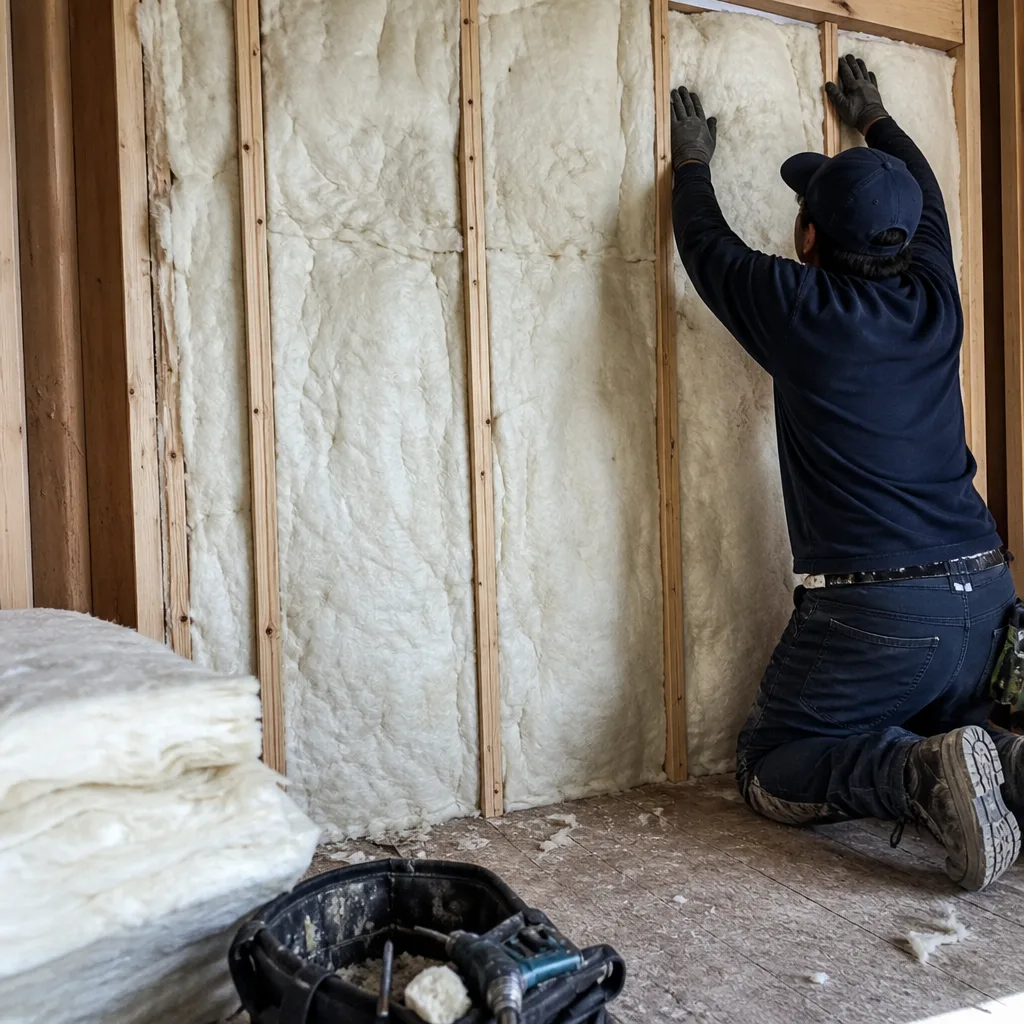 After
AfterWhen Is a Permit Actually Required for Insulation Work?
The California Residential Code (CRC) Section R105.1 exempts “repair and maintenance” from permit requirements, and the California Building Standards Commission has consistently interpreted loose-fill insulation installation in existing attics as maintenance rather than alteration. This is why your neighbor’s blown-in fiberglass job last month probably happened without a city truck ever visiting the driveway.
But the exemption has boundaries. Three specific conditions trigger permit requirements:
- Structural modification. If you’re cutting into roof trusses to create storage platforms or running new electrical through rafters, you’ve crossed into alteration territory. The insulation itself isn’t the trigger; the structural work is.
- Combustion safety alterations. Adding spray foam to an attic that contains a gas-fired furnace or water heater changes the enclosure from vented to semi-conditioned. CRC Section M1307.3 and Title 24 Part 6, Section 150.0 require combustion air and venting verification when you alter the thermal boundary around combustion appliances.
- Concurrent HVAC replacement. This is the most common surprise. If your insulation upgrade is part of a project that includes furnace, air handler, or ductwork replacement, the entire scope falls under Title 24 mandatory measures. The insulation R-value becomes a compliance variable, and the installation must be verified.
We’ve documented this exact scenario in Cupertino’s Rancho Rinconada neighborhood, where 1970s ranch homes with original furnaces in vented attics are common. A homeowner schedules attic air sealing and attic insulation in Cupertino, then adds a furnace swap to the scope. The insulation crew arrives ready to work; the project stalls because the Title 24 compliance documentation wasn’t prepared. Under Haven Standard Clause 1, we stop and write the expanded scope before anyone lifts a tool - but not every contractor operates this way.
The permit exemption also disappears for certain spray foam applications. Closed-cell spray foam installed at thicknesses exceeding specific thresholds can trigger fire-resistance rating requirements under CRC Section R316, particularly in occupied spaces or when applied to the underside of roof decks in conditioned attic assemblies.
Title 24 Part 6: The Real Triggers for HERS and Self-Certification
Title 24, Part 6 of the California Code of Regulations governs energy efficiency in new and altered buildings. The 2022 version, effective January 1, 2023, introduced significant changes to how insulation is documented in existing homes. Understanding where your project falls determines whether you need a third-party HERS rater or whether your contractor can self-certify.
HERS rater required: New construction, additions exceeding certain square footage, and alterations that trigger “mandatory measures” compliance paths. Specifically, Section 150.2(b)1E requires HERS verification when you alter the envelope of a conditioned space and the project includes HVAC replacement. The HERS rater performs field verification of installed insulation R-values, checks for proper installation grade (no compression, gaps, or voids), and documents combustion safety where applicable.
Contractor self-certification permitted: Standalone insulation retrofits that don’t trigger mandatory measures. The contractor completes a CF-1R form (Certificate of Compliance) attesting that installed R-values meet or exceed the prescriptive requirements for the climate zone. Cupertino sits in California Climate Zone 4, where attic insulation minimums are R-38 for new construction and R-30 for alterations - though most retrofits we perform in Cupertino’s Monta Vista and Seven Springs areas exceed these minimums because the marginal cost of additional blown-in fiberglass or cellulose is low once the crew and equipment are mobilized.
The critical distinction: it’s not about project cost or square footage. It’s about project type. A $15,000 standalone spray foam job in a Cupertino Eichler can be self-certified. A $4,000 attic insulation job bundled with a furnace replacement requires HERS verification. We’ve seen homeowners assume the opposite, budgeting for self-certification and discovering mid-project that the concurrent HVAC work changed the compliance path.
Materials matter for compliance documentation too. Products from Rockwool, CertainTeed, and Icynene carry published R-values per inch that HERS raters can verify against manufacturer data sheets. Demilec’s closed-cell spray foam, when used at the specified thickness, triggers specific documentation requirements for thermal barrier protection. We source from all four manufacturers and maintain current data sheets for every product we install - part of the documented record every customer receives.
Cupertino Local Amendments and What They Change
The City of Cupertino adopts the California Building Code with local amendments published in Title 16 of the Cupertino Municipal Code. For insulation work, three local provisions affect how projects proceed:
- Fire-resistance ratings for spray foam. Cupertino requires an ignition barrier or thermal barrier for spray foam installations in accessible attics and crawl spaces, with specific exceptions for certain intumescent coatings. This exceeds state minimums in some configurations.
- Attic access sizing. When insulation work requires new or modified attic access, Cupertino enforces CBC Section 1209.2 with local interpretation: the rough opening must be 22 by 30 inches minimum, and the access location must be permanently labeled with the insulation depth and R-value installed. We’ve found original 1960s Cupertino ranch homes with 18-inch square accesses that don’t meet current standards.
- Green building requirements for additions over 500 square feet. Cupertino’s local green building ordinance, adopted in 2009 and amended in 2019, requires enhanced insulation performance and third-party verification for substantial additions. This can trigger HERS requirements even when state rules would permit self-certification.
Cupertino’s climate context matters for code compliance too. Our Mediterranean climate - warm, dry summers and mild, wet winters - means moisture management rules differ from coastal California or Central Valley applications. The city’s location in the Santa Clara Valley, with summer temperatures regularly reaching the 90s and winter overnight lows in the 40s, creates specific condensation risks when attic insulation is upgraded without corresponding air sealing. Title 24’s moisture control provisions in Section 150.0(c) address this, but local inspectors in Cupertino pay particular attention to attic ventilation clearance when blown-in insulation is added above existing eave vents.
We’ve worked through these amendments in neighborhoods from Garden Gate to Oak Valley, where homes built across three decades present different original conditions and different compliance paths. The consistent factor: Cupertino’s building division enforces the documentation requirements strictly, and missing paperwork delays final inspection regardless of installation quality.
What the Building Inspector Actually Checks
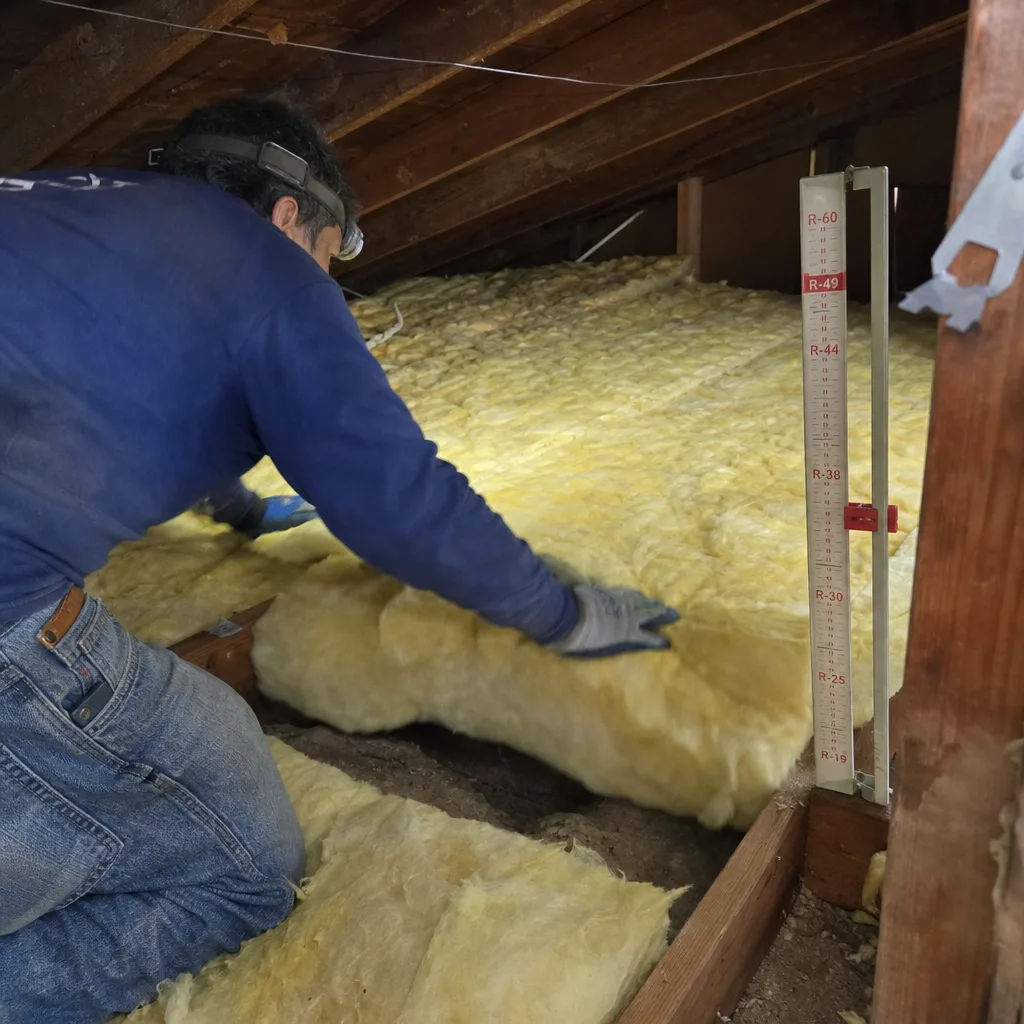
When a permit is required and the inspector arrives, they’re not evaluating whether your home feels warmer. They’re verifying specific, documentable conditions against the approved plans and Title 24 compliance forms. Here’s what happens:
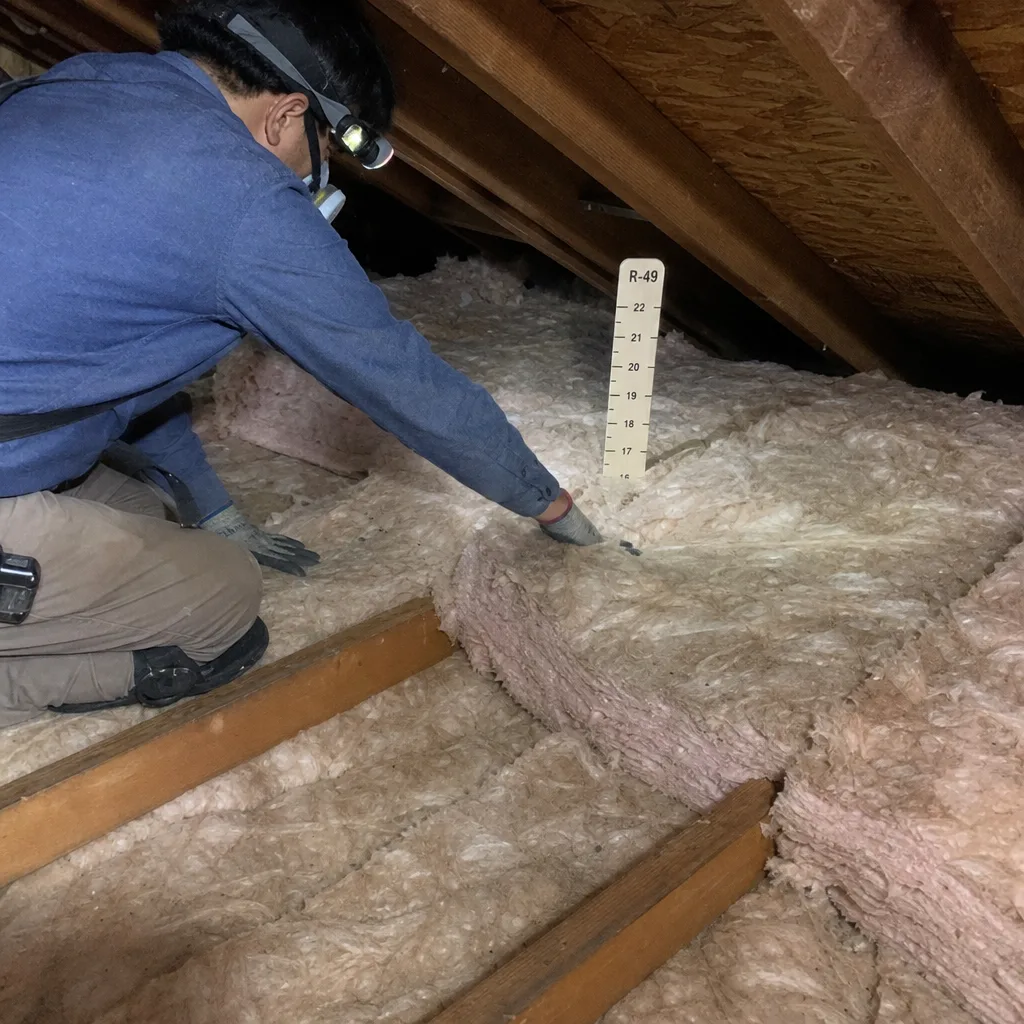
- Depth markers and R-value verification. The inspector looks for manufacturer-provided depth markers installed at regular intervals across the attic floor. For blown-in fiberglass or cellulose, these markers show whether the installed depth matches the specified R-value. A common failure: markers installed before final blowing, then buried or displaced. We photograph marker placement before and after installation - part of the Documented Photo Record every customer receives.
- Attic access labeling. The access panel or pull-down stair must display the installed insulation R-value and depth, per CRC R908.1. Cupertino inspectors check this specifically; we’ve seen projects fail final because a homeowner-installed access panel lacked the required label.
- Ventilation clearance. Soffit vents must maintain minimum clearance above the insulation to allow airflow. Baffles or vent chutes must be visible and unobstructed. In Cupertino’s older homes with continuous soffit venting, inspectors often find insulation blown over the vent opening - a failure condition that requires correction.
- Combustion appliance clearance. If the attic contains a furnace, water heater, or flue, the inspector verifies that insulation maintains required clearances from heat-producing surfaces and that combustion air supply isn’t obstructed. This is where spray foam installations most commonly trigger corrections.
- Exhaust fan and duct termination. Bathroom and kitchen exhaust ducts must terminate outside the building envelope, not into the attic space. When insulation work disturbs existing ducts, the inspector verifies that terminations remain intact and properly sealed.
The inspection typically takes 20-40 minutes for a standard attic. The inspector documents findings on a standard form; deficiencies are listed with a re-inspection fee if required. Cupertino’s building division schedules inspections with 24-hour notice for routine requests, though during peak construction seasons in spring and fall, availability can stretch to 48-72 hours.
We’ve accompanied inspectors through hundreds of these visits. The pattern is consistent: projects pass when the installation matches the submitted documentation exactly, and they fail when there’s a discrepancy between what was approved and what was installed. This is why Haven Standard Clause 1 requires a written scope before work starts - the approved plans, the compliance forms, and the written scope should describe the same project.
How to Read a Title 24 Compliance Certificate
After permitted work is complete, you should receive a CF-1R Certificate of Compliance and, if HERS verification was required, a CF-2R Certificate of Verification. These forms contain specific fields that describe what was actually installed. Here’s how to read them:
The CF-1R: Certificate of Compliance
This form, prepared by the contractor or designer, lists the prescriptive or performance compliance approach used. For insulation, focus on:
- Climate zone. Should read “4” for Cupertino. If it doesn’t, the form may have been prepared for a different jurisdiction.
- Assembly type and installed R-value. “Attic - loose fill, R-38” or “Wall - dense pack, R-21.” This must match your contractor’s written scope and the depth markers in your attic.
- Installation grade. Grade I, II, or III, describing the quality of installation (no gaps, compression, or voids). Grade I is the target for all professional work; Grade III indicates significant deficiencies.
- Insulation type and manufacturer. Should specify the product installed - “Owens Corning AttiCat fiberglass” or “Johns Manville Climate Pro cellulose” - not generic descriptions.
The CF-2R: Certificate of Verification
Prepared by the HERS rater after field verification, this form confirms that the installed conditions match the CF-1R. Key fields:
- HERS rater registration number. Verifiable through the California Energy Commission’s HERS registry.
- Field-verified R-values. The rater’s measurements, which may differ slightly from the CF-1R design values due to compression or installation conditions.
- Combustion safety test results. If applicable, CO spillage and draft test results for gas appliances in the altered envelope.
- Date of verification. Must be after installation completion and before final inspection.
The installed R-value column on both forms should match your contractor’s job record within one R-value step. If your CF-1R specifies R-38 and your contractor’s invoice describes “R-38 equivalent at settled depth,” that’s acceptable if the manufacturer’s settling factor is documented. If the forms show R-30 and your attic was billed for R-38, that’s a discrepancy worth questioning.
We deliver these forms, when applicable, as part of the documented record at job closeout. For self-certified projects, we provide the completed CF-1R with the written warranty. For HERS-verified projects, we coordinate with the rater to ensure CF-2R completion before final inspection scheduling.
Unpermitted Work and Selling Your Home in Santa Clara County
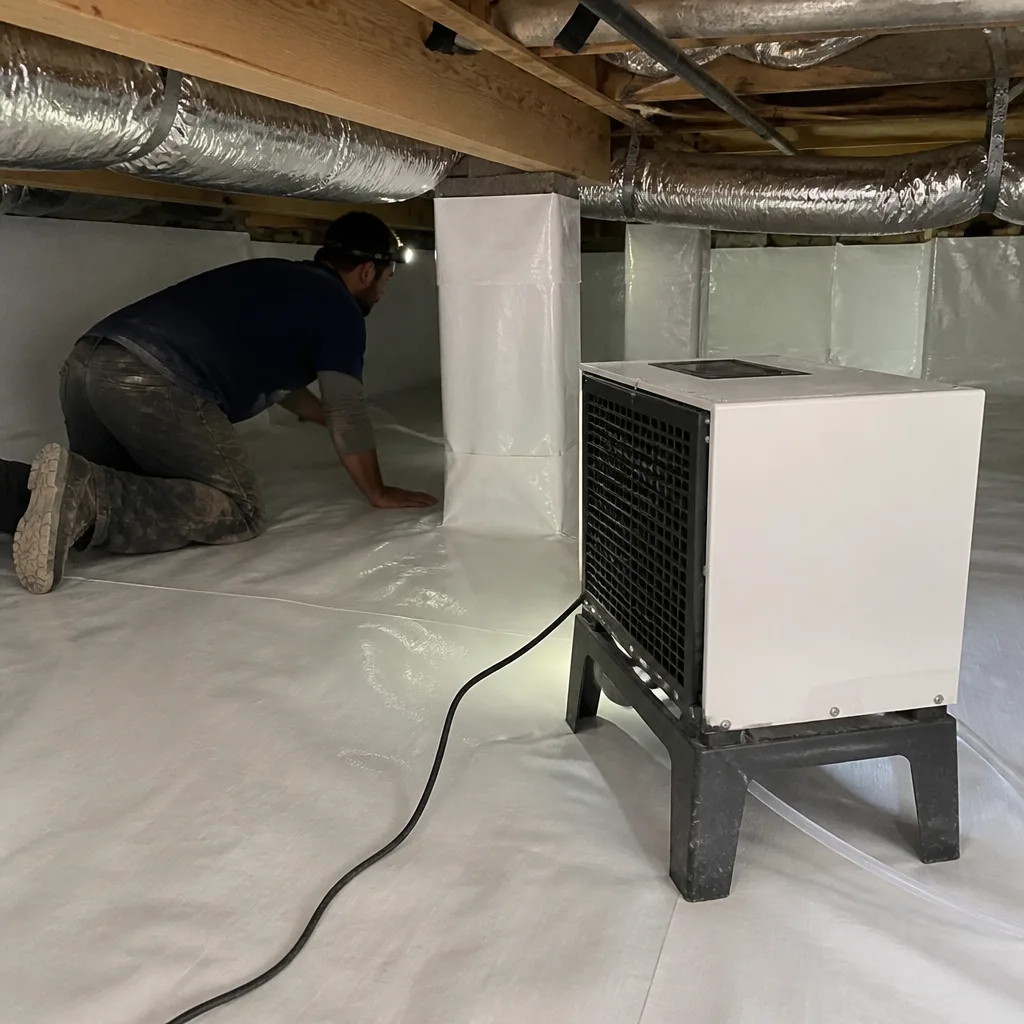
The liability exposure of unpermitted insulation work surfaces most acutely during home sales. California Civil Code Section 1102 requires sellers to disclose material facts affecting property value, and Santa Clara County’s standard disclosure forms specifically ask about unpermitted alterations.
Here’s what actually happens:
Disclosure requirement. If you added insulation without a required permit, you must disclose this on the Transfer Disclosure Statement (TDS) and the Seller Property Questionnaire (SPQ). The standard SPQ asks: “Have any structures or other features of the property been altered without required permits?” Insulation that triggered permit requirements but was installed without them falls under this question.
Buyer financing impact. Conventional lenders in Santa Clara County typically don’t require permit verification for insulation-only work. However, FHA and VA loans, common among first-time buyers in Cupertino’s entry-level price segments, may flag unpermitted alterations during appraisal if visible conditions suggest work was done. More significantly, if unpermitted work included electrical or HVAC modifications (the concurrent work that triggered the permit requirement in the first place), lenders may require permit clearance before funding.
Retroactive permitting. Cupertino allows retroactive permits for work that predates sale, but the process is more expensive and invasive than original permitting. The inspector may require partial removal of insulation to verify installation conditions, or may mandate upgrades to current code standards rather than the standards in effect when work was done. We’ve been called to Cupertino homes where retroactive permitting required removing six inches of blown-in fiberglass to verify baffle installation, then replacing it - a cost the seller hadn’t anticipated.
Title insurance and future claims. Some title insurers exclude coverage for losses arising from unpermitted work. While rare for insulation specifically, this becomes relevant if unpermitted work led to moisture damage, mold, or structural issues that surface after sale.
The practical pattern in Cupertino’s competitive market: sellers often disclose proactively and offer a credit for permit clearance rather than delay closing. The credit amount varies with project scope, but the negotiation itself costs leverage. Permitting correctly the first time avoids this entirely.
Permit Costs, Timeline, and Documentation in Cupertino
For insulation work that requires permitting, here’s the actual cost structure and timeline in Cupertino as of our most recent projects:
| Permit Type | City Fee Range | Typical Timeline | Required Documentation |
|---|---|---|---|
| Standalone insulation (when triggered) | $180-$340 | 3-5 business days review; inspection 1-2 days after request | Site plan, insulation specifications, CF-1R |
| Insulation + HVAC alteration | $420-$780 | 5-10 business days review; inspections coordinated | Mechanical plans, load calculations, CF-1R, HERS registration |
| Spray foam (fire-resistance triggered) | $280-$520 | 5-7 business days review; may require fire inspector | Product data sheets, thermal barrier specifications, ignition barrier details |
| Retroactive permit | Base fee + 150% penalty | 10-15 business days; may require exploratory work | As-built conditions, contractor affidavits, possible HERS verification |
These fees exclude HERS rater charges, which typically run $350-$600 for residential verification depending on project complexity and rater availability. Cupertino’s location in the Bay Area means HERS rater scheduling is generally available within one week, unlike more remote California jurisdictions where rater availability can delay projects significantly.
The documentation burden falls heaviest on the contractor, not the homeowner. Under Haven Standard, we prepare and submit all permit applications as part of the written scope. The customer receives copies of all submitted documents, the approved permit, inspection results, and the final compliance certificate - the complete documented record, no exceptions.
For spray foam insulation in Cupertino, we specifically verify whether the proposed application thickness triggers Cupertino’s local fire-resistance requirements before quoting. This prevents the mid-project surprises we’ve seen when contractors unfamiliar with local amendments discover the requirement after foam is already installed.
Preparing Your Attic for Inspection: A Step-by-Step Guide
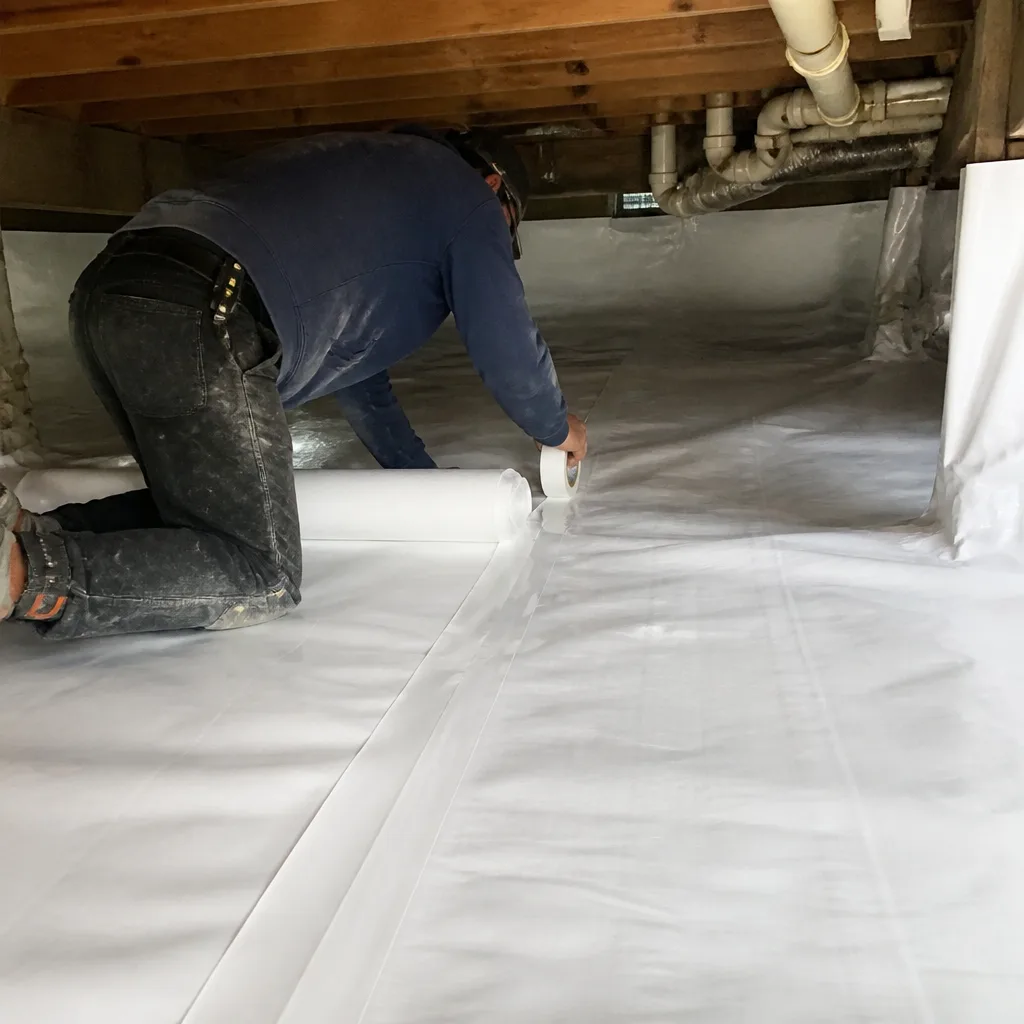
If your project requires inspection, preparation determines whether you pass on the first visit or pay for re-inspection. Here’s our field-tested preparation sequence:
- Clear attic access path. Remove stored items from the access area and create a clear walking path to the attic opening. The inspector needs to enter safely; obstacles create delays and safety concerns.
- Verify depth marker visibility. Walk the attic and confirm that manufacturer-provided depth markers are visible above the insulation surface. If markers are buried, expose them or note their locations for the inspector. Photograph their positions for your records.
- Check ventilation clearances. At each soffit vent, verify that insulation hasn’t blown over the vent opening. Baffles should be visible and intact. In Cupertino’s wind-exposed hillsides, we’ve seen loose-fill insulation migrate toward eaves; redistribute if needed.
- Confirm combustion appliance access. If your attic contains a furnace or water heater, ensure the inspector can approach within six feet for clearance verification. Remove any insulation that encroaches on required clearances.
- Install or verify access panel labeling. The access panel must display the installed R-value and insulation depth. If your contractor hasn’t provided this, create a permanent label with indelible marker on metal, or adhesive label on clean surface.
- Locate and organize documentation. Have the approved permit, CF-1R, and any CF-2R available for inspector reference. We provide a labeled folder for this purpose; if you’re managing your own project, assemble these documents in advance.
- Schedule for adequate lighting. Inspectors won’t work in unlit attics. Ensure working light fixtures or provide a high-output flashlight. We install temporary lighting for inspection day on all our projects.
The most common first-visit failure we observe in Cupertino: depth markers installed but not visible, or ventilation baffles displaced during insulation blowing. Our Attic Insulation Maintenance Checklist for Cupertino Homeowners includes a pre-inspection walkthrough to catch these issues. Both are correctable in minutes if caught during preparation, but require re-inspection scheduling if discovered by the inspector.
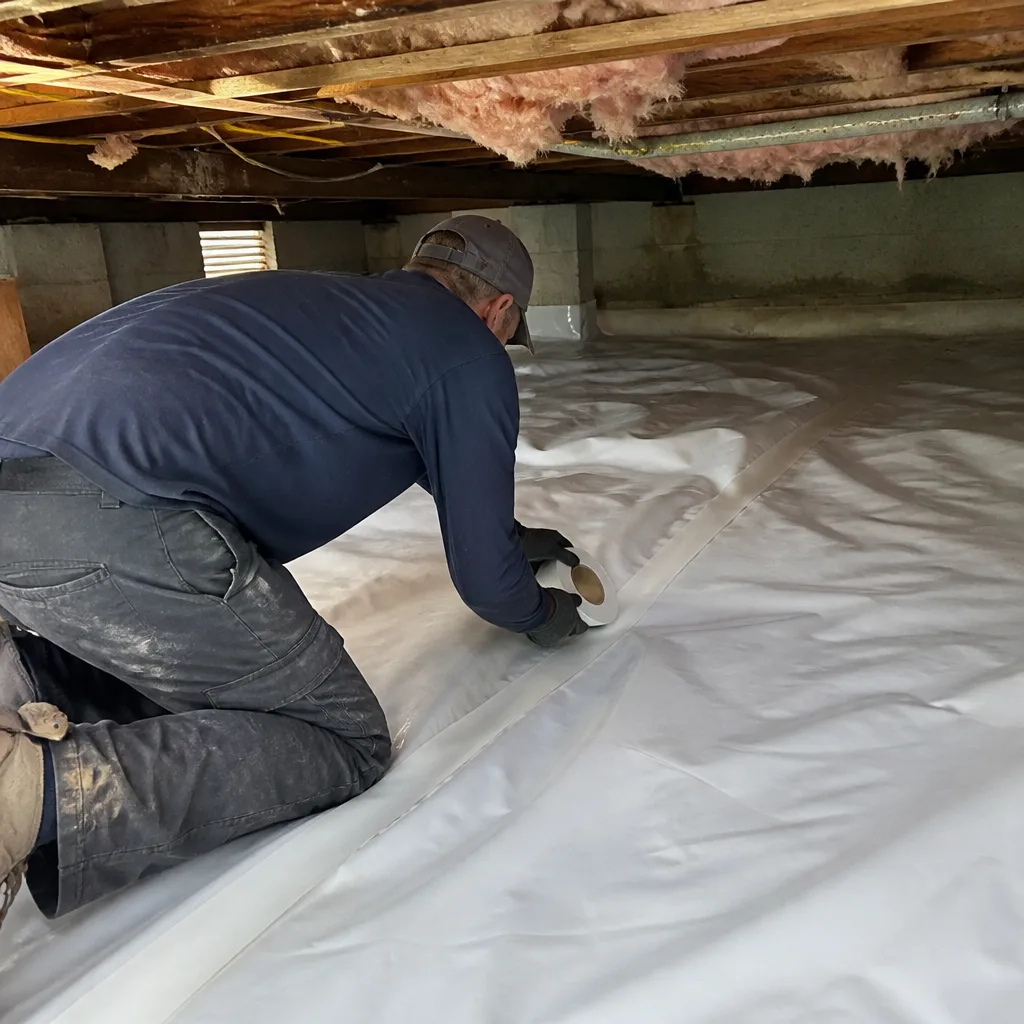
For crawl space encapsulation and vapor barrier work in Cupertino, preparation is similar with added moisture verification: the inspector checks that vapor barrier seams overlap six inches minimum and are sealed, and that crawl space ventilation meets or exceeds minimum net free area requirements.
Common Mistakes to Avoid
- Assuming all insulation is permit-exempt. The exemption is narrow. Bundling insulation with HVAC work, electrical upgrades, or structural modifications typically triggers permitting requirements that wouldn’t apply to insulation alone.
- Hiring a contractor who can’t explain the compliance path. If your contractor can’t state clearly whether your project requires HERS verification or self-certification, they may not understand the rules well enough to complete documentation correctly.
- Ignoring Cupertino’s local amendments. Contractors from outside Santa Clara County sometimes apply statewide rules without checking local provisions, particularly for spray foam fire-resistance requirements and attic access sizing.
- Failing to verify HERS rater independence. California requires HERS raters to be independent of the installing contractor. A rater employed by or financially tied to your insulation contractor invalidates the verification.
- Accepting generic compliance documentation. Your CF-1R should specify the exact product installed, not “fiberglass insulation” or “spray foam.” Generic documentation fails inspection in Cupertino and creates sale disclosure problems later.
- Skipping the documented record. Without copies of permits, compliance forms, and inspection results, you have no evidence that work was performed legally. This matters for sale disclosure, warranty claims, and insurance purposes.
- Blowing insulation over unsealed air leaks. This isn’t a code violation, but it’s a performance failure that code doesn’t prevent. We’ve removed insulation from Cupertino attics where the previous contractor blew fiberglass over gaps around chimney chases and top plates, achieving the labeled R-value but leaving the home leaking conditioned air.
When to Call a Professional
Call a professional when your project scope includes any combination of insulation with HVAC work, when you’re considering spray foam in an attic with combustion appliances, when your home sale is pending and you need to verify prior work compliance, or when you’ve received a contractor quote that doesn’t specify the compliance path or documentation you’ll receive. Topside Attic Insulation Cupertino home offers free estimates in Cupertino - call (831) 217-8521. We’ll review your project scope, identify the applicable code requirements, and provide a written price before any work starts, with the compliance documentation specified in the same document.
Frequently Asked Questions
Most standalone attic insulation retrofits in Cupertino do not require a building permit under the California Residential Code’s repair and maintenance exemption, but Insulation Warning Signs: A Cupertino Homeowner’s Reference Guide can help you spot when your project may cross into permitted territory. However, if the same project includes HVAC replacement, structural modification, or spray foam application exceeding fire-resistance thresholds, permitting and compliance documentation become required. Call (831) 217-8521 for a free estimate and we’ll identify the specific requirements for your project.
Standalone insulation permits, when required, typically cost $180-$340 in Cupertino city fees. Combined insulation and HVAC alteration permits run $420-$780, and spray foam applications triggering fire-resistance review cost $280-$520. These figures exclude third-party HERS rater fees of $350-$600 when verification is required. We include permit costs in our written scope when applicable - no surprise additions after work begins.
A HERS rater is an independent third-party certified by the California Energy Commission who performs field verification of installed conditions and prepares a CF-2R Certificate of Verification. Contractor self-certification means the contractor completes a CF-1R Certificate of Compliance attesting that installation meets prescriptive requirements. HERS verification is required for new construction, substantial additions, and alterations that include HVAC replacement; self-certification is permitted for standalone insulation retrofits. The trigger is project type, not cost.
Request your CF-1R Certificate of Compliance and, if applicable, CF-2R Certificate of Verification, then verify that the installed R-value field matches your contractor’s written scope and the depth markers visible in your attic. Check that the climate zone reads “4” for Cupertino and that the insulation type specifies a manufacturer and product name, not generic description. If you don’t have these documents, the work may not have been properly documented for code compliance.
You can sell, but you must disclose unpermitted alterations on California’s standard disclosure forms. In Santa Clara County’s competitive market, buyers may request a credit for retroactive permitting or walk away if unpermitted work included electrical or HVAC modifications that affect financing eligibility. The specific risk depends on what work was done and whether it triggered permit requirements at the time. We provide free second opinions on written estimates - bring us documentation from the prior work and we’ll assess the compliance status.
The inspector issues a correction notice listing specific deficiencies - common examples include buried depth markers, insulation covering soffit vents, or inadequate clearance around combustion appliances. You correct the conditions and schedule a re-inspection, typically with an additional fee of $80-$150 in Cupertino. We include first re-inspection costs in our written scope when we manage the permitting process, and our preparation protocol is designed to prevent first-visit failures.
No. Title 24 specifies minimum R-values and installation quality standards, not specific products. Approved materials include fiberglass batts and loose fill, cellulose, mineral wool from manufacturers like Rockwool, spray foam systems from Icynene and Demilec, and rigid foam boards. The compliance requirement is that installed performance meets or exceeds the specified R-value with proper installation grade, verified by appropriate documentation path.
The Bottom Line
California’s insulation permit landscape is defined by specific project triggers rather than broad categories. Standalone attic insulation in Cupertino is typically exempt, but the exemption narrows or disappears when HVAC work, structural changes, or certain spray foam applications enter the scope. Title 24 compliance documentation - whether through HERS verification or contractor self-certification - must match the actual project type, and Cupertino’s local amendments add requirements for access sizing and fire resistance that statewide rules don’t address. The documentation you receive at project completion - permits, compliance certificates, inspection records - determines whether you can verify code compliance, support warranty claims, and disclose confidently at sale. Every project we perform begins with a written scope that specifies the compliance path and ends with the complete documented record, including before-and-after blower-door numbers on applicable jobs, delivered before the crew leaves.
Written by Wes Okafor, Owner at Topside Attic Insulation Cupertino, serving Cupertino since 2016.