
Last updated September 24, 2026
Attic Insulation Maintenance Checklist for Cupertino Homeowners
Blown cellulose settles roughly 20% in the first year. If your installer didn’t account for that settled depth in the installed depth, you’re already under the rated R-value, and you may never know it without a tape measure and a flashlight. In Cupertino, where summer attic temperatures regularly hit 140°F and winter overnight lows dip into the upper 30s, insulation that was performing when installed can silently degrade into a thermal sieve. This checklist gives you specific, measurable inspection criteria, not vague “check your insulation” advice; for broader context, see The Complete Guide to Insulation in Cupertino. You’ll learn how to read depth markers, spot rodent damage that creates convective looping, identify failed duct boots, and time your inspections to catch seasonal damage before your PG&E bill confirms it.
Quick Answer
Attic insulation maintenance in Cupertino means inspecting depth against labeled markers twice yearly (October and April), checking for rodent disturbance, verifying HVAC duct boot connections, and looking for moisture staining. Most homeowners can safely assess five items from the attic hatch with a flashlight and ruler; three conditions require a professional with proper PPE and blower-door equipment. Proper maintenance preserves the R-value you paid for and prevents the 15-25% energy loss we typically measure in attics where insulation has settled or been disturbed.
Table of Contents
- Why Settling Matters: Measuring Actual Depth vs. Required Depth
- Rodent Damage and Convective Looping: What to Look For
- HVAC Duct Connections and Boots at the Attic Plane
- Seasonal Timing: When to Inspect in Cupertino’s Climate
- DIY vs. Contractor: The Three Items That Require a Pro
- Maintenance Differences by Insulation Type
- Common Mistakes to Avoid
- When to Call a Professional
- Frequently Asked Questions
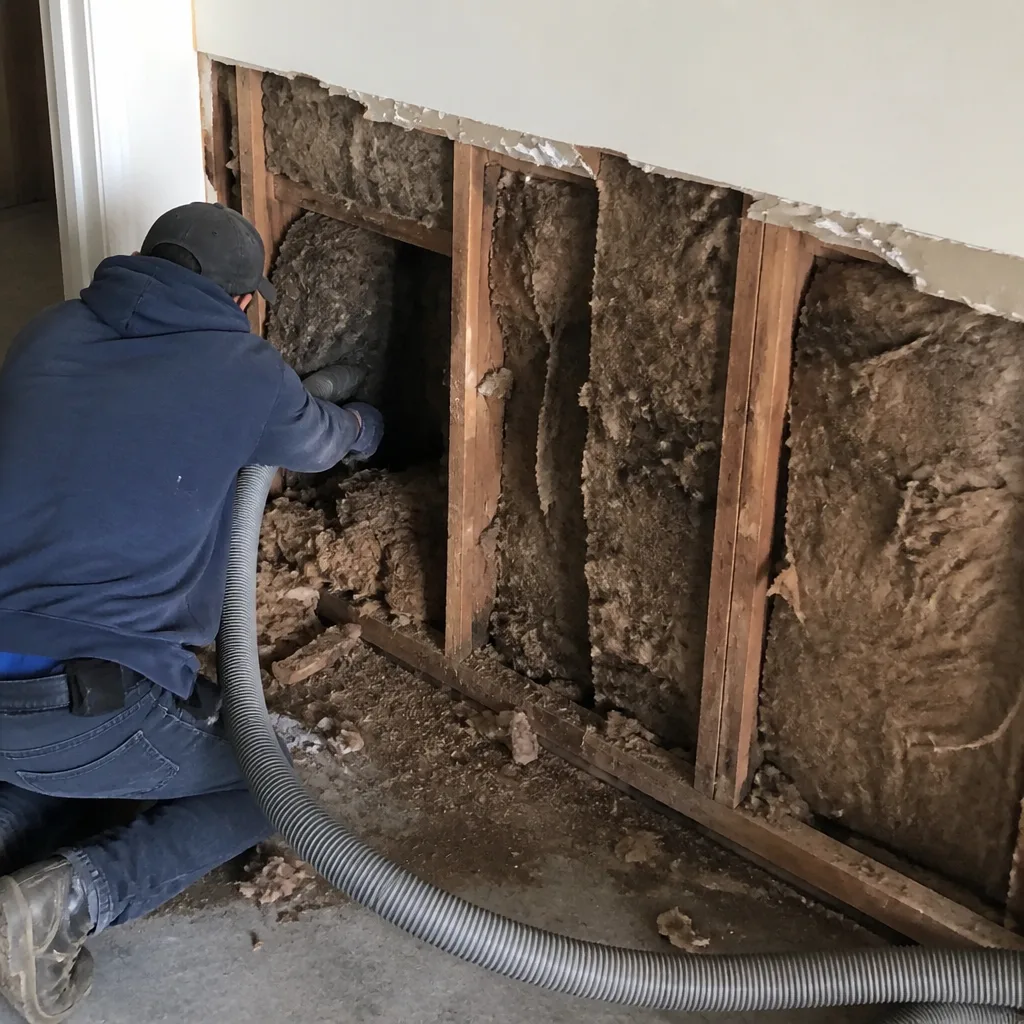 Before
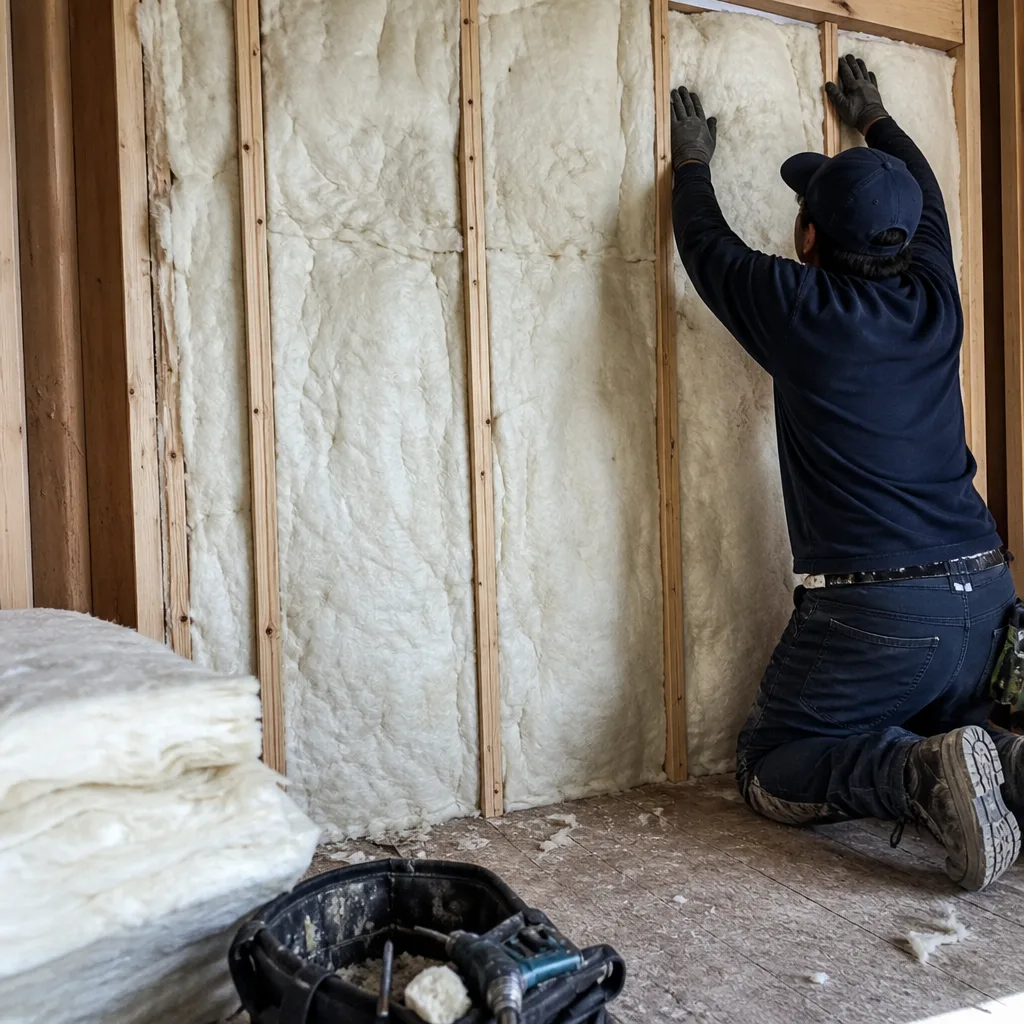 After
AfterWhy Settling Matters: Measuring Actual Depth vs. Required Depth
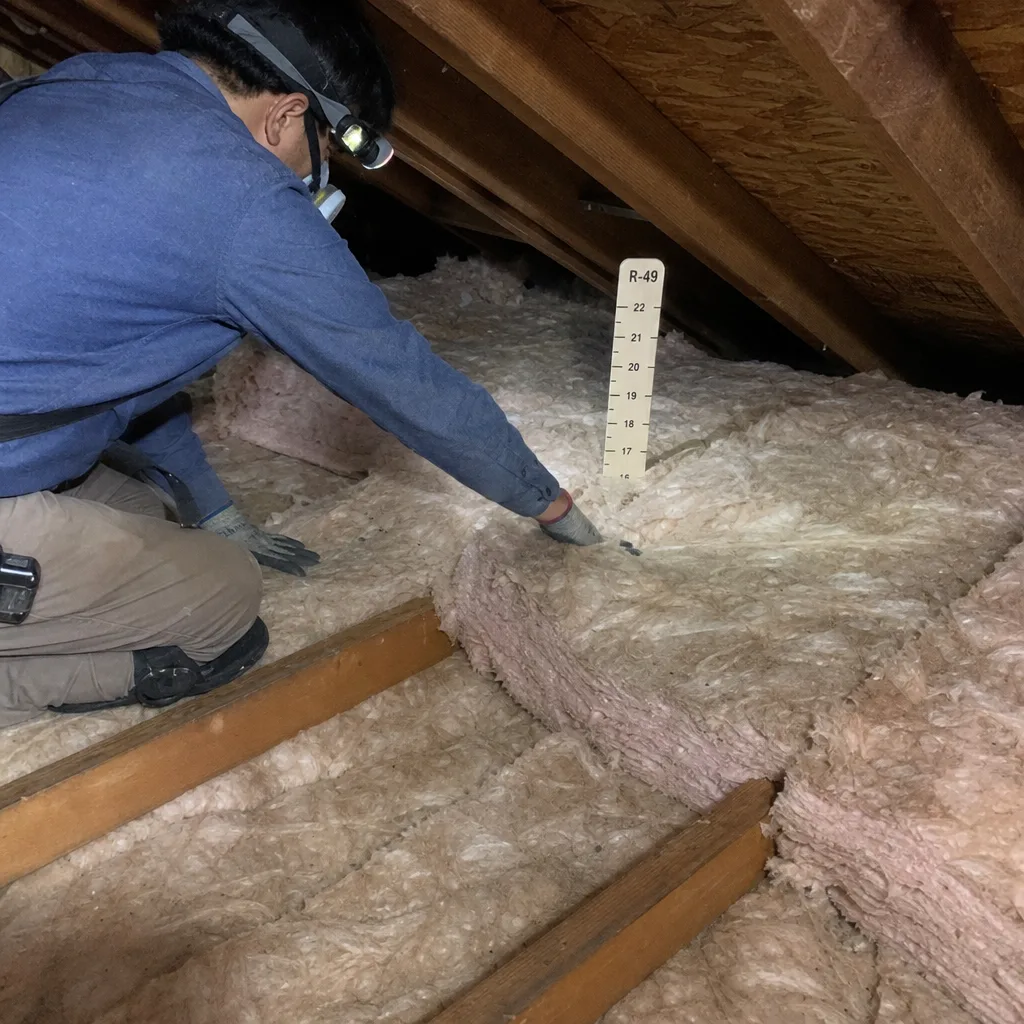
Every insulation installation in California must include a depth marker, a labeled tab or card installed by the contractor showing the required depth to achieve the stated R-value. This isn’t a courtesy; it’s a code requirement under Title 24. Yet in our work across Cupertino neighborhoods from Rancho Rinconada to Monta Vista, we find missing or unreadable markers in roughly 30% of attics we enter, and homeowners who have never been shown where to look.
Here’s the problem: blown cellulose settles. Fiberglass batts compress. Spray foam can shrink slightly at cut edges. The R-value printed on your receipt assumes full, uncompromised depth. When we measure settled depth against required depth, we often find performance gaps of 20-40%.
How to Measure Correctly
- Locate the depth marker. It should be a card or tab stapled to a truss or joist, visible from the attic hatch. If you can’t find one, that’s your first red flag.
- Using a tape measure or ruler, measure insulation depth at three points: directly above the marker, 3 feet toward the eave, and 3 feet toward the ridge. Record each.
- Compare to the marked required depth. For blown cellulose, subtract 15-20% from the installed depth to estimate settled performance.
- Calculate actual R-value: multiply settled depth (in inches) by the material’s per-inch R-value. Blown cellulose = approximately R-3.2 per inch. Fiberglass batt = approximately R-3.0 per inch. Mineral wool (Rockwool) = approximately R-3.3 per inch.
Example: Your marker calls for 14 inches of blown cellulose for R-38. You measure 11 inches. At R-3.2 per inch, you’re at R-35.2, not R-38. But if the original installer didn’t overfill to account for settling, and you’re measuring original installed depth, your true settled depth might be 9 inches, or R-28.8. That’s a 24% performance loss.
In Cupertino’s climate, that gap matters. Summer attic temperatures in unventilated spaces can reach 140°F. A 24% R-value deficit means your ceiling plane is transferring significantly more heat load to your conditioned space, forcing your HVAC system to cycle longer and more frequently. We’ve measured ceiling surface temperature differentials of 8-12°F between properly insulated and under-insulated attics on identical 95°F days in Cupertino.
What to do with your findings: If settled depth is more than 10% below required depth, add insulation or schedule removal and replacement if the material is contaminated. If the depth marker is missing, contact your original installer or Attic Insulation in Cupertino for a professional assessment with proper documentation.
Rodent Damage and Convective Looping: What to Look For
Rodent activity in Cupertino attics peaks in late fall and early winter, when roof rats and mice seek shelter from cooling temperatures. But the damage they leave persists year-round, and it’s not just about contamination. Disturbed insulation creates convective looping, a heat transfer mechanism most homeowners have never heard of but many are paying for.
Convective looping occurs when air gaps form inside or beneath insulation layers. Warm air rises through the gap, cools at the colder surface, and sinks, creating a continuous circulation loop that bypasses the insulation entirely. A rat tunnel through a fiberglass batt, or a compressed path where rodents have repeatedly traveled, creates exactly this condition. The insulation looks intact from above, but it’s thermally compromised.
Signs of Rodent Activity in Insulation
- Tunnel paths: Visible runways through blown material, often following joist lines or near ductwork where warmth concentrates.
- Nesting material: Shredded paper, insulation fibers, or vegetation concentrated in corners or near penetrations.
- Droppings: Dark, rice-shaped pellets, often in corners or along runways. Fresh droppings are dark and moist; old ones are gray and crumbly.
- Urine staining: Yellowed or crusted areas on insulation surface, visible with a flashlight at low angle.
- Compressed batts: Fiberglass batts with visible depressions or paths where weight has been repeatedly applied.
In Cupertino, we see elevated rodent pressure in neighborhoods with mature oak canopy, particularly near Stevens Creek and the foothill zones where urban-wildland interface creates continuous habitat. Homes built before 1985 often have more penetrations and less robust air sealing, making entry easier.
If you find evidence of current or recent activity, insulation removal and replacement is typically necessary. Rodent urine and feces can harbor pathogens, and compressed or tunneled material cannot be restored to full R-value. We recommend professional removal with proper respiratory protection and HEPA containment. Topside Attic Insulation Cupertino home provides this service with documented photo records of the condition found and the completed work.
After removal, air sealing of all entry points is essential before new insulation goes in. This is the “sealed first, then insulated” sequence. Without it, you’re funding the next round of rodent nesting material.
HVAC Duct Connections and Boots at the Attic Plane
Here’s a failure mode we find in roughly 40% of Cupertino attics we inspect: the flex duct boot, the metal collar that connects flexible ductwork to the ceiling register, has separated from the drywall or become displaced. Conditioned air pumps directly into the attic. The homeowner’s response is typically to lower the thermostat, which increases energy use without solving the problem.
Boot displacement is particularly common in homes with original 1970s-1980s construction, common in Rancho Rinconada and surrounding neighborhoods. Original boots were often secured with mastic that degrades in attic heat cycles, or with inadequate mechanical fasteners. Modern installations should use mechanical supports and sealed connections, but many retrofits skip this step.
How to Inspect Duct Boots and Connections
- From the attic hatch with a flashlight, identify each boot location by finding the flex duct termination at the ceiling plane.
- Check for gaps between the boot flange and the drywall. Any visible light from below indicates a leak.
- Inspect flex duct connections to the boot and to the trunk line. The inner liner should be fully seated and sealed; the insulation jacket should be intact, not torn or compressed.
- Look for disconnected or sagging ducts. Flex duct should have gentle bends, not sharp kinks that restrict airflow.
- Check for insulation displacement around boots. If insulation has been pushed aside and not replaced, the boot area is uninsulated.
A single disconnected boot can lose 20-30% of the conditioned air intended for that room. In summer, that same opening draws 140°F attic air into the duct system when the fan is off, creating a heat sink that delays cooling at startup. We’ve measured supply air temperatures 15°F higher than design in homes with multiple boot leaks.
Boot repair requires working in the attic plane, often in confined spaces near eaves. This is one of the three items we classify as contractor-required, not DIY. Proper repair involves reseating the boot, applying UL-181 rated mastic or tape, reinstalling insulation with proper contact, and verifying with a smoke pencil or blower-door test. Spray Foam Insulation in Cupertino can also address complex boot sealing where access is limited.
Seasonal Timing: When to Inspect in Cupertino’s Climate
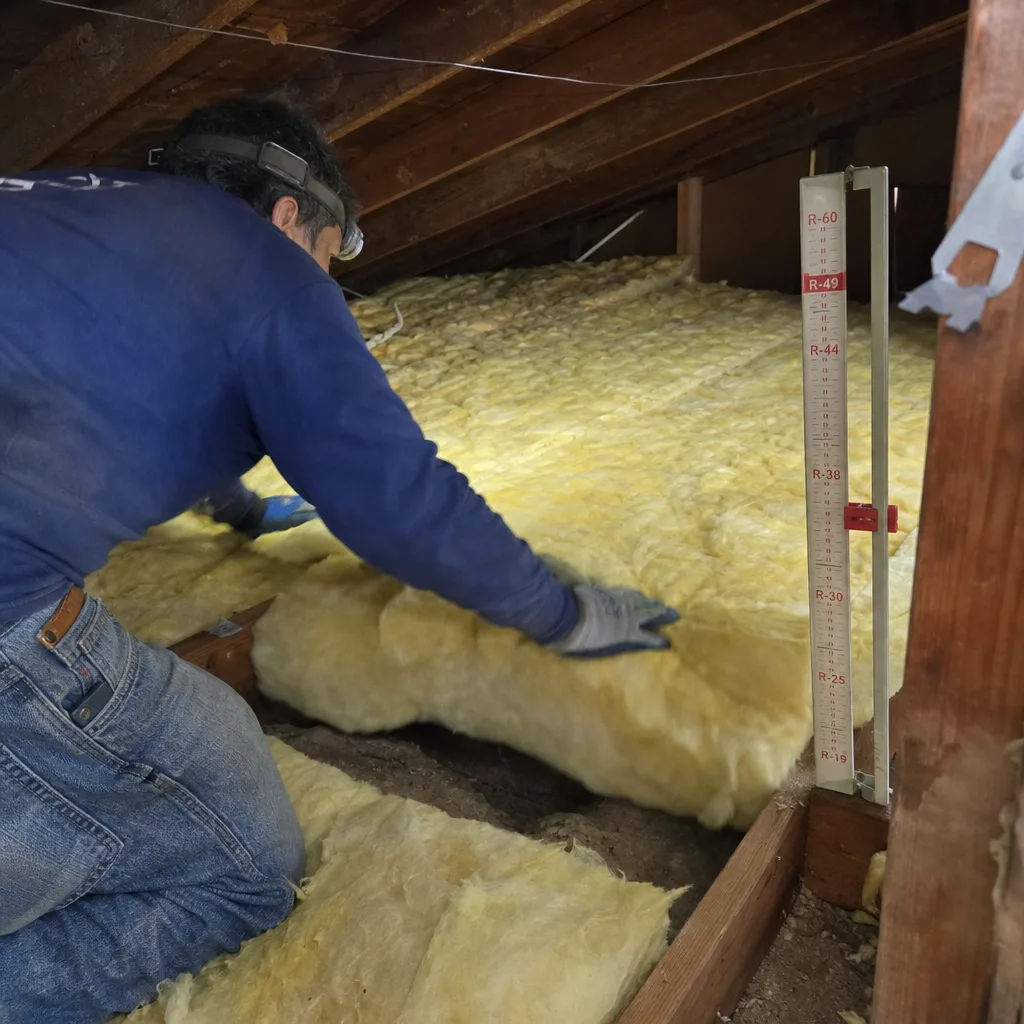
Cupertino’s Mediterranean climate creates two distinct damage windows for attic insulation: summer heat degradation and winter moisture intrusion. Timing your inspections to catch each window maximizes prevention and minimizes repair cost.
Post-Summer Inspection: October
After four months of attic temperatures cycling between 120°F and 140°F, insulation materials show their stress. Fiberglass batts may have compressed or shifted. Blown cellulose may have settled further under thermal cycling. Mastic and tape on ductwork may have softened and failed. The October inspection catches these conditions before winter heating loads begin.
Specific October checks:
- Measure settled depth against markers; thermal cycling accelerates first-year settling.
- Inspect duct mastic for cracking or separation; high-temperature softening followed by cooling creates stress fractures.
- Check for dust lines on insulation surface, indicating air movement paths that developed over summer.
- Look for signs of roof leak staining that may have started in late-summer dry thunderstorms.
Post-Rainy-Season Inspection: April
Cupertino’s rainy season typically runs November through March, with peak rainfall in January and February. By April, any moisture intrusion has had time to manifest in insulation. The April inspection catches mold before it spreads and identifies ventilation failures that created condensation.
Specific April checks:
- Inspect insulation surface for discoloration, particularly near eaves and valleys where ice damming or wind-driven rain may have penetrated.
- Check for musty odors at the attic hatch; this often precedes visible mold.
- Verify soffit vents are unobstructed; insulation baffles should be intact and properly positioned.
- Look for rust on nail heads or HVAC components, indicating chronic humidity elevation.
Homes in Cupertino’s foothill zones, particularly above 400 feet elevation, experience more wind-driven rain exposure and may need more frequent inspection. The Monta Vista and Seven Springs areas see higher roof leak rates due to exposure and tree debris accumulation in valleys.
DIY vs. Contractor: The Three Items That Require a Pro
We’re straightforward about what homeowners can safely assess and what requires professional equipment, training, and respiratory protection. The attic hatch inspection is valuable and low-risk. Beyond that, the hazards escalate quickly.
Five Items You Can Assess From the Attic Hatch
- Depth measurement against markers: Tape measure, flashlight, and the marker location. No need to enter the attic space.
- Visible rodent evidence: Droppings, tunnels, nesting material visible within the hatch light cone.
- Boot displacement from below: Shine flashlight upward; look for gaps between boot flange and drywall.
- Insulation displacement near hatch: Pushed-aside material, compressed paths, or missing coverage.
- Visible moisture staining: Darkened insulation, water marks on rafters, or rust on visible nail heads.
Three Items That Require a Professional
- Air sealing and blower-door verification: Top plates, can lights, electrical penetrations, and chimney chases require movement through the attic space, often near eaves with fall risk. The work is incomplete without a blower-door test, a pressurization reading that shows, in one number, how much air your building envelope is losing. We’ve tested attics where visual inspection showed “good” insulation and the blower door revealed 3,500 CFM50 of leakage at the ceiling plane.
- Insulation removal with rodent contamination: HEPA containment, negative air pressure, and proper disposal are required. Disturbing contaminated material without protection creates inhalation hazard.
- Duct boot repair and resealing: Requires working at the ceiling plane in confined space, proper mastic application technique, and post-repair verification. We’ve seen homeowner repairs with duct tape (the wrong kind) that failed within one season.
Our recommendation: perform the hatch inspection yourself twice yearly. If you find any of the five DIY items out of spec, or if you suspect conditions requiring the three pro items, schedule a professional assessment. Crawl Space Encapsulation & Vapor Barrier in Cupertino addresses related envelope concerns if your home has a crawl space with similar inspection needs.
Maintenance Differences by Insulation Type
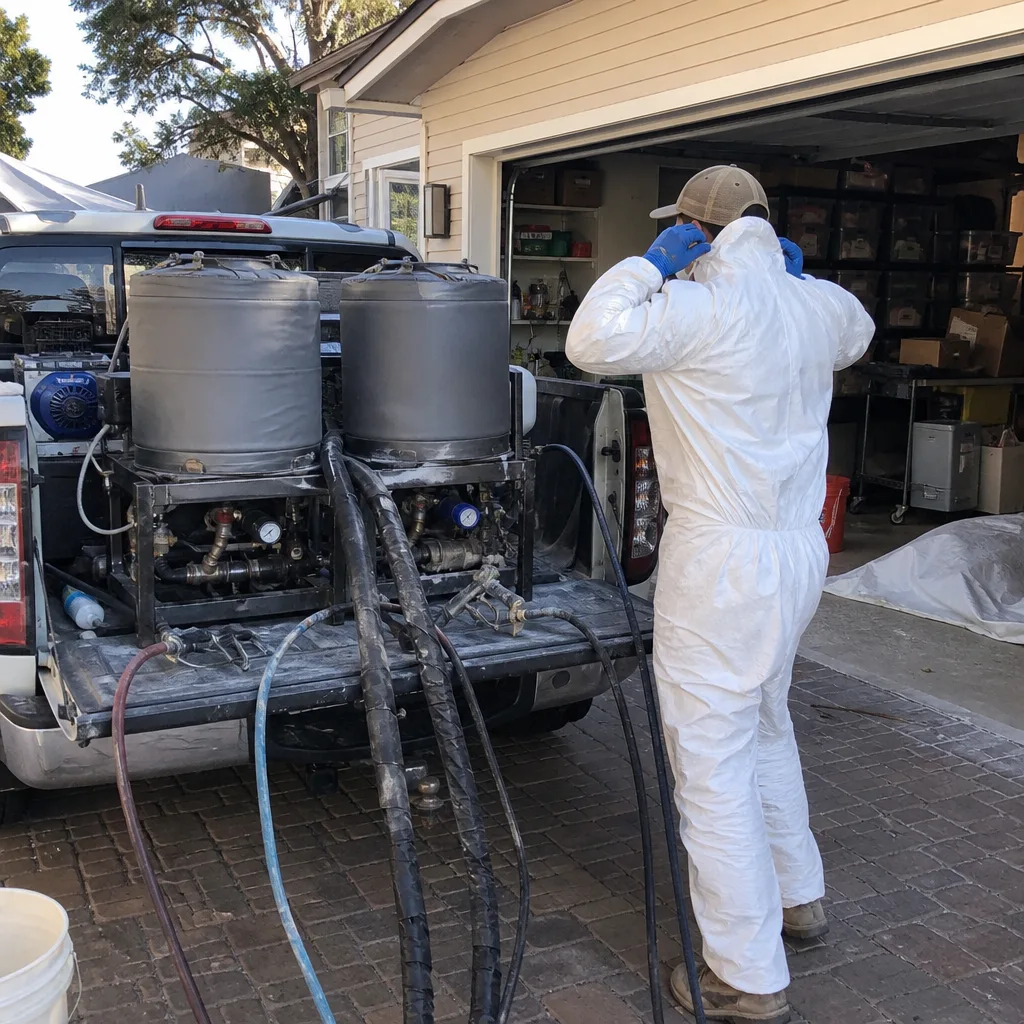
Not all insulation ages the same way. Your maintenance priorities depend on what’s currently in your attic.
Blown Cellulose
Cellulose is treated with borate fire retardant and pest deterrent, but the treatment doesn’t prevent settling. Annual depth check is essential. Cellulose is also more susceptible to moisture damage than fiberglass; once wet, it compacts and loses R-value permanently. In Cupertino, we see moisture issues in cellulose more often in homes with bathroom venting into attics (still common in pre-1990 construction) or with compromised roof flashing.
Maintenance priority: depth measurement, moisture inspection, and redistribution if wind or rodent activity has created thin spots. Owens Corning and GreenFiber cellulose products we install include stabilized formulations that reduce settling, but no cellulose is settle-proof.
Fiberglass Batts
Batts are dimensionally stable but vulnerable to compression and displacement. The “fluff” structure that creates air pockets for thermal resistance collapses when walked on or compressed by storage. In Cupertino, we frequently find batts pushed aside for wiring or ductwork access and never replaced.
Maintenance priority: verify full coverage without gaps, check for compression, ensure batts are in full contact with the ceiling drywall (no sagging). Johns Manville and Knauf batts we specify include formaldehyde-free formulations with consistent density.
Spray Foam (Open-Cell and Closed-Cell)
Spray foam doesn’t settle, but it can shrink at cut edges, crack under structural movement, or be damaged by rodents (who don’t eat it but will tunnel through it). Open-cell foam is vapor-permeable and can absorb moisture if the roof leaks; closed-cell is vapor-impermeable but more rigid and prone to cracking with framing movement.
Maintenance priority: inspect for shrinkage gaps at perimeter and penetrations, check for cracking or delamination, verify rodent tunneling. Icynene and Demilec spray foam systems require specific inspection protocols; we document these in our post-installation records.
Mineral Wool (Rockwool)
Rockwool is dimensionally stable, fire-resistant, and moisture-resistant, but it’s heavier than fiberglass and can compress under its own weight if improperly supported. It’s also more expensive and less common in Cupertino residential work.
Maintenance priority: check for sagging in friction-fit installations, verify support wires or mesh are intact. Rockwool’s density makes it less susceptible to rodent tunneling, which is an advantage in high-activity areas.
Common Mistakes to Avoid
- Assuming “looks fine” means performing fine: Insulation can look intact while having significant air gaps, compression, or moisture damage. The tape measure and blower door tell the truth; visual inspection alone does not.
- Adding new insulation over old without inspection: We’ve removed layers in Cupertino attics where new cellulose was blown over rodent-contaminated batts, sealing pathogens and odor into the assembly. Always inspect and remediate before adding.
- Ignoring the attic hatch itself: The hatch is a significant thermal bridge. An uninsulated or unsealed hatch can lose as much energy as several square feet of missing ceiling insulation. Weatherstrip and insulate the hatch as part of maintenance.
- Blocking soffit vents with insulation: Well-meaning homeowners sometimes push insulation tight to eaves, cutting off ventilation airflow. This creates moisture problems that destroy R-value. Baffles must remain unobstructed.
- Using the attic for storage on top of insulation: Every storage board compresses insulation beneath it. If you need attic storage, build a raised platform above the insulation plane, or accept the thermal penalty of the compressed area.
- Delaying inspection after a roof leak: Even a small leak can saturate a surprising volume of cellulose. Wet insulation must be removed; it will not dry effectively in the attic environment and will support mold growth.
When to Call a Professional
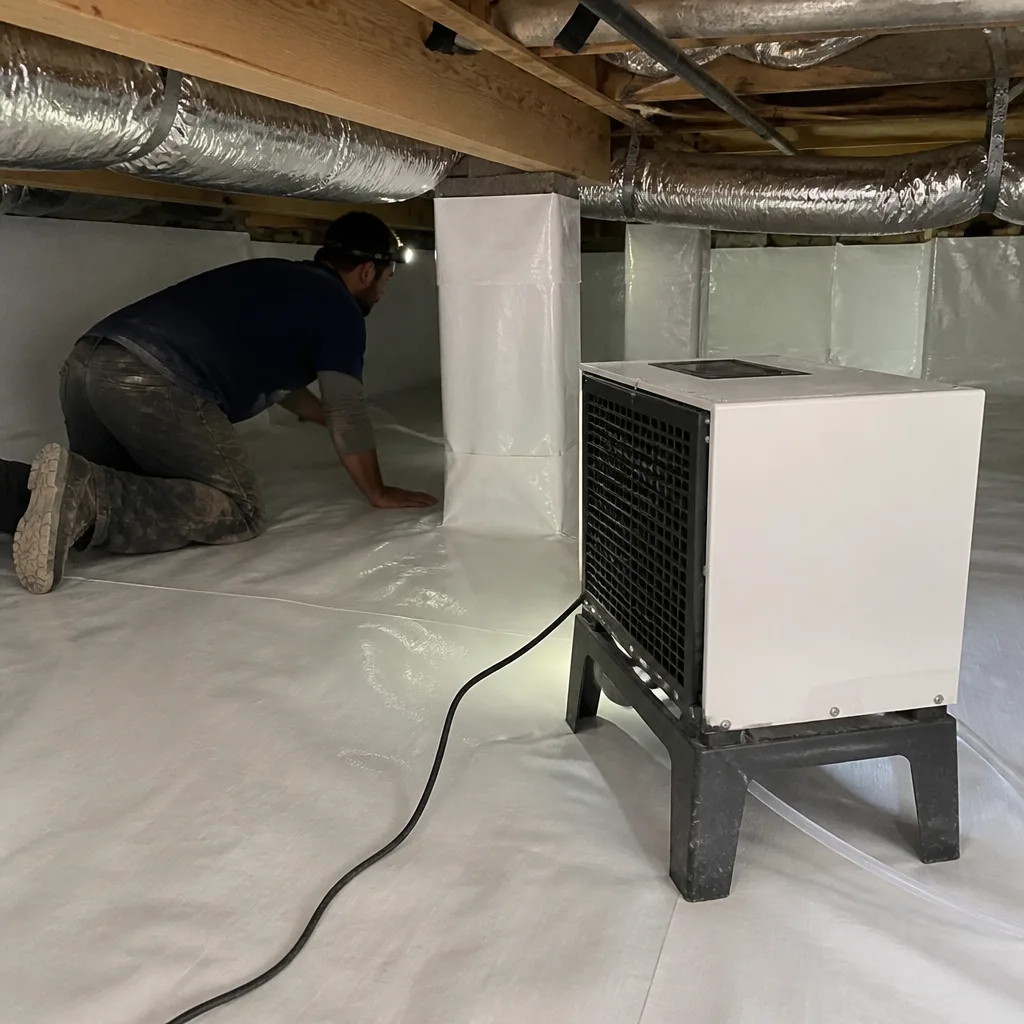
Call a professional when your hatch inspection reveals depth more than 10% below marked requirements, any signs of current rodent activity, moisture staining or musty odors, displaced or disconnected duct boots, or if you cannot locate depth markers; explore more guides & resources for what to expect. These conditions require equipment, training, or documentation that homeowners cannot reasonably provide.
Topside Attic Insulation Cupertino offers free estimates in Cupertino. Call (831) 217-8521. Every assessment includes a written scope and written price before any work starts, under Haven Standard Clause 1. On applicable jobs, we provide before-and-after blower-door numbers so you can verify the air-sealing result in a single figure. Our Documented Photo Record is included on every visit, not available on request.
Frequently Asked Questions
Inspect twice yearly: October after summer heat stress, and April after the rainy season. These timings catch the two primary damage windows in Cupertino’s Mediterranean climate. Call (831) 217-8521 if either inspection reveals depth loss, moisture, or rodent evidence.
Professional inspection with blower-door testing typically runs $200-$400 in the Cupertino market. Remediation costs vary with condition: adding blown cellulose to restore depth runs $1.50-$3.00 per square foot; removal and replacement of contaminated material runs $3.00-$6.00 per square foot; full air sealing with blower-door verification adds $1.50-$2.50 per square foot. We provide a written price before any work starts, always. Call (831) 217-8521 for a free estimate with exact scope.
Only if the old insulation is dry, uncontaminated, and at full depth. Adding over settled or rodent-damaged material locks in problems and may violate manufacturer warranty terms. We inspect first, document condition with photos, and recommend removal when warranted. Our 9,000+ jobs since 2016 have taught us that skipping this step costs more later.
Current Title 24 requirements call for R-38 minimum in Climate Zone 4, which includes Cupertino. Many homes built before 2010 have R-19 or less. If you’re measuring less than 12 inches of settled cellulose or 13 inches of fiberglass batt, you’re likely below R-38. We calculate exact requirements from your specific assembly during assessment.
Common causes we find in Cupertino: duct boot leaks dumping conditioned air into the attic, air bypasses at top plates and penetrations creating thermal streaming, or insulation that looks adequate but has settled below rated depth. A blower-door test with infrared verification identifies which factor is dominant. Call (831) 217-8521 for diagnostic assessment.
Vermiculite insulation (pebbly, gray-brown, often from Zonolite brand) may contain asbestos and requires professional testing before disturbance. Fiberglass and cellulose do not contain asbestos. If you suspect vermiculite, do not enter the attic; schedule professional assessment with proper containment protocols. We can coordinate testing and, if confirmed, refer to licensed abatement contractors.
The Bottom Line
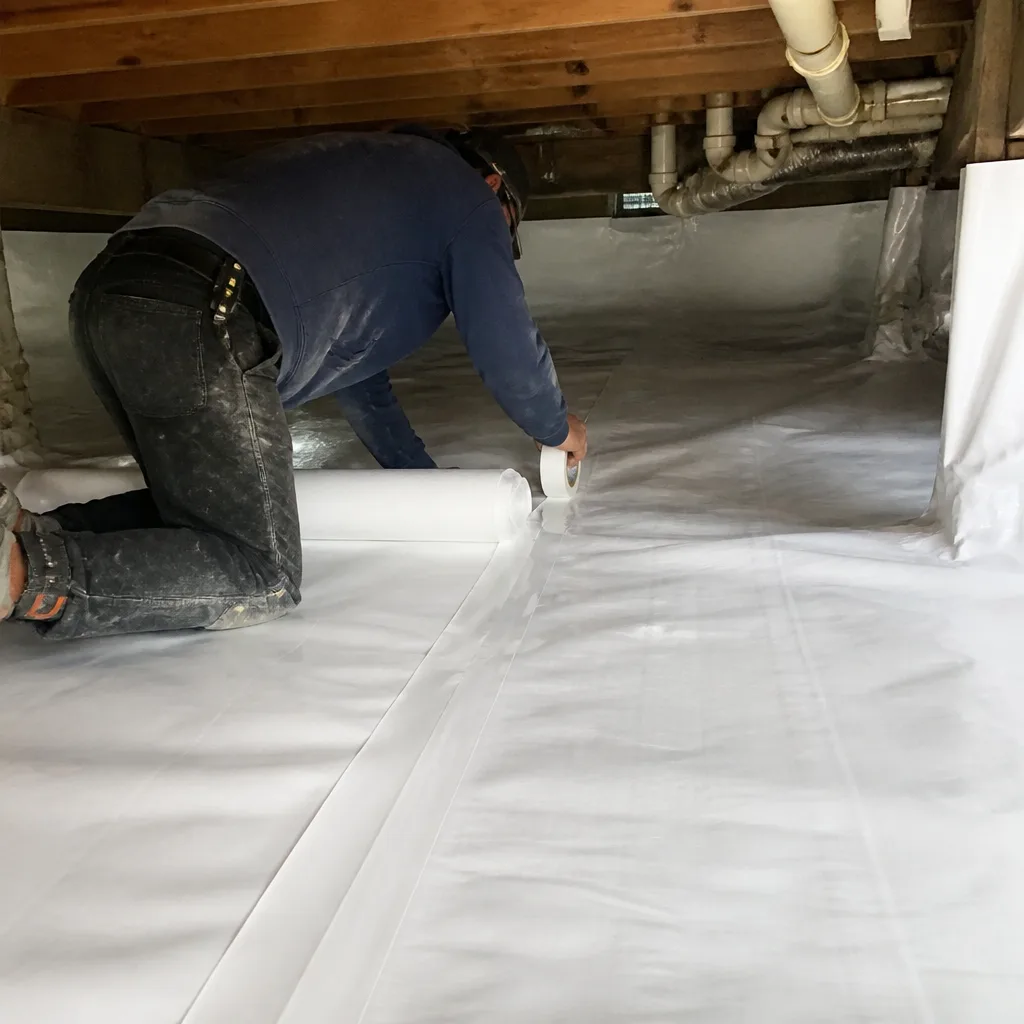
Attic insulation in Cupertino requires active maintenance, not passive assumption. Measure depth against markers twice yearly. Watch for rodent evidence and the convective looping it creates. Verify duct boot integrity. Time inspections to catch summer heat damage in October and moisture intrusion in April. Know which assessments you can perform from the hatch and which require professional equipment and documentation. The R-value you paid for is only preserved through specific, measurable attention. Topside Attic Insulation Cupertino has sealed and insulated 9,000+ homes since 2016, every one with a written price before work started and a documented record when the crew left. Call (831) 217-8521 for a free estimate.
Written by Wes Okafor, Owner at Topside Attic Insulation Cupertino, serving Cupertino since 2016.