
Last updated September 24, 2026
DIY vs Professional Insulation: The Cupertino Homeowner’s Decision Guide
Renting an insulation blower and adding cellulose to your attic is within reach for a careful homeowner in Cupertino. But here’s what we’ve learned from 9,000 homes since 2016: if the attic plane isn’t air-sealed first, you’ve just buried your air leaks under a layer of insulation and made them significantly harder and more expensive to fix later. In this guide, we’ll draw the line at the specific technical boundary that separates what you can safely do yourself from what requires professional execution, verification, and documentation - and point you to how to hire an insulation contractor in Cupertino when you need one.
Quick Answer
Most Cupertino homeowners can handle three insulation tasks themselves: adding blown-in depth to an already-sealed attic, replacing an attic hatch cover, and installing faced batts in an accessible crawlspace with no existing insulation. Everything else - especially air sealing at the attic plane, spray foam application, and any work requiring permit verification - should be done by a professional who can perform a blower-door test and provide documented results.
Table of Contents
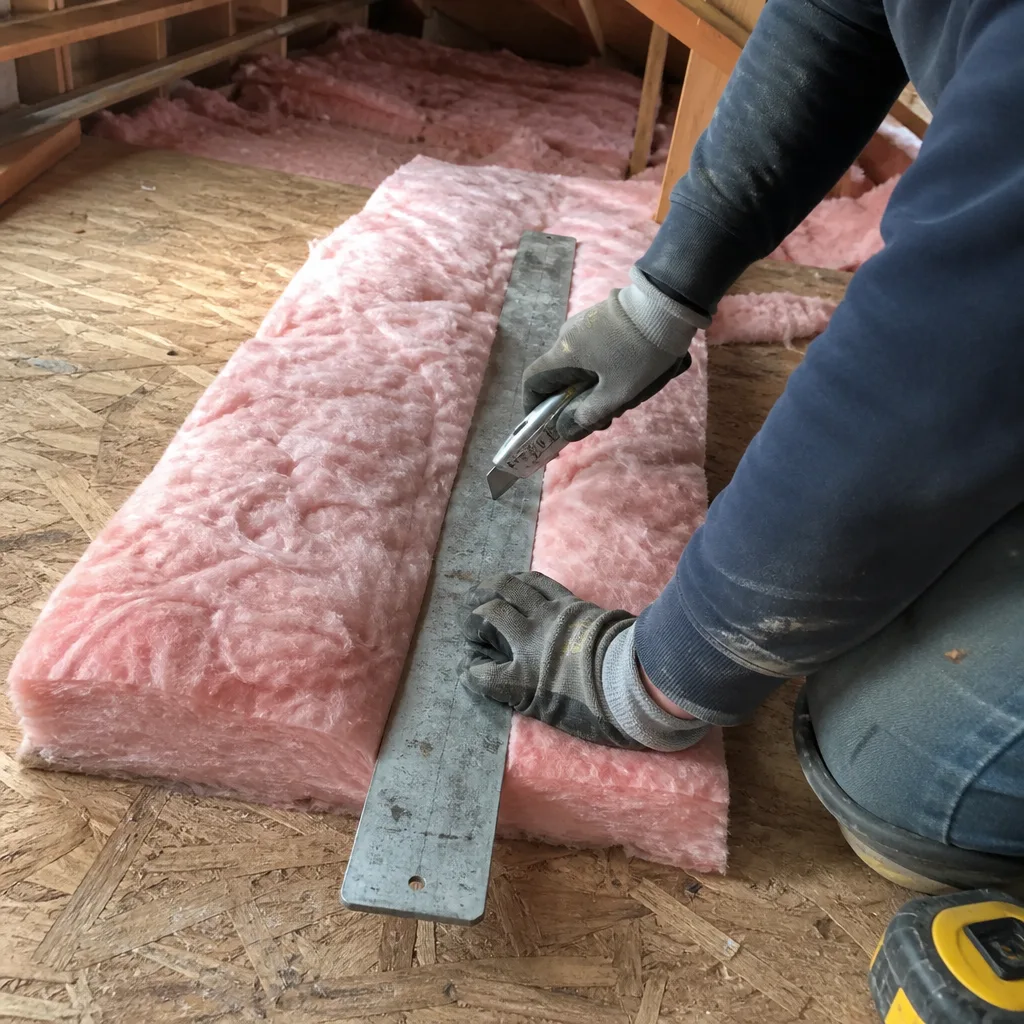
- Which Insulation Tasks Are Actually DIY-Viable in California
- Why Attic Air Sealing Requires Professional Execution
- California Code, Permits, and the Homeowner-Builder Exemption
- DIY Failure Modes Specific to Cupertino Homes
- The Hybrid Approach: How to Structure a Split Job
- Cost Comparison: DIY vs Professional in Cupertino
- Tools and Verification You Can’t Do Yourself
- Common Mistakes to Avoid
- When to Call a Professional
- Frequently Asked Questions
- The Bottom Line
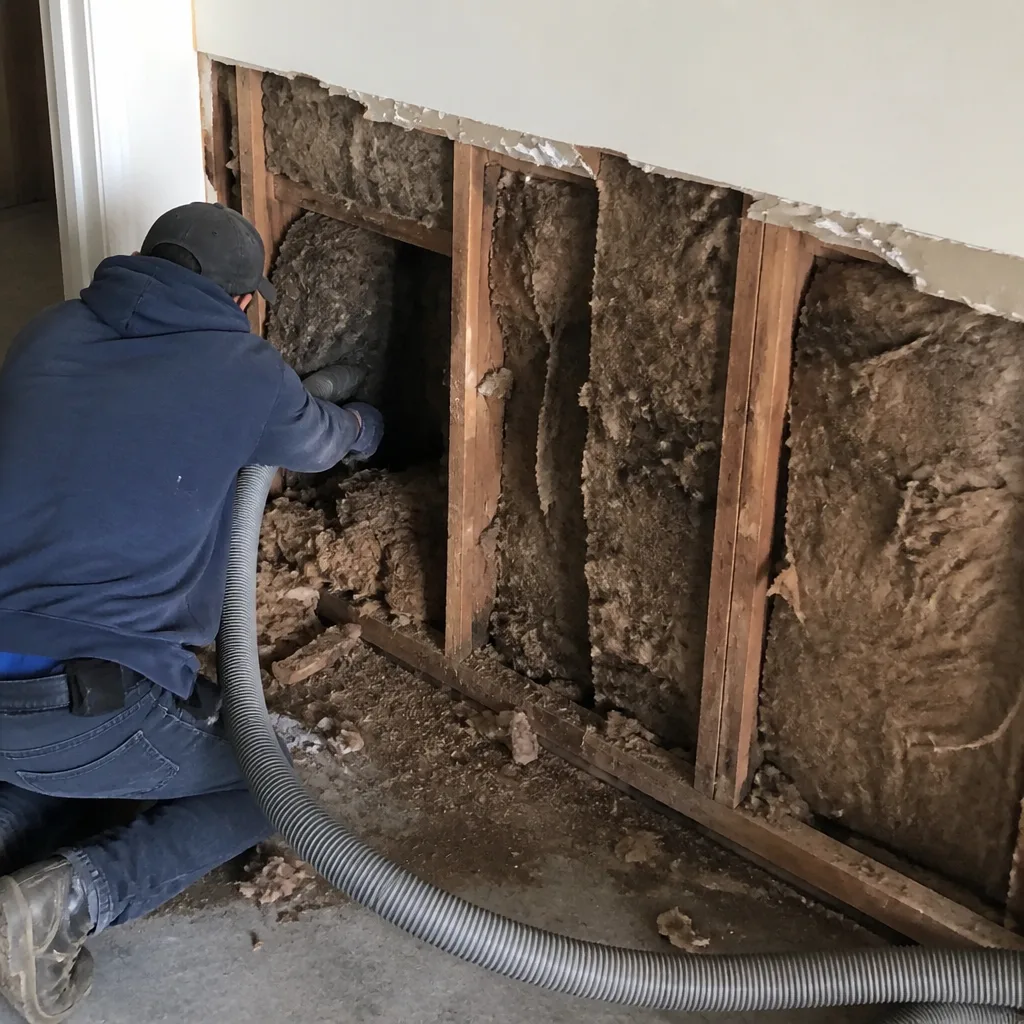 Before
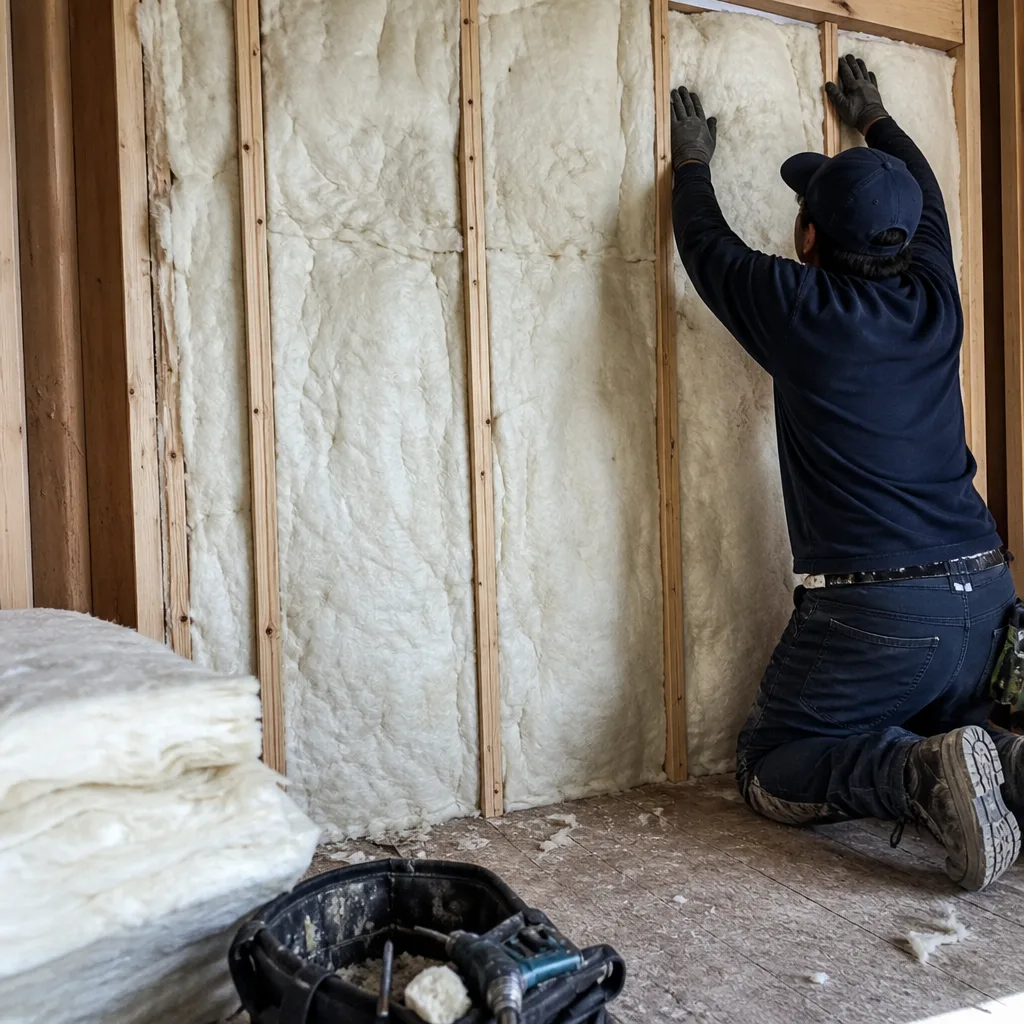 After
AfterWhich Insulation Tasks Are Actually DIY-Viable in California
California’s mild climate and uniform building codes create a narrower window for safe DIY insulation work than most homeowners assume. The tasks below are genuinely viable for a careful, properly equipped homeowner - but each has strict boundaries that, if crossed, push the work into professional territory.
1. Adding Blown-In Depth to an Already-Sealed Attic
This is the most common DIY insulation project in Cupertino, and it’s viable only when two conditions are met: the attic floor is already air-sealed, and you’re adding the same material type that’s already in place. If your attic has cellulose at R-30 and you need to reach R-49 for Title 24 compliance, renting a blower and adding more cellulose is straightforward. The machine calibrates depth based on bag count and square footage - read the label carefully, because every manufacturer (Knauf, GreenFiber, CertainTeed) specifies coverage per bag at a target depth.
What makes this viable: you’re not disturbing the existing layer, you’re not walking through it (compression destroys R-value), and you’re not creating new penetrations. What makes it fail: blowing over unsealed top plates, can lights, or duct chases. In Cupertino’s 1960s-1980s ranch homes, we regularly find attic floors with 12 inches of cellulose hiding completely unsealed framing cavities - the insulation performs like a filter, not a barrier.
2. Replacing an Attic Hatch Cover
The attic hatch is the most overlooked thermal bypass in most homes. A ¼-inch gap around a 22-by-30-inch opening leaks as much conditioned air as a 6-inch round duct. Replacing the cover with an insulated, weatherstripped assembly is genuinely DIY-friendly. Rockwool makes a rigid board product that works well here, or you can build a box with rigid foam and attach it with latch hardware.
Critical detail: the weatherstripping must compress uniformly. A gap of ⅛ inch is enough to nullify the insulation value of the entire assembly. We recommend testing with a smoke pencil - a $12 tool that shows air movement - after installation.
3. Installing Faced Batts in an Accessible Crawlspace with No Existing Insulation
In Cupertino’s flatter neighborhoods near Stevens Creek Boulevard, some 1950s homes have raised-floor crawlspaces with no insulation at all. Installing faced fiberglass batts between joists, paper side up toward the conditioned floor above, is mechanically simple if the crawlspace is dry, well-lit, and tall enough to work in comfortably.
The boundary here is strict: if there’s existing insulation (especially if it’s wet, compressed, or rodent-damaged), stop. Removal and replacement requires protective equipment, proper disposal, and often vapor barrier work that changes the moisture dynamics of the entire floor assembly. That’s not a weekend project. Crawl space encapsulation and vapor barrier installation in Cupertino requires professional assessment of soil moisture, foundation ventilation, and condensing surfaces.
What Is NOT DIY-Viable
- Spray foam of any type - closed-cell or open-cell - due to chemical handling, substrate temperature requirements, and off-gassing protocols
- Air sealing at the attic plane, including top plates, can lights, and penetration sealing
- Insulation removal in attics or crawlspaces with rodent activity, moisture damage, or pre-1990 materials that may contain asbestos
- Wall insulation retrofit without borescope verification of cavity conditions
- Any work requiring a permit or blower-door verification for compliance
Why Attic Air Sealing Requires Professional Execution
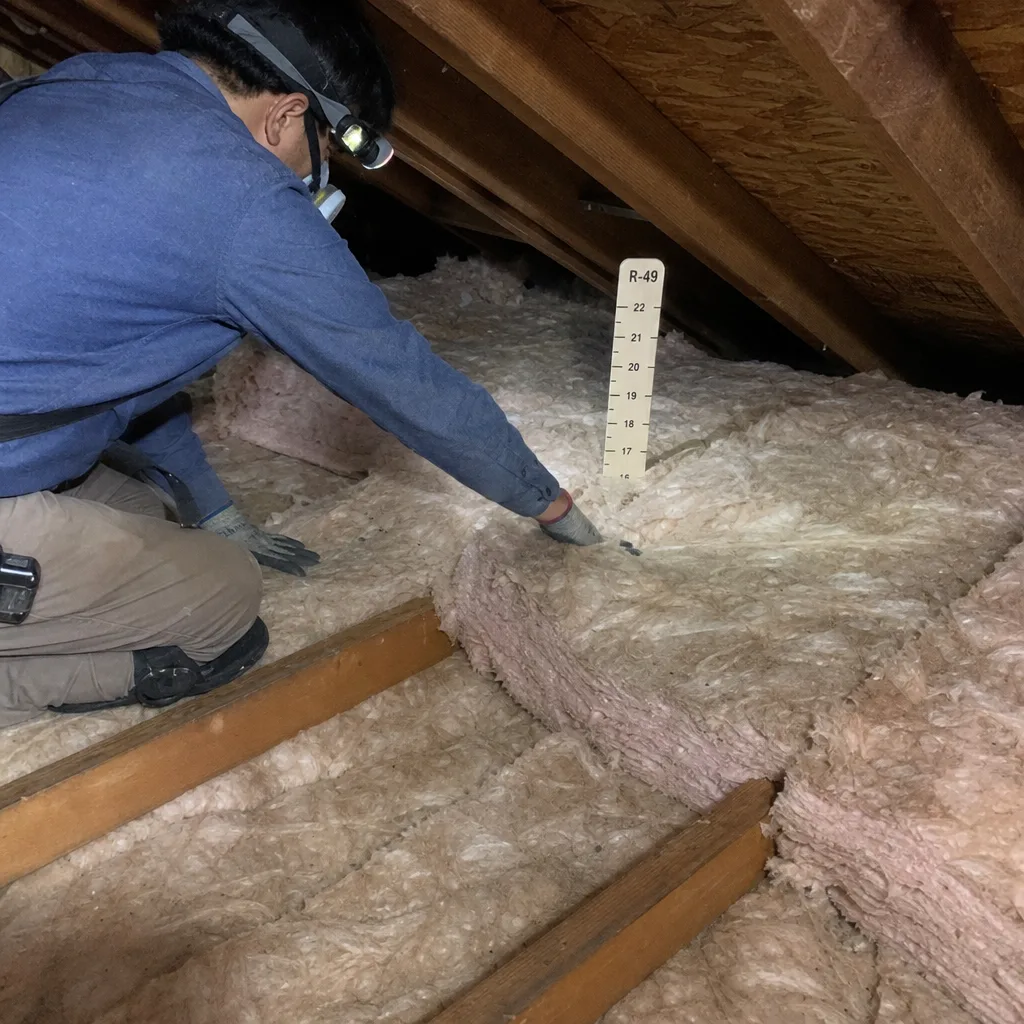
The single most consequential error in residential insulation is blowing or placing insulation over an unsealed attic floor. This is where we draw the technical line, and it’s the reason this guide exists.
Air sealing at the attic plane addresses the stack effect - the natural upward movement of warm, conditioned air through your house in winter, and the reverse in summer when your attic hits 140°F. In Cupertino, where summer cooling loads dominate energy bills, an unsealed attic plane pulls conditioned air upward continuously, forcing your HVAC system to replace it. The insulation you paid for becomes a particulate filter, not a thermal barrier, because air moves through it freely.
What Professional Air Sealing Actually Involves
- Top plate identification and sealing. Every wall in your home has a top plate - the horizontal framing member where studs meet the ceiling drywall. In platform framing, which is standard in Cupertino homes built after 1960, there’s a double top plate with joints that don’t align with stud bays below. Each intersection creates a cavity that opens directly into the attic. A professional locates every one, often 40-60 in a 2,000-square-foot home, and seals them with expanding foam or caulk appropriate to the gap size.
- Recessed light evaluation. IC-rated (insulation contact) can lights can be covered. Non-IC cans cannot - they require replacement or a sealed enclosure. This requires electrical knowledge: verifying the rating, assessing wattage and heat load, and ensuring that any enclosure doesn’t create a fire hazard. We’ve found non-IC cans buried under cellulose in Cupertino homes - a latent fire risk that a blower-door test would have exposed immediately.
- Penetration sealing. Plumbing vents, electrical runs, chimney chases, and duct boots all penetrate the attic floor. Each requires a fire-stop or sealant rated for the specific materials involved. A 2-inch plumbing vent with a ½-inch gap around it leaks continuously; a chimney chase without proper blocking creates a direct convection loop.
- Blower-door verification. This is the step no homeowner can replicate. A blower-door test - a pressurization reading that shows, in one number, how much air your building envelope is losing - establishes a baseline before work begins and verifies improvement after. Without it, you’re guessing. We publish before-and-after numbers on every applicable job: a typical Cupertino home starts at 3,500-4,500 CFM50 and should reach 2,000-2,800 after proper air sealing and insulation. You cannot rent this equipment, and interpreting the results requires training in thermal boundary definition and pressure-pan diagnostics.
The Haven Standard requires this sequence: seal first, insulate second, verify always. Under Haven Standard Clause 1, you get a written price, written scope, and written warranty before anyone lifts a tool - so you know what verification looks like before we arrive.
California Code, Permits, and the Homeowner-Builder Exemption
California allows homeowners to act as their own contractor under the homeowner-builder exemption (Business and Professions Code Section 7044). This exemption is narrower than most homeowners realize, and insulation work has specific triggers that require permits regardless of who performs it - see our guide to insulation permits, codes & inspections in CA for details.
What the Exemption Covers
A homeowner can perform work on their own single-family residence without a contractor’s license, provided the work doesn’t require a structural, electrical, plumbing, or mechanical permit. The exemption is for the labor itself - it does not eliminate permit requirements where they exist.
Where Insulation Work Triggers Permits in Cupertino
- Attic insulation exceeding specific depth or type changes: Cupertino, like all California jurisdictions under Title 24, requires permits when insulation work is part of an alteration that changes the building’s energy compliance status. Adding R-19 over existing R-11 in a 1970s home may trigger re-evaluation.
- Spray foam insulation: Always requires a permit in Santa Clara County due to fire-rating requirements, ignition barrier specifications, and ventilation calculations.
- Removal of existing insulation: If the removal exposes or disturbs electrical, plumbing, or HVAC components, the work may require trade permits.
- Air sealing with blower-door verification: Not always permit-triggering on its own, but required for HERS (Home Energy Rating System) compliance when insulation work is part of a larger energy upgrade or solar installation.
The Documentation Problem for DIY Work
Permit applications in Cupertino require a scope of work, material specifications, and often a HERS rater verification for insulation performance. A professional contractor provides this documentation as part of the job package. A DIY homeowner must generate it themselves, submit it to the Cupertino Building Division, schedule inspections, and correct any failures - all while the attic is open and the house is exposed.
We’ve been called to homes where DIY insulation work was red-tagged because the homeowner used faced batts in contact with recessed lights (fire code violation) or blocked soffit ventilation (moisture code violation). The correction cost exceeded what professional installation would have, because the insulation had to be removed, the violation fixed, and the work re-inspected. Under the Haven Standard, you receive a Documented Photo Record on every visit and a written scope before work starts - so the inspector sees what was done, where, and with what materials.
DIY Failure Modes Specific to Cupertino Homes
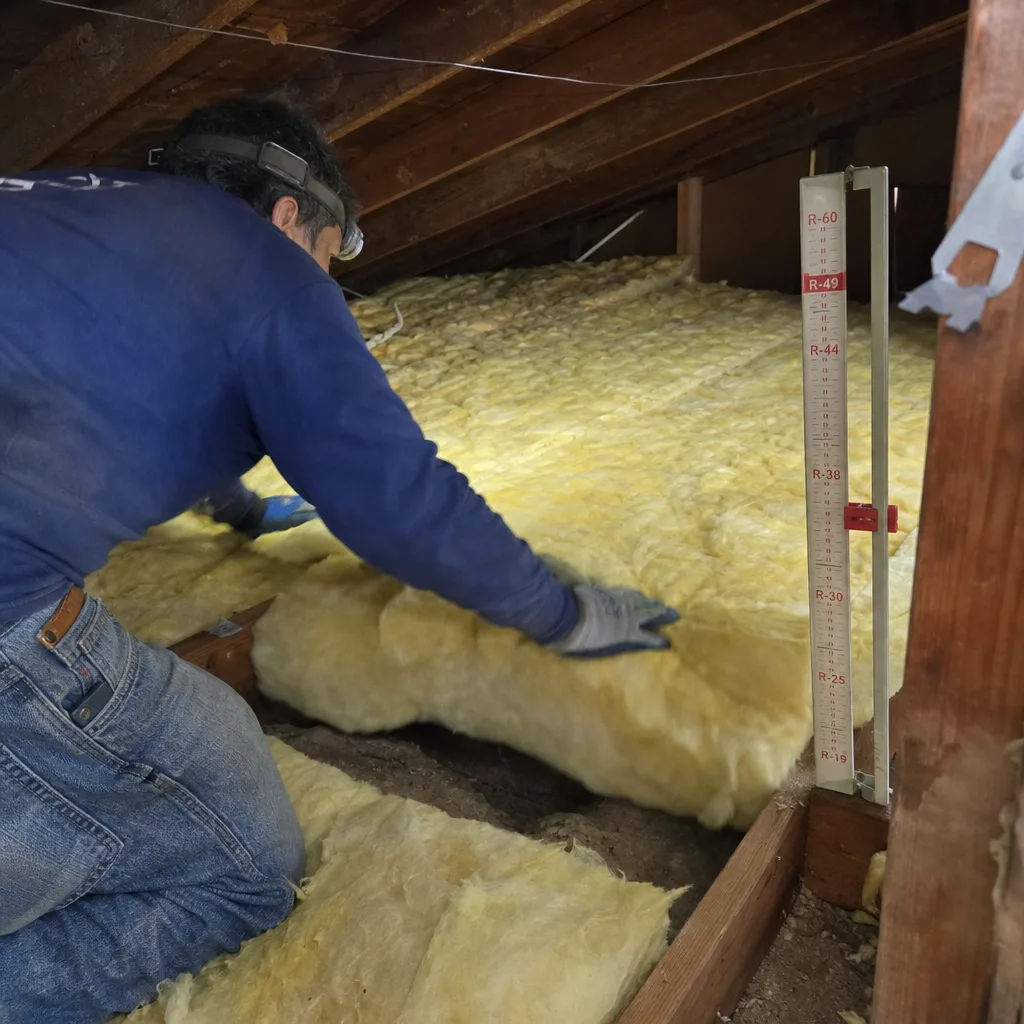
Cupertino’s housing stock has distinct characteristics that create predictable DIY failure modes. Understanding them helps you decide where your skill level intersects with your home’s specific conditions.
Compressed Batts from Walking on Them
Cupertino’s 1960s-1980s single-story ranches have attics with 2×6 or 2×8 ceiling joists, spaced 24 inches on center. There’s no walking surface. Homeowners installing batts inevitably compress them by kneeling or stepping between joists. Fiberglass compressed to half its labeled thickness loses roughly half its R-value. Blown-in cellulose, if walked through during installation, creates permanent density variations that reduce performance and can create moisture traps.
Professional crews use walkboards, stilts, or scaffolding that spans multiple joists. The equipment rental store doesn’t stock these, and most homeowners don’t think to build them.
Inadequate Depth from Imprecise Blower Calibration
Insulation blowers from rental yards are calibrated for speed, not precision. The machine settings assume standard cellulose density, but humidity, hose length, and operator technique all affect actual deposition. We’ve measured DIY cellulose installations in Cupertino that averaged 8.5 inches where 12 inches was specified - a 30% shortfall that the homeowner didn’t discover until an energy audit years later.
Professional crews count bags against square footage in real time, verify depth with probes at multiple locations, and adjust machine settings for the specific product being installed. Knauf and CertainTeed both specify coverage rates that vary by target R-value; the rental machine’s generic chart doesn’t account for this.
Blocked Soffit Ventilation from Over-Insulating the Eave
Cupertino’s Mediterranean climate means mild, wet winters and hot, dry summers. Attic ventilation is critical for moisture management in winter and heat rejection in summer. Most Cupertino homes have continuous soffit vents at the eaves that require baffles - cardboard or foam channels that maintain a 2-inch air path above the insulation.
DIY installations routinely bury soffit vents or install baffles that collapse or shift. The result: attic moisture accumulation in winter (mold risk on the roof deck) and excessive heat buildup in summer (shingle degradation and HVAC overload). In Monta Vista and Rancho Rinconada neighborhoods, we see this pattern repeatedly in homes where insulation was added without professional air sealing and ventilation management.
Insulation Contact with Non-IC Can Lights
Pre-1990 Cupertino homes often have non-IC (non-insulation-contact) recessed lights in ceilings below the attic. These fixtures are rated for clearance to combustibles, and burying them in cellulose or fiberglass creates a fire hazard. Identification requires reading the label inside the can - often faded or painted over - and understanding the rating system. Professional crews replace non-IC cans with IC-rated LED assemblies or install fire-rated enclosures before insulating.
Failure to Seal the Attic Hatch
We mentioned this as a DIY-viable task, but it’s also the most commonly botched one. Homeowners install an insulated cover but leave gaps at the trim, or they weatherstrip the hatch but not the pull-down stairs. An unsealed pull-down stair assembly leaks as much air as a 12-square-inch hole in your ceiling. The fix requires a zippered, insulated tent or a custom-built sealed box - beyond most DIY efforts.
The Hybrid Approach: How to Structure a Split Job
The most cost-effective path for many Cupertino homeowners is a hybrid: you handle preparation, we handle execution and verification. This approach respects the technical boundary at air sealing while reducing labor costs you can reasonably avoid.
Homeowner Preparation Phase
- Clear attic debris and stored items. Remove everything that isn’t structural. This is labor-intensive but unskilled - you’re paying professional rates for moving boxes if we do it.
- Install baffles at soffit vents. Purchase foam or cardboard baffles (available at any hardware store) and staple them to the roof deck, maintaining a 2-inch clearance above the joist top. This requires crawling the eaves but no technical judgment.
- Replace or upgrade the attic hatch. Build or purchase an insulated, weatherstripped assembly. Test with a smoke pencil.
- Identify and mark problem areas. Note locations of recessed lights, plumbing vents, chimney chases, and any visible mold or moisture staining. Photograph everything - these photos become part of the documentation package.
Professional Execution Phase
We arrive to a prepared workspace and perform:
- Comprehensive air sealing of top plates, penetrations, and bypasses
- Evaluation and correction of recessed light conditions
- Blower-door baseline test, air sealing, and verification test with published results
- Insulation installation to specified depth with bag-count verification
- Final depth probing and ventilation confirmation
- Documented Photo Record delivered with written scope completion
Permit Documentation for Hybrid Work
For permit purposes, the scope of work must clearly delineate homeowner-performed preparation from contractor-performed work. We provide this documentation as part of our written scope under Haven Standard Clause 1. The homeowner’s photos of pre-existing conditions, combined with our photo record of completed work, create an inspection-ready package that satisfies Cupertino Building Division requirements.
This approach typically reduces labor costs by 15-25% while preserving the technical integrity of the air sealing and verification. Attic insulation in Cupertino through our hybrid program includes the same 365-Day Done Right Promise and before-and-after blower-door numbers as full-service jobs.
Tools and Verification You Can’t Do Yourself
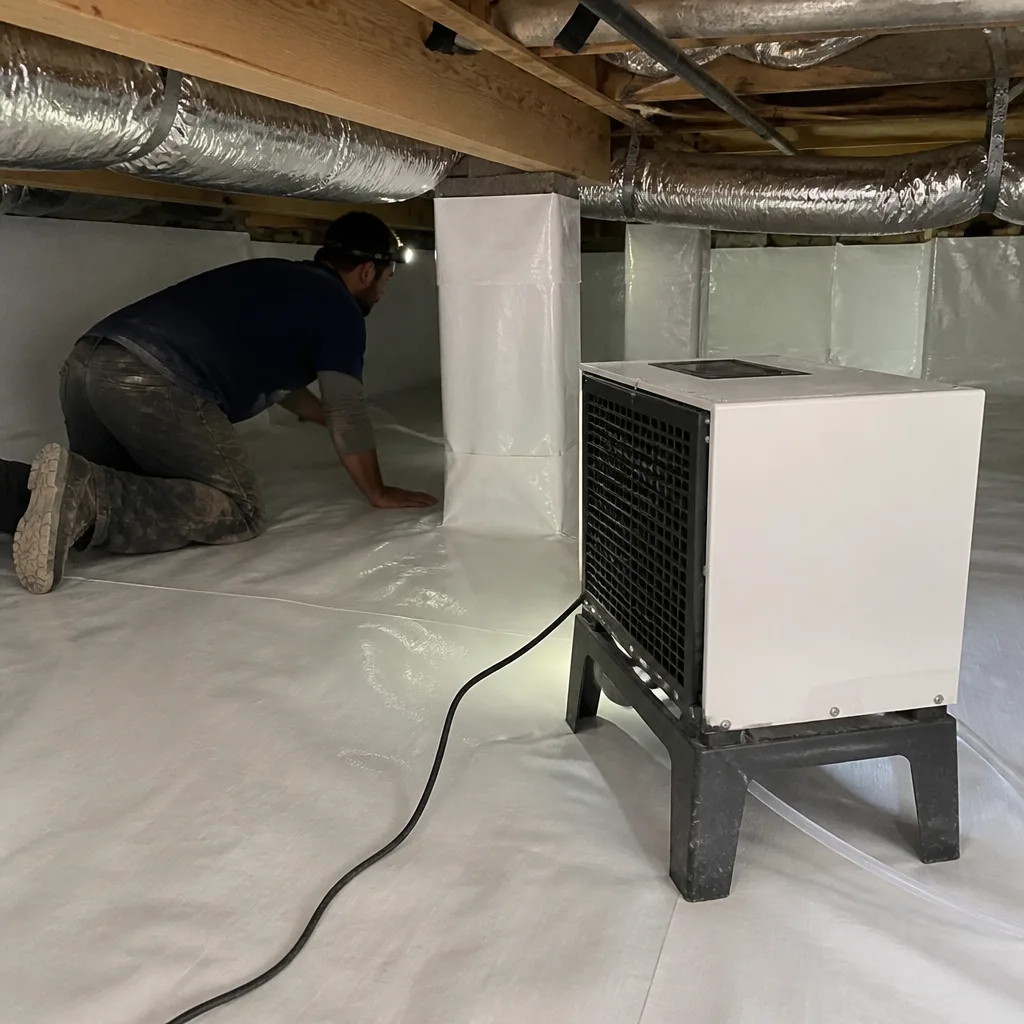
Some aspects of insulation work require equipment, training, or certification that isn’t available to homeowners at any price. Understanding these boundaries helps you allocate your effort where it matters.
The Blower Door
A blower door is a calibrated fan that mounts in an exterior door frame and depressurizes (or pressurizes) the house to a standard 50 Pascals. The airflow required to maintain this pressure difference, measured in CFM50, quantifies the leakiness of the building envelope. A typical Cupertino home built in 1970 measures 4,000-5,000 CFM50 before air sealing and 2,000-3,000 after proper work.
Rental blower doors don’t exist for homeowners. The equipment costs $3,500-$5,000, requires annual calibration, and interpreting results needs training in thermal boundary definition, pressure-pan testing, and infrared thermography correlation. We publish these numbers on every applicable job so you can verify the performance change you paid for.
Infrared Thermography
Thermal imaging cameras reveal insulation gaps, air leaks, and moisture patterns invisible to the eye. A $400 FLIR camera from a hardware store shows temperature differences, but interpreting them requires understanding of emissivity, reflected temperature, and the thermal characteristics of specific building assemblies. We use infrared imaging during pre-work assessment and post-work verification to confirm that insulation is continuous and air sealing is complete.
Moisture Meters and Borescopes
Insulation installation over damp substrates creates mold conditions that may not become visible for years. Professional assessment includes moisture meter readings of roof decking, rafters, and existing insulation, plus borescope inspection of wall cavities where retrofit is contemplated. These tools inform the scope of work before materials are ordered.
HERS Rater Certification
For insulation work that’s part of a Title 24 compliance path - common when solar installation, HVAC replacement, or addition construction triggers energy code requirements - a certified HERS rater must verify installation quality. This includes visual inspection of insulation grade (no gaps, voids, or compression), confirmation of labeled R-value, and blower-door testing where required. Homeowners cannot self-certify.
Cost Comparison: DIY vs Professional in Cupertino
Cost is where most homeowners start their analysis, and it’s where the DIY-vs-professional distinction often becomes misleading - our insulation cost breakdown for Cupertino homeowners breaks down the real numbers. The sticker price of materials and rental equipment doesn’t capture the full cost of errors, rework, and missed opportunities.
DIY Blown-In Cellulose: A Realistic Budget
| Item | Cost Range |
|---|---|
| Cellulose (30 bags, ~1,000 sq ft at R-49) | $450-$600 |
| Blower rental (2 days) | $75-$125 |
| Respirator, goggles, coveralls, gloves | $60-$100 |
| Walkboards or plywood (to avoid compression) | $80-$150 |
| Baffles (50 linear feet of eave) | $40-$75 |
| Attic hatch weatherstripping kit | $25-$50 |
| Subtotal | $730-$1,100 |
This assumes you already own a staple gun, utility knives, and basic hand tools. It assumes no air sealing materials (caulk, foam, fire-stop putty) because most DIYers skip this step entirely. It assumes no permit fees, no inspection corrections, and no rework.
Professional Air Sealing + Insulation: What the Price Includes
Most complete attic jobs in Cupertino - air sealing, blower-door verification, and blown-in insulation to R-49 in a 1,500-2,500 square foot home - run between $3,200 and $5,800. The variation depends on:
- Accessibility (truss height, joist spacing, existing obstructions)
- Current insulation condition (removal adds $1.50-$2.50 per square foot)
- Recessed light count and type (replacement of non-IC cans adds $85-$150 per fixture)
- Chimney chase and duct boot complexity
- Ventilation correction needs (baffles, ridge vent modifications)
What the professional price includes that DIY doesn’t: documented air sealing with before-and-after blower-door numbers, permit handling and inspection scheduling, HERS rater coordination where required, material warranty (Knauf and CertainTeed both offer performance warranties on professionally installed products), labor warranty under the 365-Day Done Right Promise, and the Documented Photo Record you receive at completion.
The Hidden Cost of DIY Errors
We’ve corrected DIY insulation work in Cupertino homes where the homeowner spent $900 on materials and rental, then paid us $4,200 to remove the insulation, properly air seal, and reinstall. The total outlay exceeded professional installation from the start, and the home had lived with compromised performance for the intervening years. In one Rancho Rinconada home, unsealed top plates buried under DIY cellulose required complete removal to access - a cost that wouldn’t have existed if air sealing preceded insulation.
Under Haven Standard: Written Price Before Any Work Starts, always. We provide a flat price for the complete scope, including any correction of existing DIY work, before anyone lifts a tool. No surprises, no callback pricing.
Common Mistakes to Avoid
- Blowing insulation over unsealed can lights. In Cupertino’s Eichler-influenced homes and 1970s ranches, non-IC recessed lights are common. Burying them in cellulose creates a fire hazard that may not manifest until years later. Always verify IC rating before insulating, or hire a professional who will.
- Walking on installed batts or blown-in material. Every footstep compresses fiberglass or cellulose, permanently reducing R-value. Plan your work path before starting, and never re-enter a finished attic without walkboards.
- Blocking soffit vents with insulation or collapsed baffles. Cupertino’s summer attic temperatures exceed 130°F; without continuous ventilation from soffit to ridge, moisture accumulates in winter and heat degrades shingles in summer. Baffles must be secured to the roof deck, not just placed in the eave.
- Ignoring the attic hatch after insulating the floor. A super-insulated attic with an unsealed hatch performs like a bucket with a hole in the bottom. The hatch assembly needs the same R-value and airtightness as the surrounding ceiling.
- Mixing insulation types without understanding vapor profiles. Adding fiberglass batts over cellulose, or vice versa, can create interstitial condensation if the vapor permeances don’t align. In Cupertino’s mild climate this is less severe than in humid regions, but it’s still a risk in homes with elevated indoor humidity.
- Skipping permit research because “it’s just insulation.” Santa Clara County and Cupertino have specific triggers for insulation permits, especially when work is part of a larger energy upgrade or involves spray foam. Unpermitted work can complicate future sales, insurance claims, or solar interconnection.
- Assuming more insulation is always better. Over-insulating beyond the point of diminishing returns wastes money and can compress existing material or block ventilation. Title 24 specifies target R-values by climate zone; Cupertino is in Zone 4, where attic R-38 to R-49 is optimal for most construction types.
When to Call a Professional
Call a professional when the work crosses into air sealing, spray foam, permit-required territory, or any condition where you can’t verify your own results. Specifically: if your attic has unsealed top plates, non-IC can lights, or visible moisture damage; if you’re considering spray foam for any application; if your home was built before 1990 and may have asbestos-containing insulation; if the work is part of a solar, HVAC, or addition project requiring HERS verification; or if you simply want documented proof that the work performed the way it was designed to.
Spray foam insulation in Cupertino requires professional application for chemical safety, fire rating, and warranty eligibility. Topside Attic Insulation Cupertino home services include free estimates with written pricing before any work starts. Call (831) 217-8521 to schedule - a live person answers 24/7, and we offer a Free Second Opinion on any written estimate you’ve already received.
Frequently Asked Questions
Most complete attic jobs in Cupertino run $3,200-$5,800 for air sealing, blower-door verification, and blown-in insulation to R-49 in a typical 1,500-2,500 square foot home. Removal of existing insulation adds $1.50-$2.50 per square foot. We provide a flat written price before any work starts - no estimates that balloon at completion. For more guides & resources, visit our blog, or call (831) 217-8521 for a free estimate with exact numbers for your home.
Technically yes, but practically it’s the most expensive sequence. Once insulation covers the attic floor, every air leak becomes harder to locate and significantly more costly to seal. The correct sequence is air seal first, insulate second, verify always. If you’ve already added insulation, we can still perform air sealing, but expect 30-50% higher labor costs for removal and reinstallation. We recommend the hybrid approach instead: you prep, we seal and insulate.
It depends. Adding depth to existing insulation in an unaltered attic typically doesn’t require a permit. However, if the work changes the energy compliance status of your home - common when insulation is part of a solar installation, HVAC replacement, or addition - Title 24 requires HERS verification and often a permit. Spray foam always requires a permit in Santa Clara County. When in doubt, Cupertino Building Division can confirm; we handle permit research and application as part of our scope.
Blowing cellulose over an unsealed attic floor. We’ve corrected this in homes throughout Monta Vista, Rancho Rinconada, and the older neighborhoods near Stevens Creek Boulevard. The homeowner sees a thick, even layer and assumes the job is done, but the blower-door test tells the real story: 4,000+ CFM50 with no improvement from the “upgrade.” The insulation is performing as an air filter, not a thermal barrier, and the air leaks are now buried under material that costs extra to remove.
No. Two-component polyurethane spray foam requires respirators with supplied air, substrate temperature control, precise mixing ratios, and post-application off-gassing protocols. Off-ratio foam crumbles, fails to adhere, or produces toxic vapors. Icynene and Demilec, two leading manufacturers, void their warranties on homeowner-applied product. Professional application is the only path to performance and safety.
You don’t, without a blower-door test. Visual inspection can identify obvious gaps - around the attic hatch, at plumbing vents, at chimney chases - but top plate leakage and recessed light bypasses are invisible from the attic side. A smoke pencil or incense stick can reveal active air movement on a windy day, but this is qualitative, not quantitative. The only verification is pressurization testing. We include before-and-after blower-door numbers on every applicable job so you can see the exact performance change.
The Bottom Line
The DIY-vs-professional question for insulation isn’t about whether you’re handy enough to run a blower or place batts. It’s about whether you can verify that the work actually performed as designed - and whether the most consequential step, air sealing at the attic plane, was executed correctly before insulation covered it. In Cupertino’s climate, with its specific code requirements and housing stock, the viable DIY zone is narrow: add depth to an already-sealed attic, replace the hatch, install batts in a clean crawlspace. Everything else - especially air sealing, spray foam, and permit-required work - belongs with a professional who provides documented verification. The hybrid approach splits the difference intelligently: you prep, we execute and verify, and you receive the blower-door numbers that prove the investment worked.
Written by Wes Okafor, Owner at Topside Attic Insulation Cupertino, serving Cupertino since 2016.