
Last updated September 24, 2026
The Complete Guide to Insulation in Cupertino
Here’s a number that surprises most Cupertino homeowners: a brand-new layer of attic insulation installed over an unsealed top plate can still lose 30% of conditioned air before it ever reaches the living space. The fiberglass or cellulose is doing its job, but the building envelope is not. In our work across Cupertino, from the 1960s ranches near Rancho Rinconada to the newer production builds off Stevens Creek Boulevard, we’ve seen blower-door readings of 8-12 ACH50 in homes where owners assumed “mild climate” meant “good enough.” This guide maps every insulation decision to the specific assemblies, R-values, and air-sealing checkpoints that matter in a Santa Clara Valley Mediterranean climate, not generic national advice.
Quick Answer
Proper insulation in Cupertino requires sealing the attic plane first, then installing insulation to R-38 or above in vented attics, R-13 to R-19 in walls, and addressing crawlspace or slab-edge conditions with appropriate vapor management. The critical difference between a code-minimum job and a performance job is the blower-door number: a well-sealed 1,800 square foot Cupertino home should test below 5 ACH50, not the 8-12 we commonly measure in unsealed houses. Materials that perform well here include blown-in fiberglass, dense-pack cellulose, and open-cell spray foam, with selection depending on assembly access and moisture risk.
Table of Contents
- Why California’s Title 24 Is a Floor, Not a Target
- How to Read a Blower-Door Result: ACH50 vs. CFM50
- The Three Insulation Assemblies That Matter in Cupertino
- Why Air Sealing Must Precede Insulation Installation
- Material Comparisons Tied to Local Conditions
- What Documentation a Homeowner Should Walk Away With
- Costs and Timelines for Cupertino Insulation Projects
- Common Mistakes to Avoid
- When to Call a Professional
- Frequently Asked Questions
 Before
 After
AfterWhy California’s Title 24 Is a Floor, Not a Target
California’s Title 24 Building Energy Efficiency Standards set minimum R-values for insulation: R-38 for vented attics in climate zone 4, where Cupertino sits, R-13 for 2×4 walls, R-19 for 2×6 walls. These numbers are legal minimums. They are not performance targets, and in many Cupertino homes, they are not enough.
The performance gap shows up in two house types we work on regularly. A 1960s ranch near Rancho Rinconada with original R-19 attic insulation, unsealed top plates, and can lights cut into the ceiling will perform worse than a 2010s build off Stevens Creek Boulevard with R-38 and proper air sealing, even if both technically “meet” or exceed the code that applied when built. The difference is the air barrier, not the insulation depth.
Title 24 also does not account for what we call the “Cupertino stack effect.” Our mild winters and warm, dry summers create less dramatic temperature differentials than Sacramento or Fresno, so homeowners feel less urgency. But the physics don’t change: warm air still rises, pressure differentials still drive exfiltration through the attic plane, and Pacific marine air still carries moisture into crawlspaces on foggy mornings. The penalty for poor envelope performance is lower utility bills than the Central Valley, yes, but higher than they should be, plus comfort complaints in shoulder seasons when the furnace or heat pump short-cycles.
We recommend treating Title 24 as the starting point. For attic floors in Cupertino, we typically specify R-38 to R-49 depending on access and framing depth. For walls, especially in homes with uninsulated 2×4 cavities, dense-pack cellulose or Rockwool batts installed with air-sealing prep at the top plate will outperform code minimum by a measurable margin. The documentation matters here: a blower-door test before and after shows the difference in a single figure, not a feeling.
How to Read a Blower-Door Result: ACH50 vs. CFM50
A blower-door test is a pressurization reading that shows, in one number, how much air your building envelope is losing. Two figures appear on every report we deliver: CFM50 and ACH50. They measure the same phenomenon differently, and understanding both matters when you’re evaluating a Cupertino home.
CFM50 stands for cubic feet per minute at 50 Pascals of pressure. It measures the raw airflow through leaks at a standardized test pressure. A typical 1,800 square foot single-story Cupertino home with moderate leakage might read 3,500 CFM50 before work. After sealing and insulating, we’d expect 1,800 CFM50 or lower.
ACH50 is air changes per hour at 50 Pascals. It normalizes the CFM50 reading against the home’s volume, so you can compare a compact 1,200 square foot bungalow to a sprawling 3,000 square foot two-story. For Cupertino homes, we use these benchmarks:
- Below 3 ACH50: tight envelope, often requires mechanical ventilation
- 3-5 ACH50: good performance target for most retrofits
- 5-7 ACH50: moderate leakage, common in 1980s-2000s construction
- Above 7 ACH50: significant leakage, comfort and efficiency penalties likely
In our experience across Cupertino neighborhoods, 1960s ranches with original construction and no prior air sealing typically test at 8-12 ACH50. Newer production homes from the 2000s and 2010s often land at 5-7 ACH50, not because they’re well sealed but because they’re smaller and more compact. The 2010s build off Stevens Creek Boulevard we mentioned earlier tested at 6.2 ACH50 despite its age, entirely due to unsealed can lights and a leaky attic hatch.
The value of these numbers is that they remove guesswork. “The house feels drafty” is subjective. “The blower door read 4,200 CFM50 before sealing and 2,100 after” is evidence. Under Haven Standard, we publish these numbers on every applicable job so homeowners can verify the performance change they paid for.
The Three Insulation Assemblies That Matter in Cupertino
Cupertino’s climate, building stock, and soil conditions make three assemblies the priority for insulation work. Everything else is secondary unless a specific problem exists.
1. Vented Attic Floor
The attic floor is the most cost-effective insulation target in most Cupertino homes. Warm air rises, pressure drives it through ceiling penetrations, and the attic in a typical Rancho Rinconada ranch can reach 140°F on a July afternoon. Insulating the attic floor, not the roofline, keeps the thermal boundary at the ceiling plane where it belongs in a vented assembly.
Material options for Cupertino:
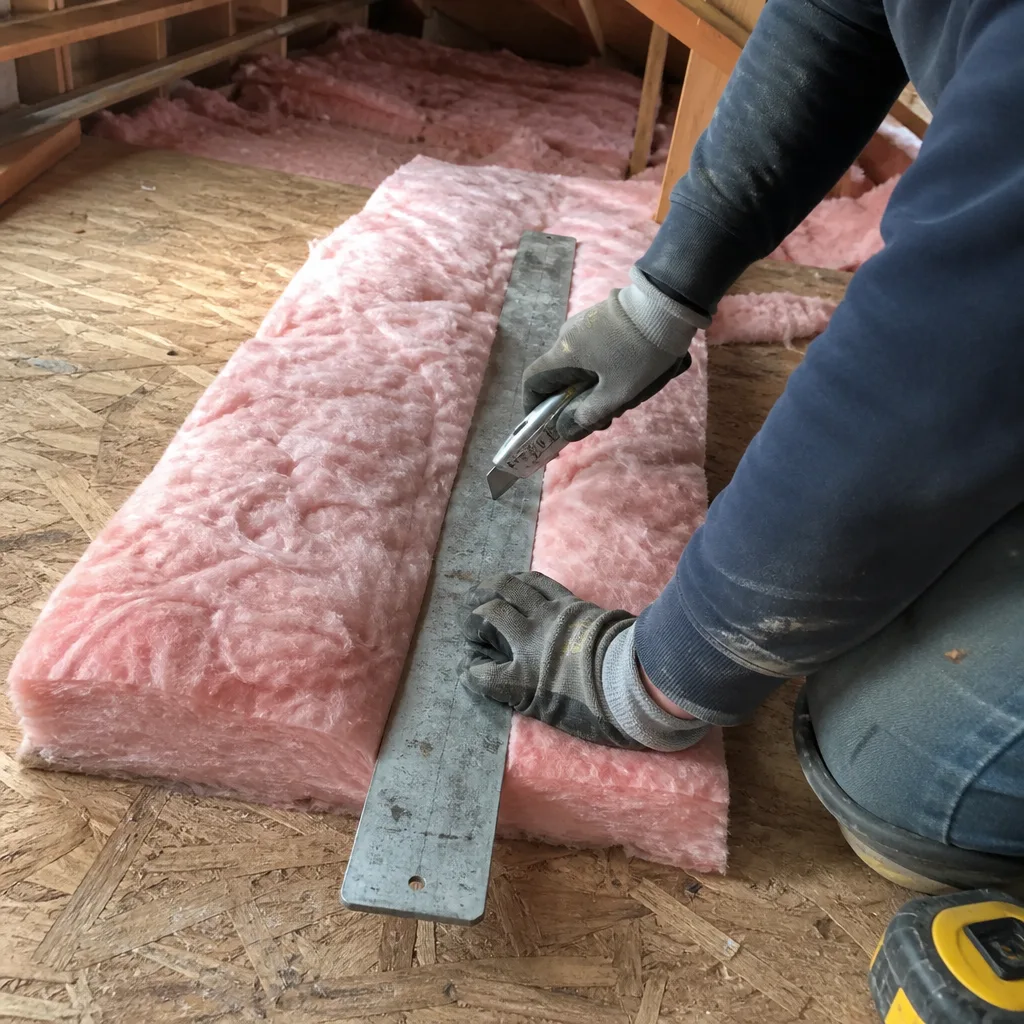
- Blown-in fiberglass (Owens Corning, Johns Manville, Knauf): good coverage, settles minimally, works well for deep fills to R-49. Requires air sealing first.
- Dense-pack cellulose (GreenFiber): higher R-value per inch, better at blocking convective loops, but requires more careful moisture management in fog-season ventilation.
- Open-cell spray foam (Icynene): excellent air sealing and insulation in one pass, ideal for complex framing or limited access. Higher cost, but eliminates separate air-sealing labor.
The vented attic approach assumes the attic itself breathes through soffit and ridge vents. In Cupertino’s dry climate, this works well. In fog-adjacent pockets near the foothills, we check for moisture accumulation before specifying cellulose.
2. Wall Cavities
Wall insulation in Cupertino is often overlooked because attic work delivers faster payback. But uninsulated 2×4 walls in 1960s and 1970s construction create noticeable comfort complaints on east and west exposures, especially in homes without exterior shading.
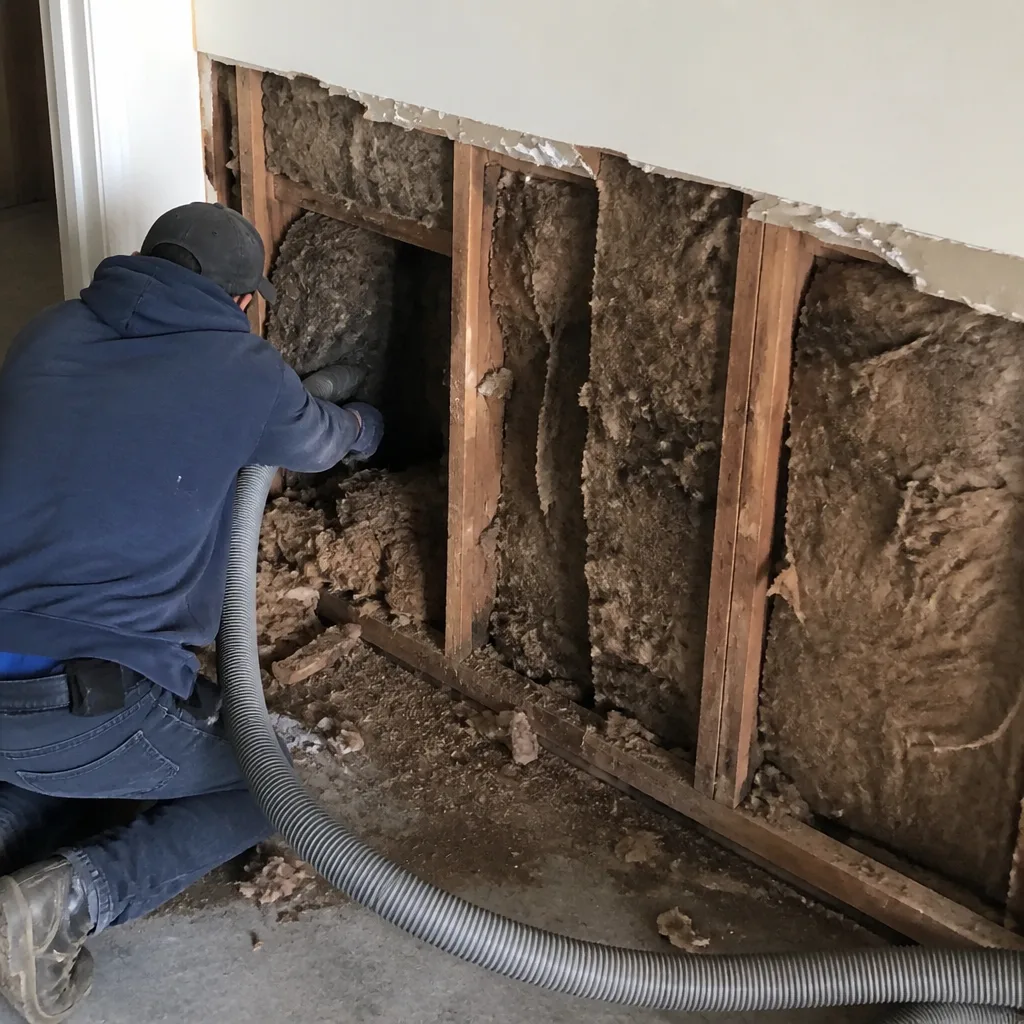
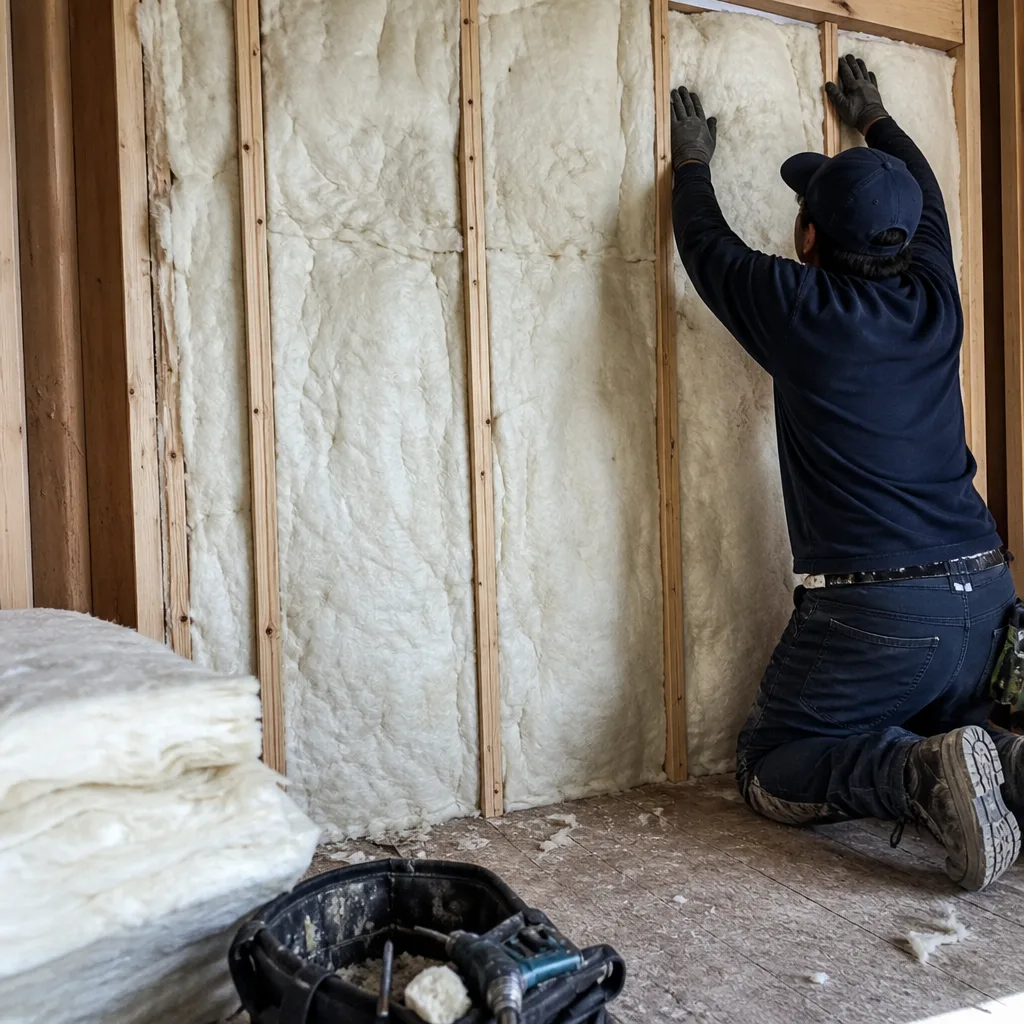
For retrofit wall insulation, dense-pack cellulose or Rockwool installed through exterior access holes is the standard approach. Rockwool, a mineral wool product, offers fire resistance and better sound attenuation than fiberglass, which matters in Cupertino’s denser neighborhoods near the Village or along De Anza Boulevard where lot lines are tight.
Walls require air sealing at the top plate before insulation. We’ve opened wall cavities in Cupertino homes where insulation was blown in over a gap at the top plate, creating a direct air channel into the attic. The insulation was present. The performance was not.
3. Crawlspace or Slab Edge
Cupertino’s soil is clay-heavy in many areas, and winter groundwater can elevate crawlspace moisture. A vented crawlspace with a dirt floor and uninsulated joists is common in 1960s construction. In newer homes, slab-on-grade with minimal edge insulation creates thermal bridging at the foundation perimeter.
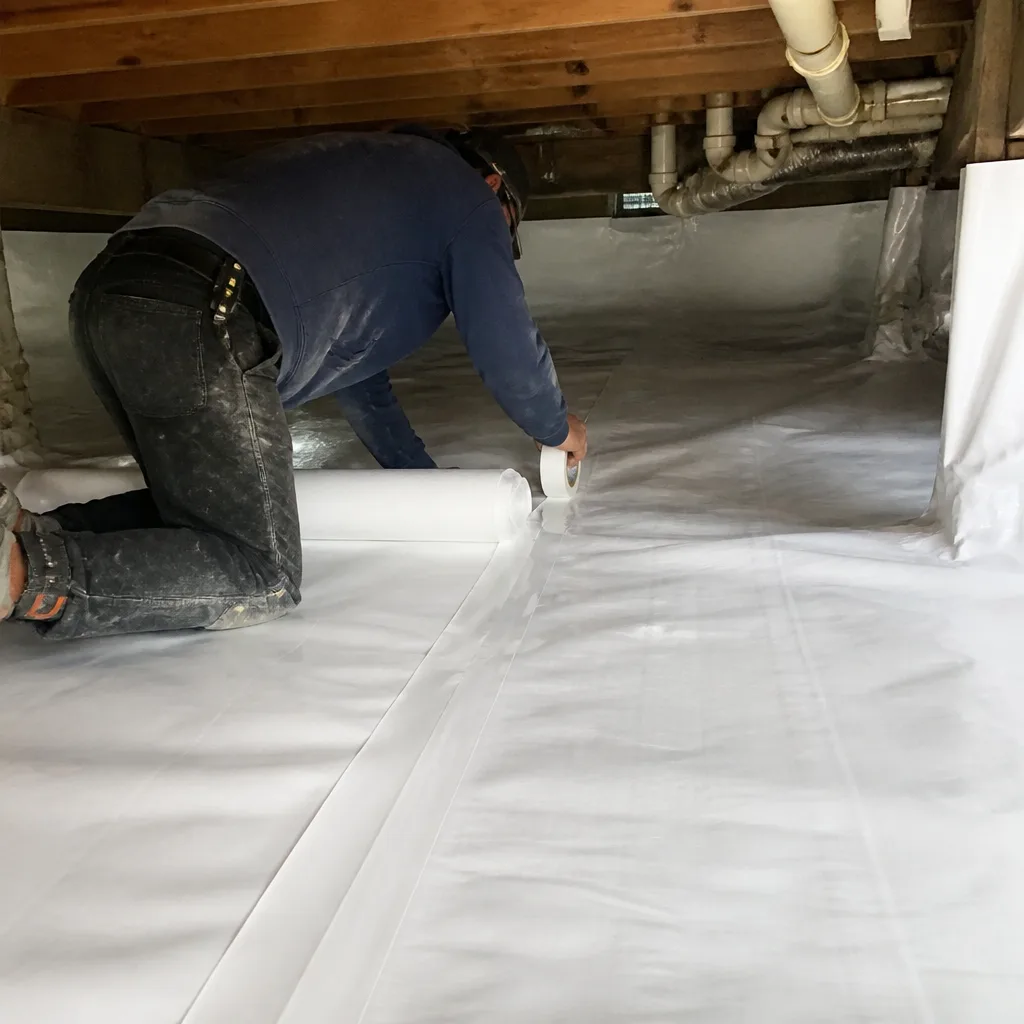
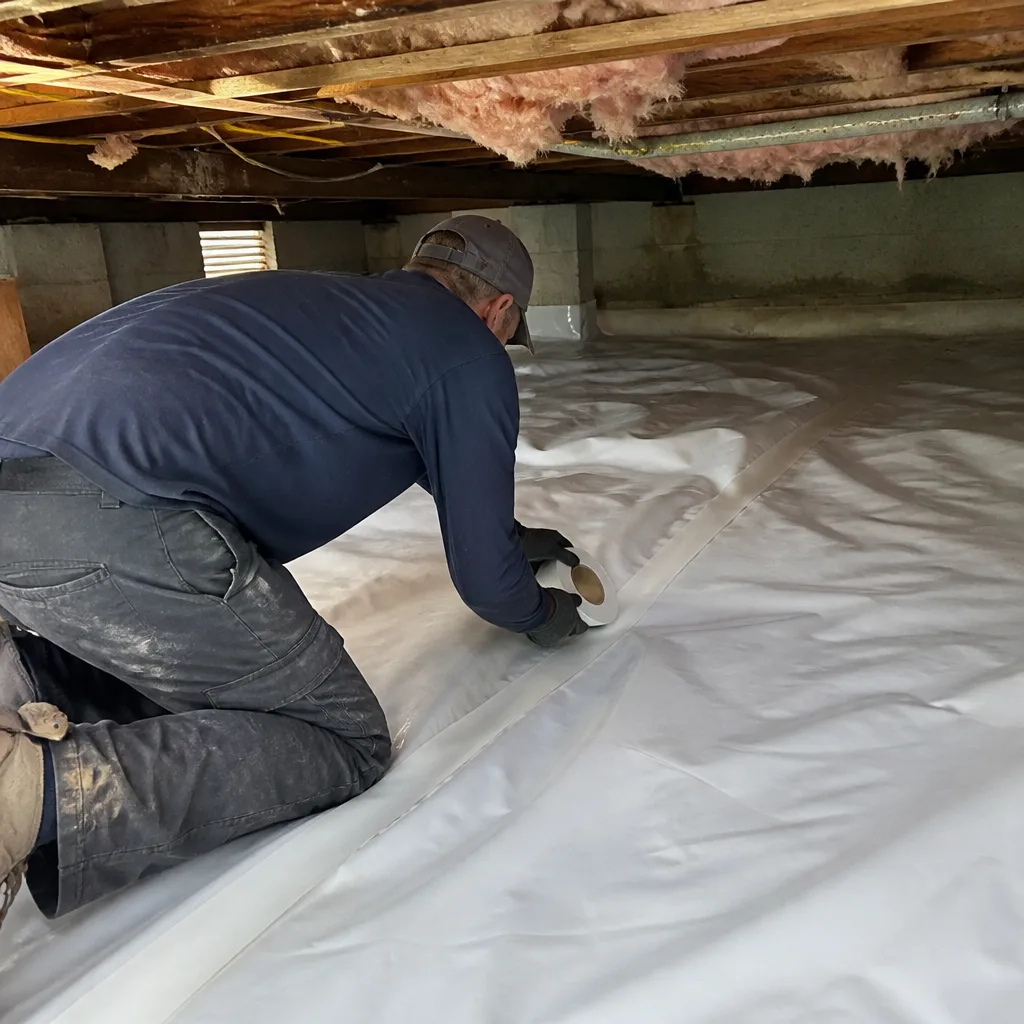
For crawlspaces, we evaluate whether to encapsulate or insulate the floor assembly. Crawl Space Encapsulation & Vapor Barrier in Cupertino addresses the full approach: vapor barrier on the ground, sealed vents, conditioned or semi-conditioned space, and insulation at the walls rather than the floor. This is often the right choice in Cupertino’s clay soils where ground moisture is persistent.
For slab-edge work, excavation and exterior rigid foam is rarely cost-effective as a standalone retrofit. We address it when other foundation work is already occurring, or when the homeowner reports persistent cold floors at perimeter walls.
Why Air Sealing Must Precede Insulation Installation
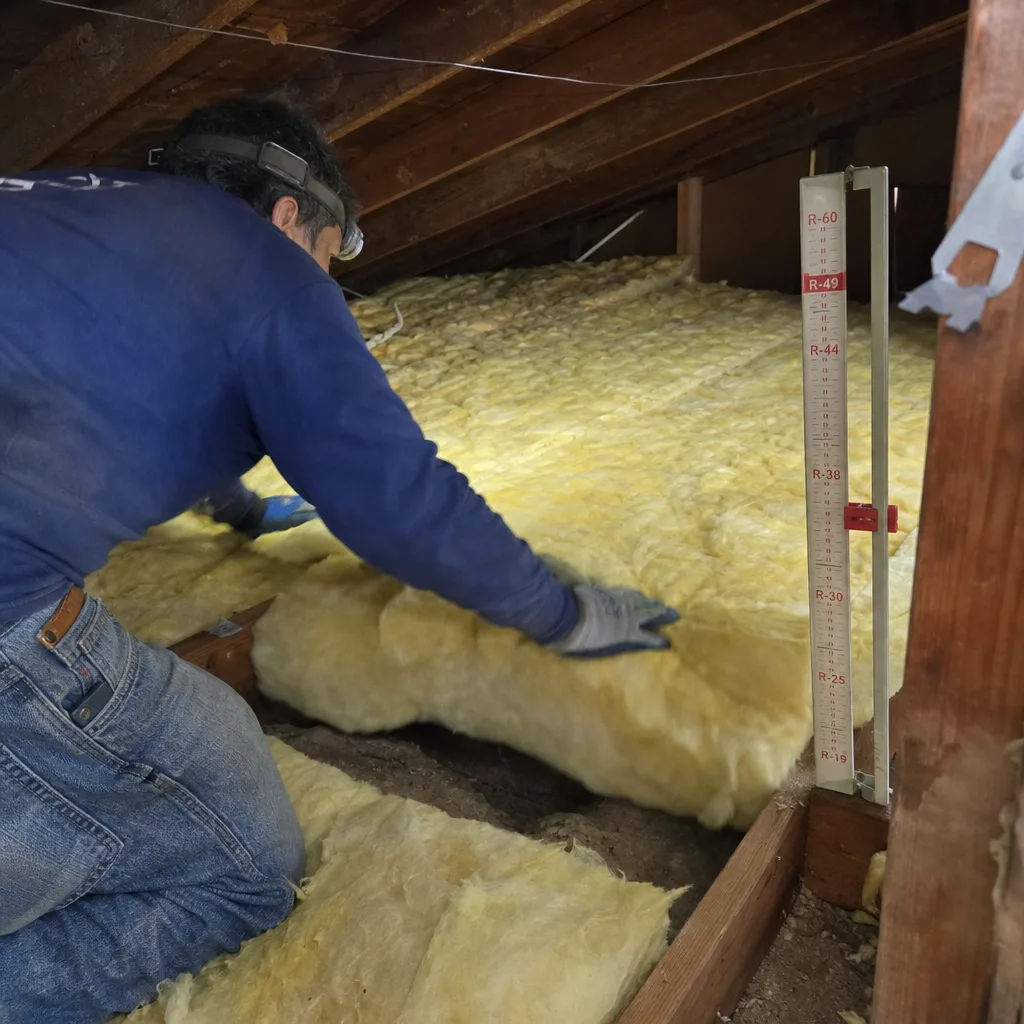
This is the core of our approach, and it’s non-negotiable. We will never blow insulation over an unsealed attic floor. The sequence matters because insulation does not stop air movement. Fiberglass and cellulose are air-permeable. Spray foam is both insulation and air barrier, but even open-cell foam requires prep at large gaps and penetrations.
The critical air-sealing checkpoints in a typical Cupertino attic:
- Top plates - the horizontal framing member where wall studs meet the ceiling. In platform-framed homes, this is a continuous gap around the perimeter of every exterior wall.
- Recessed can lights - especially older non-IC-rated fixtures that penetrate the thermal envelope. These are direct air passages into the attic and fire hazards if covered with insulation.
- HVAC penetrations - flex duct boots, plenum connections, and platform returns that break the ceiling plane.
- Attic access hatch or pull-down stair - often the single largest unsealed opening in the attic plane.
- Chimney and flue penetrations - require fire-rated sealants and metal flashing, not foam.
- Wiring and plumbing penetrations - individually small, collectively significant.
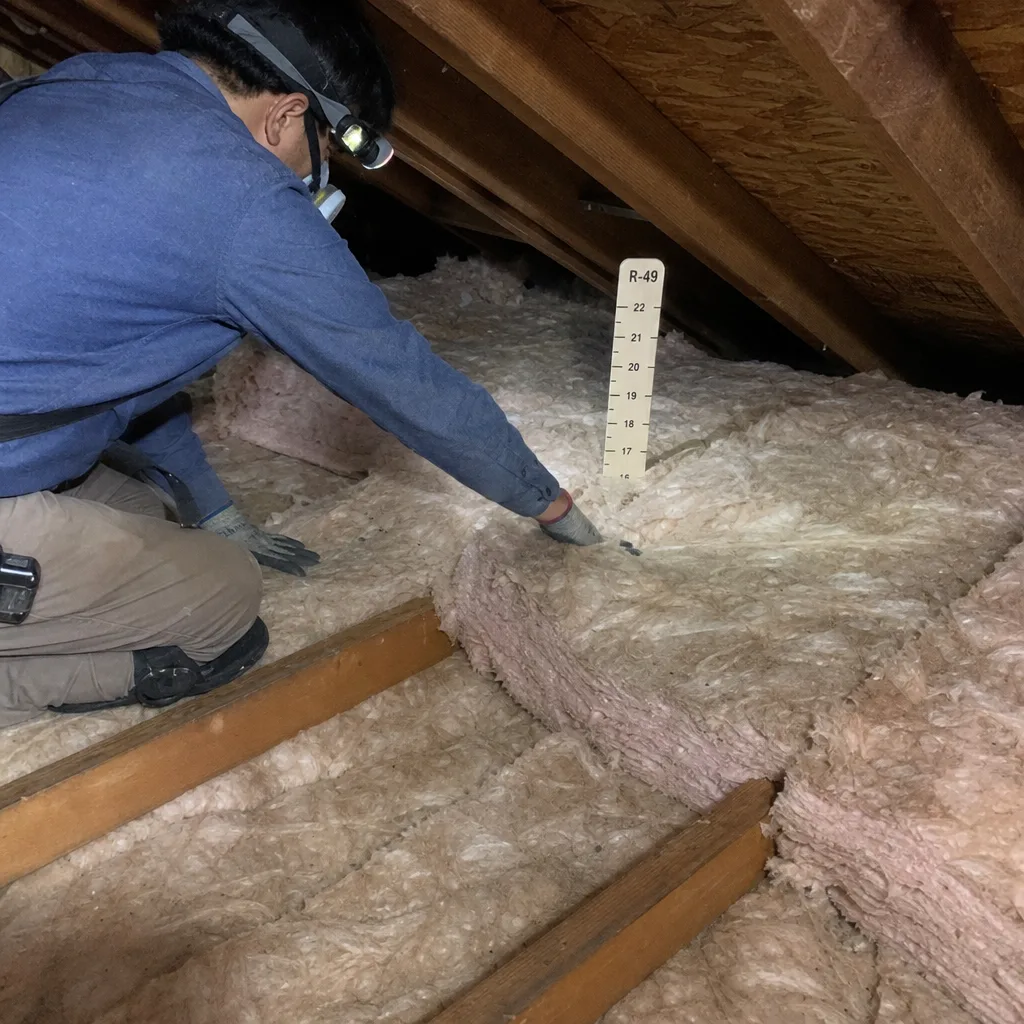
We complete all six checkpoints before any insulation is added. The blower-door test confirms the result. In a recent job on a 1972 ranch near McClellan Ranch Preserve, the pre-sealing reading was 4,800 CFM50. After sealing top plates, 14 can lights, and two HVAC platforms, the reading dropped to 2,400 CFM50. Only then did we blow cellulose to R-49. The post-insulation blower-door reading was 2,350 CFM50, confirming that the insulation itself did not compromise the air barrier.
Contractors who skip this sequence deliver a thicker blanket over the same leaks. The homeowner sees insulation depth, assumes performance, and pays for BTUs that exit through the attic before reaching the living space. If you’re weighing options, our DIY vs Professional Insulation: The Cupertino Homeowner’s Decision Guide covers what this sequence requires. Under Haven Standard, the written scope specifies sealing before insulation, and the blower-door report proves it happened.
Material Comparisons Tied to Local Conditions
Cupertino’s Mediterranean climate - warm, dry summers, mild winters, occasional winter fog, minimal freezing - shapes material selection differently than hot-humid or cold-dry zones. Here’s how we evaluate options for local conditions.
| Material | Best Application in Cupertino | Local Consideration | Typical Installed Cost Range |
|---|---|---|---|
| Blown-in fiberglass | Open attic floors, deep fills to R-49 | Low moisture absorption, good for fog-season ventilation | $1.50-$2.50/sq ft of attic floor |
| Dense-pack cellulose | Wall cavities, sloped ceilings | Higher R/inch, requires vapor management in crawlspaces | $2.00-$3.50/sq ft of wall area |
| Open-cell spray foam (Icynene) | Complex framing, limited access, air sealing priority | Breathable, good for mixed-humidity shoulder seasons | $3.50-$5.50/sq ft at 5.5 inches |
| Closed-cell spray foam (Demilec) | Rim joists, crawlspace walls, moisture-prone areas | Vapor barrier and insulation in one, higher cost | $5.00-$7.50/sq ft at 3 inches |
| Rockwool batts | Wall retrofits, fire-rated assemblies, sound control | Non-combustible, good for tight lot lines near property boundaries | $2.50-$4.00/sq ft of wall area |
| Radiant barrier | Vented attics with significant ductwork | Reduces radiant heat gain on ducts; less effective in mild climates than hot-humid zones | $0.75-$1.50/sq ft of roof deck |
We source materials from Owens Corning, Johns Manville, Knauf, Rockwool, CertainTeed, Icynene, Demilec, and GreenFiber. No proprietary product lock-in means we specify what performs for the assembly, not what a manufacturer requires us to sell.
A note on radiant barriers: in Cupertino’s climate, the payback is longer than in Phoenix or Sacramento. We recommend them when the attic contains significant ductwork that can’t be relocated, or when the roof color is dark and cooling loads are already elevated. They are not a substitute for proper insulation depth and air sealing.
What Documentation a Homeowner Should Walk Away With
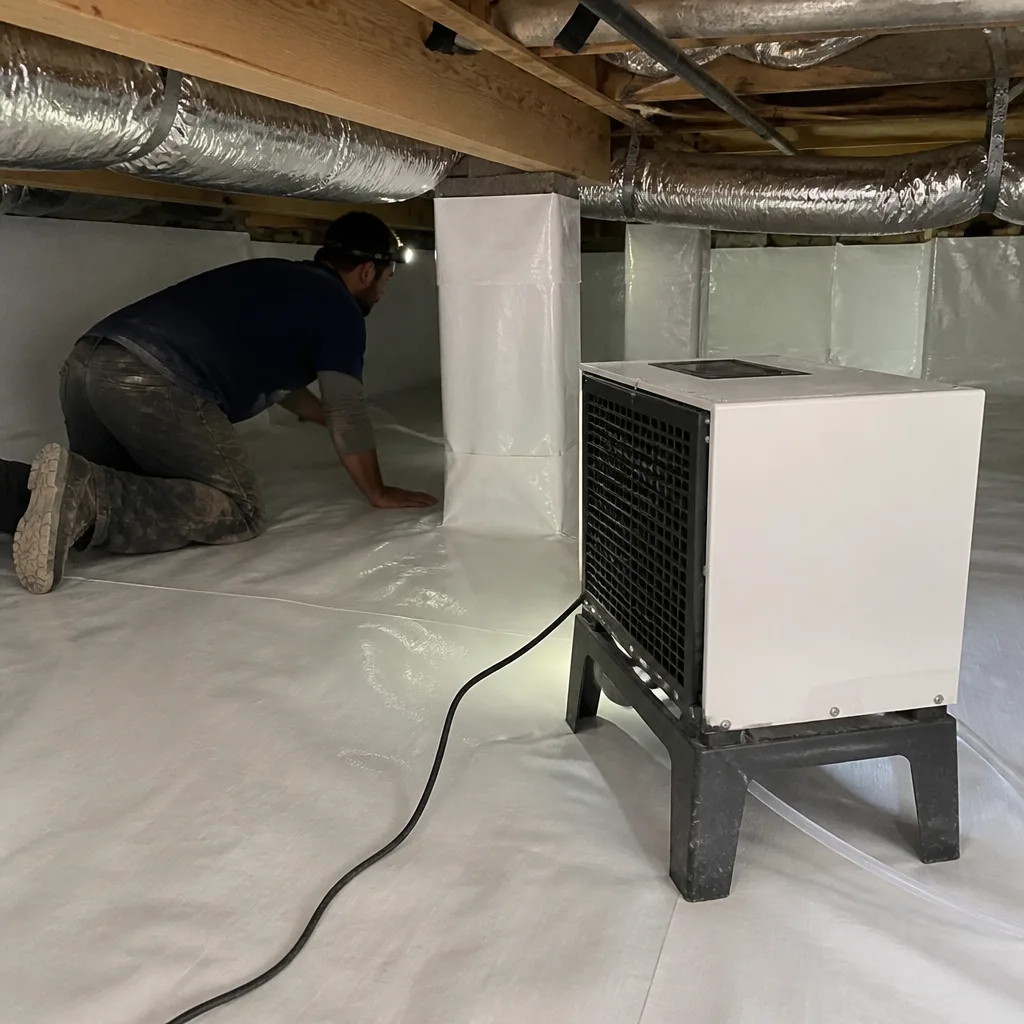
The end of a job should be as documented as the beginning. Under Haven Standard, every homeowner receives specific records before the crew leaves. This is what leaving looks like before we arrive.
Blower-door report - On applicable jobs, the before-and-after pressurization readings in CFM50 and ACH50, with test conditions noted (indoor/outdoor temperature, wind speed). This is the single figure that proves the air-sealing result.
Thermal imaging photos - Infrared images of critical junctions (attic access, top plates, can lights) taken before and after work. These show insulation continuity and air-leak patterns that visible light cannot.
Material spec sheets - Manufacturer data for the insulation installed, including R-value, coverage, and any handling or safety notes relevant to future work.
Written scope and written warranty - Haven Standard Clause 1: flat price, written scope, written warranty before anyone lifts a tool. The homeowner already has this from the start, but the final copy confirms completion against that scope.
Permit closeout - For jobs requiring Santa Clara County or City of Cupertino permits, documentation that inspections passed and the permit is finaled. We handle permit submission and scheduling as part of our standard process.
Documented Photo Record - Included on every job, not available on request. Photos of the work area before, during, and after, with specific attention to air-sealing details and insulation depth markers.
These documents serve two purposes. They prove the work was done to specification. And they protect the homeowner’s investment at resale, when a buyer’s inspector or appraiser asks about insulation and air-sealing history.
Costs and Timelines for Cupertino Insulation Projects
Pricing insulation work requires seeing the assembly. Anyone who quotes a flat rate over the phone without site assessment is guessing, and guessing contradicts Haven Standard Clause 1. That said, we can share ranges from recent Cupertino jobs so homeowners know what to expect before scheduling a free estimate; for a deeper dive, see our Insulation Cost Breakdown: The Cupertino Homeowner’s Reference for 2026.
Attic insulation with air sealing - Most attic jobs in a typical 1,500-2,000 square foot Cupertino single-story run between $3,500 and $7,500. This includes blower-door-guided air sealing at top plates, can lights, and penetrations, plus blown-in fiberglass or cellulose to R-38 to R-49. Complex framing, extensive can-light replacement, or contaminated insulation removal adds to this range.
Wall insulation retrofit - Dense-pack cellulose or Rockwool in exterior walls of a 1,800 square foot home typically runs $4,000 to $8,000, including exterior access hole repair. Interior access through drywall is less common due to finish repair costs.
Crawlspace encapsulation - Full encapsulation with vapor barrier, wall insulation, and sealed vents in a typical Cupertino crawlspace runs $6,000 to $12,000, depending on area, height, and existing conditions. Crawl Space Encapsulation & Vapor Barrier in Cupertino covers the full scope.
Spray foam insulation - Spray Foam Insulation in Cupertino ranges from $4,500 for targeted applications (rim joists, limited attic access) to $15,000+ for full attic or roofline treatment in larger homes.
Timelines: most attic jobs complete in one to two days. Wall retrofits take two to four days including access and repair. Crawlspace encapsulation runs three to five days. We schedule a named technician, send a text when they’re on the way, and arrive on schedule under Haven Standard.
Every estimate is free, and we offer a Free Second Opinion on any written estimate from another contractor. Bring us a competing quote and we’ll read it with you, or consult our How to Hire a Insulation Contractor in Cupertino: A Step-by-Step Guide beforehand.
Common Mistakes to Avoid
- Insulating before air sealing. New insulation over unsealed top plates and can lights delivers a fraction of its rated performance. The attic looks full, the blower door tells the truth.
- Treating Title 24 as sufficient. Code minimums are legal thresholds, not comfort or efficiency targets. A 1960s Cupertino ranch at R-19 will underperform a sealed R-38 home by a margin the utility bill will show.
- Ignoring the crawlspace. Clay soils and winter moisture in Cupertino create conditions where an unsealed crawlspace degrades floor insulation and indoor air quality. Encapsulation is often the right call, not an upsell.
- Installing recessed can lights without air-sealing prep. IC-rated airtight cans exist for a reason. Standard cans in a conditioned ceiling are direct leaks into the attic.
- Skipping blower-door verification. Without a number, you’re buying a feeling. The ACH50 reading proves the envelope performs.
- Choosing insulation material by price alone. The lowest bid often skips air sealing, uses thinner coverage, or omits documentation. Compare written scopes line by line, not bottom-line numbers.
- Neglecting permit requirements. Santa Clara County and City of Cupertino require permits for many insulation projects. Unpermitted work can complicate resale and insurance claims.
When to Call a Professional
Call when the blower-door number is unknown, when the attic has never been air-sealed, when comfort complaints persist despite “adequate” insulation depth, or when you’re evaluating a competing quote and want a documented second opinion. For more guides & resources, visit our blog. Topside Attic Insulation Cupertino offers free estimates in Cupertino, and we answer calls with a live person 24/7. Reach us at (831) 217-8521. Every job begins with a written price and ends with a documented record, including before-and-after blower-door numbers on applicable work.
Frequently Asked Questions
Most attic insulation jobs with air sealing in a 1,500-2,000 square foot Cupertino home run between $3,500 and $7,500, depending on access, existing conditions, and material choice. Call (831) 217-8521 for a free written estimate with a flat price before any work starts.
California Title 24 requires R-38 minimum for vented attics in climate zone 4, where Cupertino is located. We typically specify R-38 to R-49 depending on framing depth and performance goals. The R-value matters less than the air-sealing quality beneath it, a 1960s ranch at R-49 with leaks will underperform a sealed home at R-38.
A blower-door test is the only reliable method. In Cupertino, we commonly measure 8-12 ACH50 in unsealed homes from the 1960s and 1970s. If your home has never had targeted air sealing at top plates, can lights, and attic penetrations, it almost certainly needs it before insulation is added or upgraded.
Open-cell spray foam is worth considering when attic access is limited, framing is complex, or air sealing is the primary goal. In Cupertino’s Mediterranean climate, the payback period is longer than in extreme climates, but the comfort improvement and air-quality benefit from a tight envelope are immediate. We specify Icynene open-cell and Demilec closed-cell depending on assembly and moisture conditions.
DIY blown-in or batt installation is possible for simple, accessible attics, but we do not recommend DIY air sealing. The work involves working near electrical penetrations, identifying IC-rated vs. non-IC-rated can lights, and applying fire-rated sealants at chimney penetrations. A trained professional with blower-door verification delivers a documented result that DIY cannot match. For safety and performance, hire a contractor for any job involving attic air sealing or spray foam.
Santa Clara County and the City of Cupertino require building permits for most insulation upgrades that involve changes to the thermal envelope. We handle permit submission, plan preparation, and inspection scheduling as part of our standard process. The permit closeout documentation is included in the records you receive at job completion.
Most attic insulation with air sealing completes in one to two days. Wall retrofits run two to four days. Crawlspace encapsulation takes three to five days. We provide a written schedule with the written scope before work begins, and we text when the technician is on the way.
The Bottom Line
Cupertino’s mild climate hides envelope problems that show up in blower-door numbers, not dramatic utility bills. The complete approach is: seal first, insulate second, verify with a number. Title 24 is the floor. The three assemblies that matter are attic floor, walls, and crawlspace or slab edge. The documentation you walk away with, blower-door report, thermal images, material specs, and permit closeout, proves the investment performed as specified. Since 2016, we’ve sealed and insulated 9,000+ homes, every one with a written price before work started and a documented record when the crew left. The 365-Day Done Right Promise applies to all completed work. If the envelope isn’t performing, the insulation isn’t finished.
Written by Wes Okafor, Owner at Topside Attic Insulation Cupertino, serving Cupertino since 2016.