
How Much Does Radiant Barrier Installation Cost in Cupertino?
Radiant barrier installation in Cupertino, CA typically costs between $1,400 and $3,200 for a standard single-story home, with most jobs landing around $1,800 to $2,400 when attic access is straightforward and the existing insulation is in reasonable shape. The range widens on two-story homes, complex hip roofs, or attics that need cleaning before the barrier goes in – all common scenarios in the older ranch-style and split-level homes that make up a significant share of the housing stock in neighborhoods like Monta Vista and Rancho Rinconada.
Radiant Barrier Installation Cost Breakdown (2026)
Radiant barrier installation in Cupertino costs break down across a handful of distinct line items for Radiant Barrier Installation services. The figures below reflect what homeowners in the Cupertino market are actually paying in 2026, not national averages pulled from a trade publication.
| Line Item | Typical Range (Cupertino, 2026) | Notes |
|---|---|---|
| Radiant barrier material (foil, perforated) | $0.12 – $0.28 per sq ft | Perforated foil costs slightly more but resists moisture buildup in attics that see morning condensation |
| Labor – straightforward gable-end attic | $900 – $1,400 | Standard open attic, good headroom, no existing debris |
| Labor – complex hip or cathedral roof framing | $1,400 – $2,100 | Common on the mid-century builds in Seven Springs and Rancho Rinconada |
| Attic cleaning / debris removal before install | $300 – $700 | Required if old blown insulation is loose or rodent activity has left debris on the deck |
| Air sealing (top plates, can lights, penetrations) | $400 – $900 | At Envelope Insulation Co., air sealing is done before any insulation or barrier work – not offered as a separate upsell after the fact |
| Whole-project total – 1,200 sq ft attic footprint | $1,400 – $2,600 | Most common single-story scenario in Cupertino |
| Whole-project total – 2,000 sq ft attic footprint | $2,200 – $3,500 | Two-story homes and larger ranch-style builds, often in Fairgrove or Monta Vista |
| Whole-project total – 2,500+ sq ft attic footprint | $2,800 – $4,200+ | Larger custom homes, complex framing, possible multi-zone barrier layout |
A few things push Cupertino jobs toward the higher end of these ranges. First, the Bay Area labor market means installer wages here run higher than they do in the Central Valley or Southern California. Second, a lot of the housing stock in Cupertino was built in the 1960s and 1970s – good bones, but attics that often have inadequate ventilation, older batt insulation that’s compacted over the decades, and penetrations (recessed light cans, HVAC boots, plumbing chases) that were never air-sealed when the home was built. That combination almost always means some prep work before the radiant barrier goes up.
The one cost item homeowners sometimes don’t expect is the air sealing line. Here at Envelope Insulation Co., we don’t install a radiant barrier over an unsealed attic floor. That’s not a philosophical position – it’s a practical one. A radiant barrier reflects radiant heat effectively, but it does nothing to stop conditioned air from escaping through gaps around top plates and ceiling penetrations. If you skip that step, you’re paying for a barrier and still losing air. Under our Haven Standard, the written price you receive before any work starts will always include both line items when both are needed, spelled out separately so you can see exactly what you’re paying for each.
What Affects Radiant Barrier Installation Pricing in Cupertino
- Attic square footage and geometry: Larger attics cost more – that part is obvious. What’s less obvious is that geometry matters as much as size. A 1,600 sq ft attic with a simple gable roof and good standing room installs faster than a 1,200 sq ft hip-roof attic with a low ridge and multiple valleys. Many of the homes in Cupertino’s Fairgrove and Garden Gate neighborhoods have exactly that kind of low-pitch hip framing, which adds time and therefore cost.
- Attic access and headroom: If the only access is a 22-inch pull-down stair in a hallway closet, material handling alone takes significantly longer. Attics with standing room at the peak and multiple access points come in at the lower end of the labor range. We document access conditions during the estimate so there are no surprises on install day.
- Existing insulation condition: A radiant barrier is typically installed on the underside of the roof deck, stapled between the rafters, and it should not be resting on top of attic floor insulation. If the existing blown insulation has settled and is covering the bottom chord of the trusses, or if it’s contaminated, it may need to be cleared or removed first. Attic cleaning in Cupertino runs $300 to $700 depending on volume.
- Ventilation adequacy: Santa Clara County’s climate creates a specific problem: Cupertino’s summers are warm and dry, but mornings can bring enough moisture off the Bay that attics with poor soffit-to-ridge airflow trap humidity against the roof deck. In those attics, a non-perforated foil barrier can accelerate moisture problems. Perforated radiant barrier material – which allows water vapor to pass through while still reflecting radiant heat – costs a bit more per square foot but is the correct specification for many Cupertino attics. We check ventilation ratios during the site visit and write the material spec into the price before any work starts.
- Air sealing scope: The number of unsealed can lights, HVAC penetrations, plumbing chases, and top-plate gaps varies significantly from house to house. A 1970s Cupertino tract home in Rancho Rinconada with original recessed lighting can easily have 30 to 50 can lights, each one a direct conduit to the attic. A more recent build may have far fewer. We count and quote each penetration in writing – you’ll see the number on your written price, not find out after the crew is done.
- Permit requirements: Santa Clara County does not currently require a building permit for radiant barrier installation alone when it’s a replacement or upgrade in an existing attic and no structural work is involved. If the scope includes HVAC duct modifications or attic conversion work, a permit may apply. We flag any permit questions in writing during the estimate phase. Homeowners should confirm current requirements with the City of Cupertino Building Division, since code interpretations can shift.
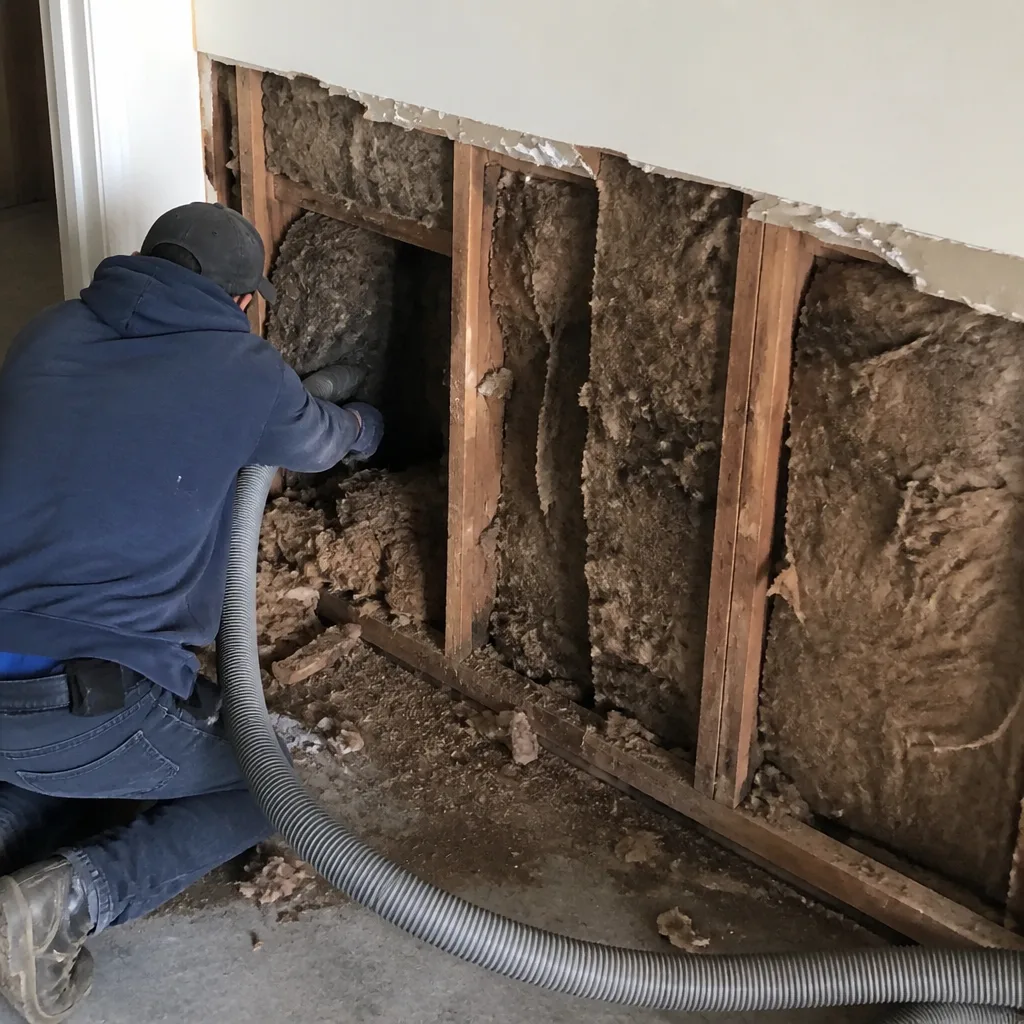 Before
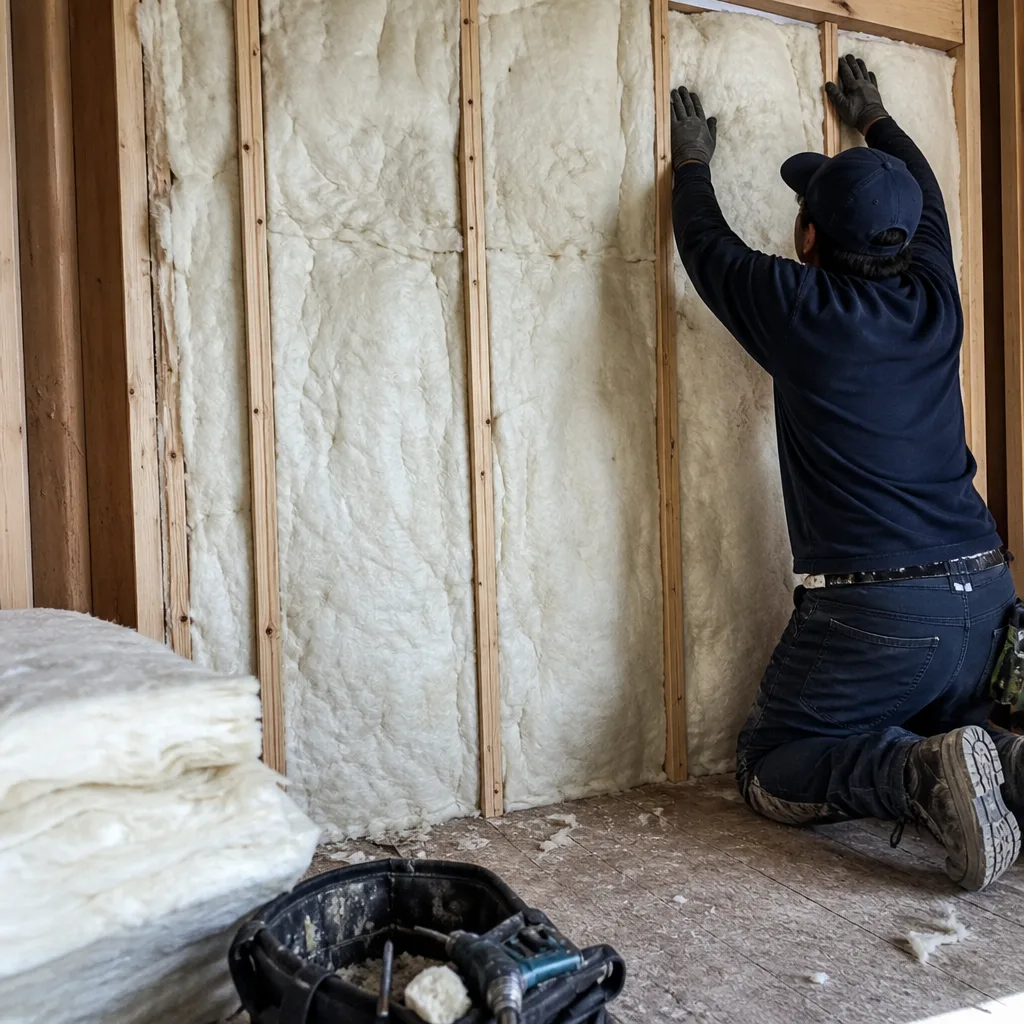 After
AfterHow to Save on Radiant Barrier Installation
The most effective way to control cost on a radiant barrier job in Cupertino is to get the scope right before work starts – not to chase the lowest bid. A quote that omits air sealing or assumes a clean attic when the attic isn’t clean will look cheaper on paper and cost more once the crew finds conditions they didn’t price for. That’s a common pattern, and it’s why we build the written price around what we actually find during the site visit.
That said, here are the approaches that genuinely reduce what you pay:
- Bundle with attic insulation if you need both: If your attic insulation is already undersized or degraded – both common in Cupertino homes built before 1985 – doing the radiant barrier and the insulation in the same mobilization eliminates a second trip charge and reduces total labor cost compared to scheduling them separately. The combined job typically saves $200 to $500 over two separate visits.
- Check PG&E rebates before you commit: Pacific Gas and Electric has offered rebates on attic insulation and air sealing under various energy efficiency programs, and those programs have historically applied to work that improves the building envelope. Radiant barrier alone does not always qualify as a standalone measure, but when paired with insulation or air sealing, the combined scope has qualified under past program rules. Check current program availability at PG&E’s website or ask us to pull the current incentive schedule during your estimate – we’ll document what’s available in writing.
- Schedule during the off-peak window: March through May and September through early November tend to be lighter scheduling periods for attic work in the South Bay. Demand spikes in June when homeowners notice their air conditioning bills, and again in October when overnight temperatures drop. Booking before that urgency sets in sometimes allows more scheduling flexibility and a wider contractor selection to compare.
- Get a second opinion on any written estimate: Under our Haven Standard, we offer a free second opinion on any written estimate you’ve already received. Bring us the competing quote and we’ll read it with you – line by line. We’ll flag anything that looks underscoped, explain the material differences if any, and give you a written price of our own. There’s no obligation. Most homeowners who do this walk away understanding exactly what they’re buying regardless of who they hire, which is the point.
- Don’t skip the air sealing to save money upfront: This one feels counterintuitive, but it’s the most common way homeowners lose money on this type of project. A radiant barrier installed over an unsealed attic floor still allows warm air to flow freely through every gap around ceiling fixtures, top plates, and duct boots. You’ll have reflected radiant heat and a home that still runs hot because the conditioned air is escaping. The barrier is worth less than half its potential value in that scenario. Doing both in one scope is more expensive up front and cheaper over any reasonable payback period.
For a free estimate with a written price before any work starts, call (831) 217-8521. A live person answers – no voicemail loop, no callback window measured in days.
Is a Radiant Barrier Worth It in Cupertino’s Climate?
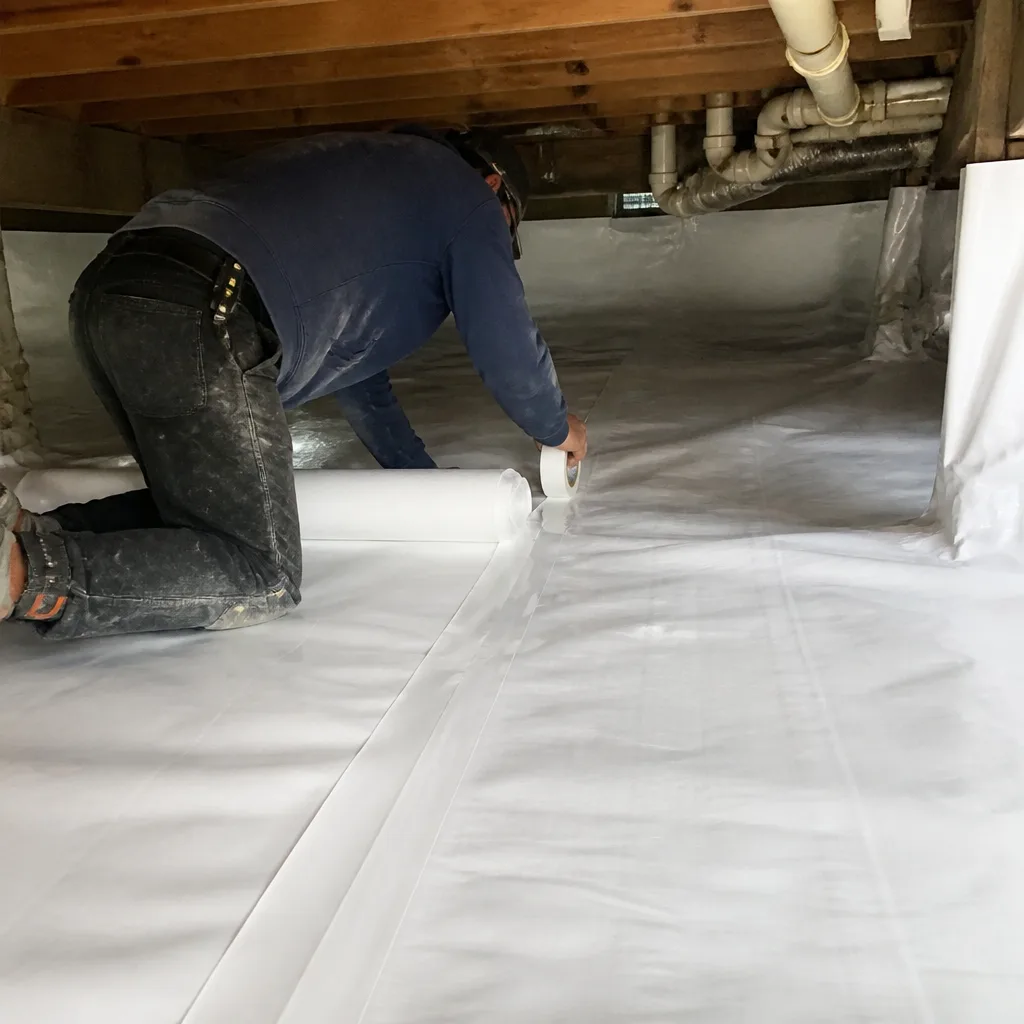
This is a fair question, and the answer is more specific than most contractors will give you. Cupertino sits in a climate zone that’s genuinely different from Phoenix or Sacramento, and the math on radiant barrier payback reflects that difference.
The mechanism: a radiant barrier works by reflecting radiant heat from the underside of the roof deck before it can be absorbed by the attic floor insulation and conducted into the living space below. It’s most effective when the attic is hot and the delta between attic air temperature and outdoor air temperature is large. In Cupertino, summer highs typically reach the mid-80s to low 90s rather than the 105 to 115-degree spikes you’d see in Fresno or Palm Springs. That means Cupertino attics run cooler than inland Valley attics – typically 120 to 135 degrees on a hot July afternoon compared to 150+ in a Sacramento attic under similar roofing.
The practical implication: radiant barriers in Cupertino produce measurable cooling load reductions, but the payback period is longer than it would be in a hotter climate. A reasonable estimate for a well-installed radiant barrier paired with adequate insulation in a Cupertino home is a 10 to 20 percent reduction in summer cooling energy use through the attic pathway – meaningful, but not the 30 to 40 percent figures sometimes cited for Arizona installs. Where Cupertino homeowners do consistently see value is in comfort: rooms on the top floor that ran five to eight degrees hotter than the rest of the house during summer evenings often equalize noticeably after the barrier is in.
The homes that see the strongest return are single-story builds with large attic footprints and dark roofing (common in the Monta Vista and Rancho Rinconada neighborhoods built in the 1970s), where the attic is the dominant heat transfer pathway into the living space. Two-story homes where the second floor is the problem area also respond well, since the barrier directly addresses the roof-to-ceiling heat transfer above those rooms.
If your goal is energy savings, the most effective approach in Cupertino is air sealing plus insulation to current California Title 24 levels plus a radiant barrier, in that order. Each one works better when the others are in place. Our radiant barrier installation in Cupertino service includes a written scope that specifies which elements are present and which are recommended, so you can make that decision with real numbers rather than a salesperson’s word.
What the Installation Process Looks Like
Knowing what actually happens on install day makes it easier to evaluate contractor quotes and know whether you’re getting what you paid for.
Site Assessment and Written Price
Before any price is written, a technician from our team inspects the attic: measuring square footage, checking ventilation ratios (typically expressed as net free area to attic floor area, with 1:150 being the minimum and 1:300 common in practice), counting penetrations that need air sealing, assessing existing insulation depth and condition, and documenting attic access. That inspection forms the basis of the written price you receive. You’ll see each line item, the material specification (including whether perforated or non-perforated foil is recommended for your specific attic), and the scope of air sealing required. Written price before any work starts, always – that’s Haven Standard Clause 1, and it applies to every job Wes Okafor and the team at Envelope Insulation Co. complete.
Air Sealing First
Before the radiant barrier material is staged, every identified penetration in the attic floor gets sealed. Top plates are foam-sealed at the drywall-to-framing interface. Can lights are capped with sealed covers. HVAC boot penetrations, plumbing chases, and attic hatch frames are addressed. This is the step that most contractors skip or offer as an optional add-on. We don’t offer it as optional. On applicable jobs, we run a blower-door test – a pressurization test that produces a single number (CFM50) showing how much air the building envelope is losing – before and after sealing, so you have documented evidence of the air-sealing result rather than our word that it went well.
Radiant Barrier Installation
Perforated or solid foil – depending on what the written scope specifies – is stapled to the underside of the roof rafters, covering the roof deck from eave to ridge while maintaining the required air gap between the barrier and any insulation below. The air gap is what makes a radiant barrier function: without it, you have expensive foil tape and nothing else. Seams are overlapped a minimum of two inches and stapled at close intervals to prevent the barrier from sagging over time. In Cupertino attics with complex hip framing, valleys and hip intersections require hand-cutting and fitting rather than running continuous sheets, which is where less experienced crews cut corners.
Documented Photo Record
When the crew leaves, you receive a documented photo record of the completed work. Photos show the barrier coverage, the sealed penetrations, the attic hatch condition, and any areas where conditions required a deviation from the standard install method. This isn’t available on request – it’s included on every visit, every time, because a homeowner should be able to see what they paid for after the attic door is closed.
Cupertino-Specific Conditions Worth Knowing
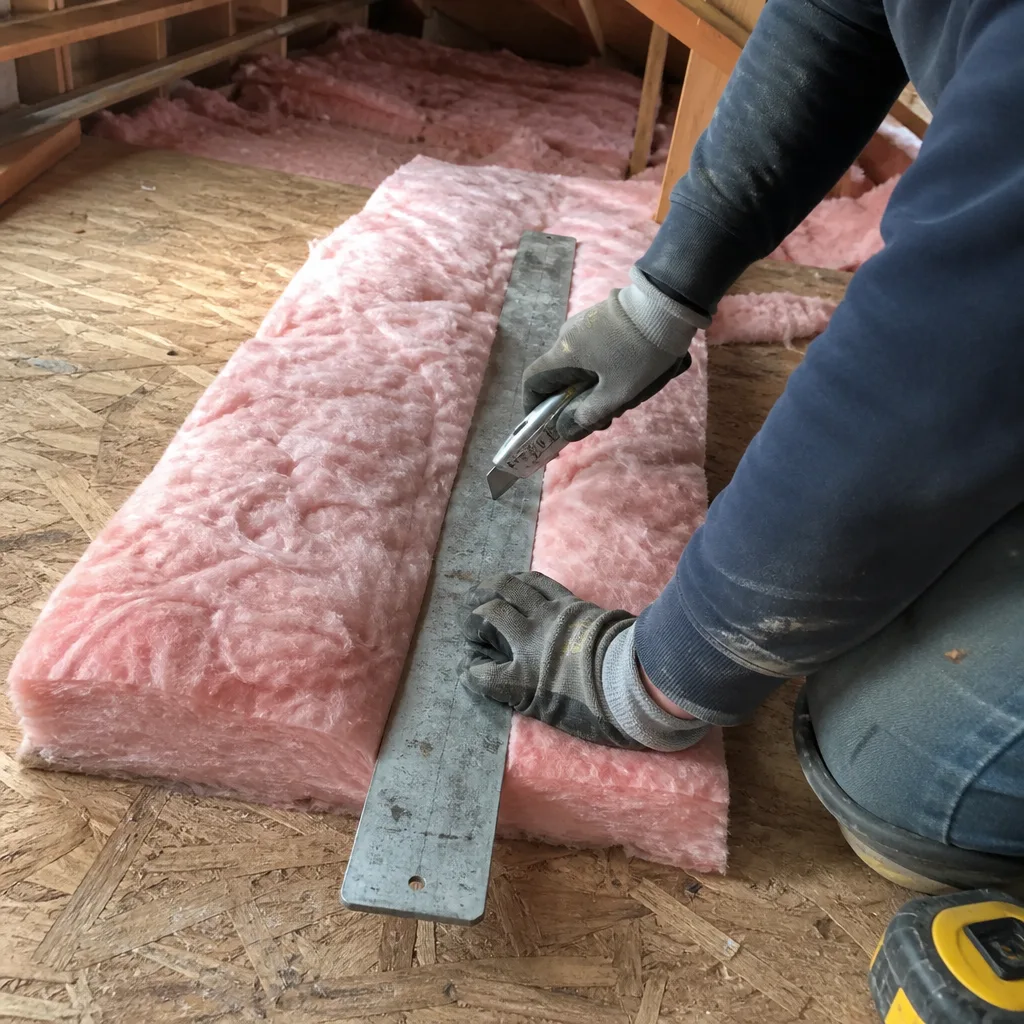
A few things about Cupertino’s housing stock and climate are worth naming directly because they affect both the cost and the specification of a radiant barrier installation.
A substantial share of Cupertino’s single-family homes were built in the 1960s and 1970s during the period when the city’s population grew rapidly. Those homes – many in the Fairgrove, Garden Gate, and Seven Springs neighborhoods – were built to the energy codes of their era, which required essentially no insulation and no air sealing. Attics in those homes frequently have compacted or water-damaged fiberglass batts, no air sealing around can lights or top plates, and ventilation systems that were undersized from the start. Installing a radiant barrier in those attics without addressing the underlying conditions first produces a fraction of the performance improvement that a comprehensive approach produces.
Cupertino also sits in a transitional climate zone between the cooler fog belt (closer to the bay in Sunnyvale and Santa Clara) and the warmer inland climate (toward Los Altos Hills and the foothills). Homes on the eastern side of Cupertino near I-280 tend to see warmer afternoon temperatures than homes closer to the De Anza College area, and that difference is meaningful when estimating cooling load reduction from a radiant barrier.
Finally, Cupertino has a higher-than-average rate of home renovation activity relative to other Santa Clara County cities, partly because the housing stock is aging and partly because the demographic tends to invest in improvements. That market dynamic means there are a lot of contractors willing to quote radiant barrier installation here, and the quality variance between them is real. A quote that doesn’t itemize air sealing, doesn’t specify whether perforated or non-perforated foil is being used, and doesn’t mention attic ventilation is a quote for a simpler job than the one your attic likely needs.
Comparing Radiant Barrier to Other Attic Upgrades
Homeowners evaluating a radiant barrier installation often want to know how it compares to alternatives: is it better to add more blown-in insulation, or to focus on air sealing, or to do all three? Here’s a direct comparison for Cupertino conditions.
- Air sealing alone: If your home is losing significant conditioned air through attic penetrations – a blower-door test will tell you the magnitude – air sealing typically produces the fastest payback of any attic improvement. In Cupertino, a well-executed air sealing job can reduce a home’s air changes per hour by 20 to 40 percent. Cost: $400 to $1,200 depending on scope. This should be the first step regardless of what else you plan to do.
- Adding blown-in insulation to R-30 or R-38: California’s Title 24 standards call for R-38 minimum in climate zone 4 (which covers most of Cupertino). Homes built before 1990 often have R-11 to R-19. Bringing insulation to code levels significantly reduces year-round heat transfer – both in summer cooling season and in winter heating season. Radiant barriers only meaningfully address summer radiant heat. Cost to add blown-in to R-38 in a 1,500 sq ft attic: roughly $1,200 to $1,900.
- Radiant barrier: Addresses radiant heat gain through the roof deck in summer. Works best in hot climates with high solar exposure; produces moderate gains in Cupertino’s climate but is most effective on homes with top-floor comfort problems and dark roofing. Cost: as shown in the table above.
- All three together: The optimal sequence for a Cupertino home with an aging attic is air sealing first, then insulation to R-38 or higher, then radiant barrier if the cooling load reduction is still a priority. The combined cost for a 1,500 sq ft attic with moderate prep requirements typically runs $3,200 to $5,500 all-in. Bundling all three in one scope saves $400 to $800 compared to separate mobilizations and produces the most complete building envelope improvement available without touching the HVAC system.
FAQs – Radiant Barrier Installation Cost in Cupertino
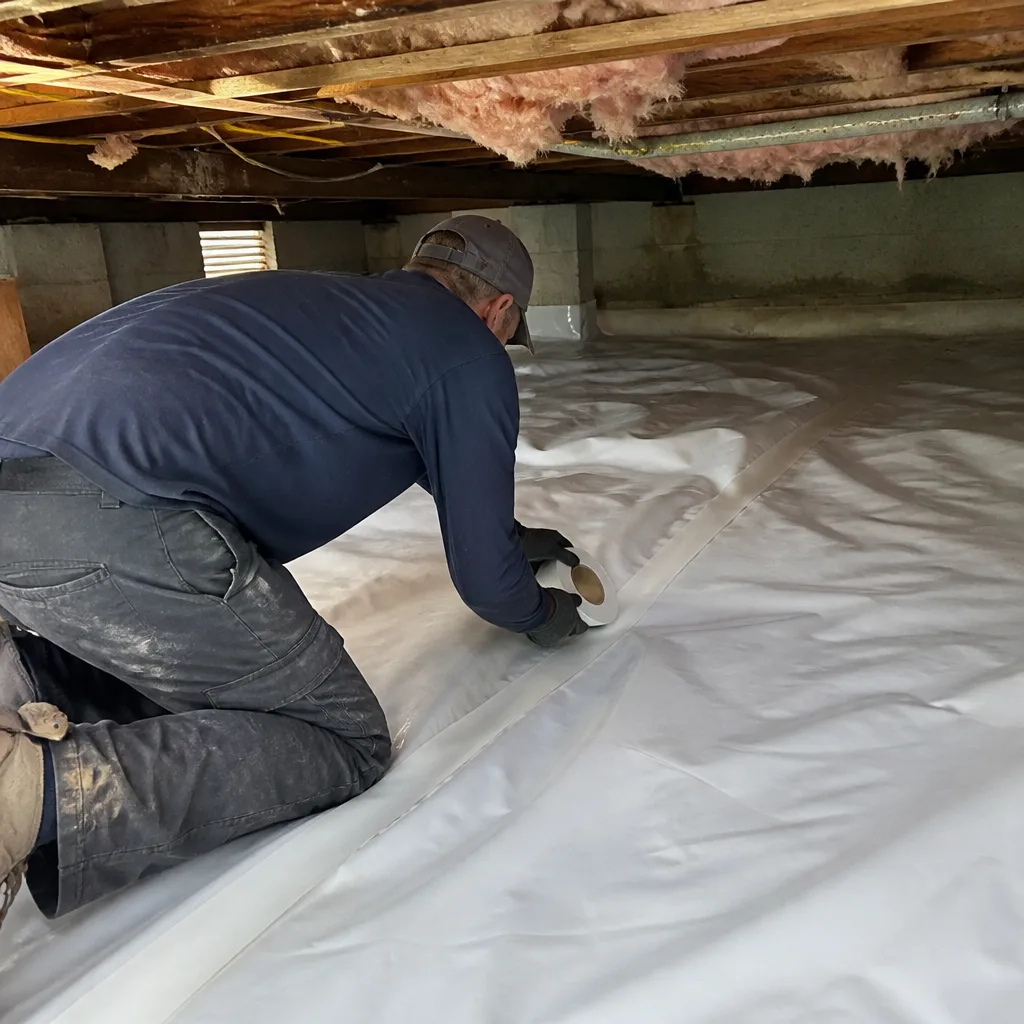
How much does radiant barrier installation cost in Cupertino, CA?
Radiant barrier installation in Cupertino costs between $1,400 and $3,200 for most homes, with the majority of single-story jobs in the $1,800 to $2,400 range. Larger two-story homes or attics requiring cleaning or significant air sealing before install can reach $3,500 to $4,200. Call (831) 217-8521 for a written price based on your specific attic – estimates are free and the written price comes before any work starts.
Is a permit required for radiant barrier installation in Cupertino?
A building permit is generally not required for standalone radiant barrier installation in an existing attic in Cupertino when no structural work is involved. The City of Cupertino Building Division follows Santa Clara County code on this point, but permit requirements can shift with code updates, and any scope involving HVAC duct modifications or structural changes changes the analysis. We flag permit questions in writing during the estimate phase so you know the requirements before any work starts.
How long does radiant barrier installation take in Cupertino?
Most standard radiant barrier installations in Cupertino take four to eight hours for a crew of two. A straightforward 1,200 to 1,400 sq ft attic with good access typically runs four to six hours. Larger attics, hip-roof framing, or combined air-sealing-plus-barrier scopes can extend to a full day. We document the expected duration in the written scope so you’re not guessing when to block off your calendar.
Does a radiant barrier actually work in Cupertino’s climate?
Yes, though the performance gain in Cupertino is more modest than in hotter inland climates. A well-installed radiant barrier in a Cupertino attic typically reduces cooling-season heat gain through the roof by 10 to 20 percent – meaningful on the summer electricity bill and noticeably effective for top-floor rooms that run hot in July and August. The barrier works best when combined with adequate insulation (R-38 minimum per California Title 24 for this climate zone) and complete air sealing, in that order. Installed alone over an unsealed attic, the gains are real but partial.
What’s the difference between perforated and non-perforated radiant barrier in Cupertino?
Perforated radiant barrier foil has small holes that allow water vapor to pass through the material rather than collecting on the foil surface. In Cupertino attics – where morning moisture off the Bay can create condensation in poorly ventilated attic spaces – perforated foil is often the correct specification. Non-perforated foil provides a slightly stronger radiant barrier but in an attic with marginal ventilation it can trap moisture against the roof deck over time. The right choice depends on your attic’s ventilation ratio, which we check and document during the site visit. The material spec is written into your price before any work starts.
Can I combine radiant barrier installation with attic insulation in the same job?
Yes, and bundling both in one scope typically saves $200 to $500 compared to scheduling them as separate visits. The correct sequence is air sealing first, then insulation to the specified R-value, then radiant barrier installation on the underside of the roof deck. All three can be done in a single mobilization. The combined written price will show each line item separately so you can see exactly what you’re paying for each element of the work. Call (831) 217-8521 to schedule a site visit and get a written price for the combined scope.
Key Takeaways
- Radiant barrier installation in Cupertino runs $1,400 to $3,200 for most homes; larger or more complex attics reach $3,500 to $4,200+.
- The biggest cost variables in Cupertino are attic geometry (hip roofs take longer), existing insulation condition, and the scope of air sealing required before the barrier goes in.
- Air sealing should be done before the barrier is installed – doing them in the wrong order or skipping air sealing leaves a significant share of the performance improvement on the table.
- Perforated foil is often the right spec for Cupertino attics given the Bay Area moisture pattern – verify this during the site visit, not after material is staged.
- PG&E rebates may apply when radiant barrier work is combined with insulation or air sealing – ask for the current program status during your estimate.
- Every job from Envelope Insulation Co. starts with a written price and ends with a documented photo record. On applicable jobs, before-and-after blower-door readings are provided so the performance result is documented, not just claimed.
Get a Written Price for Your Cupertino Home
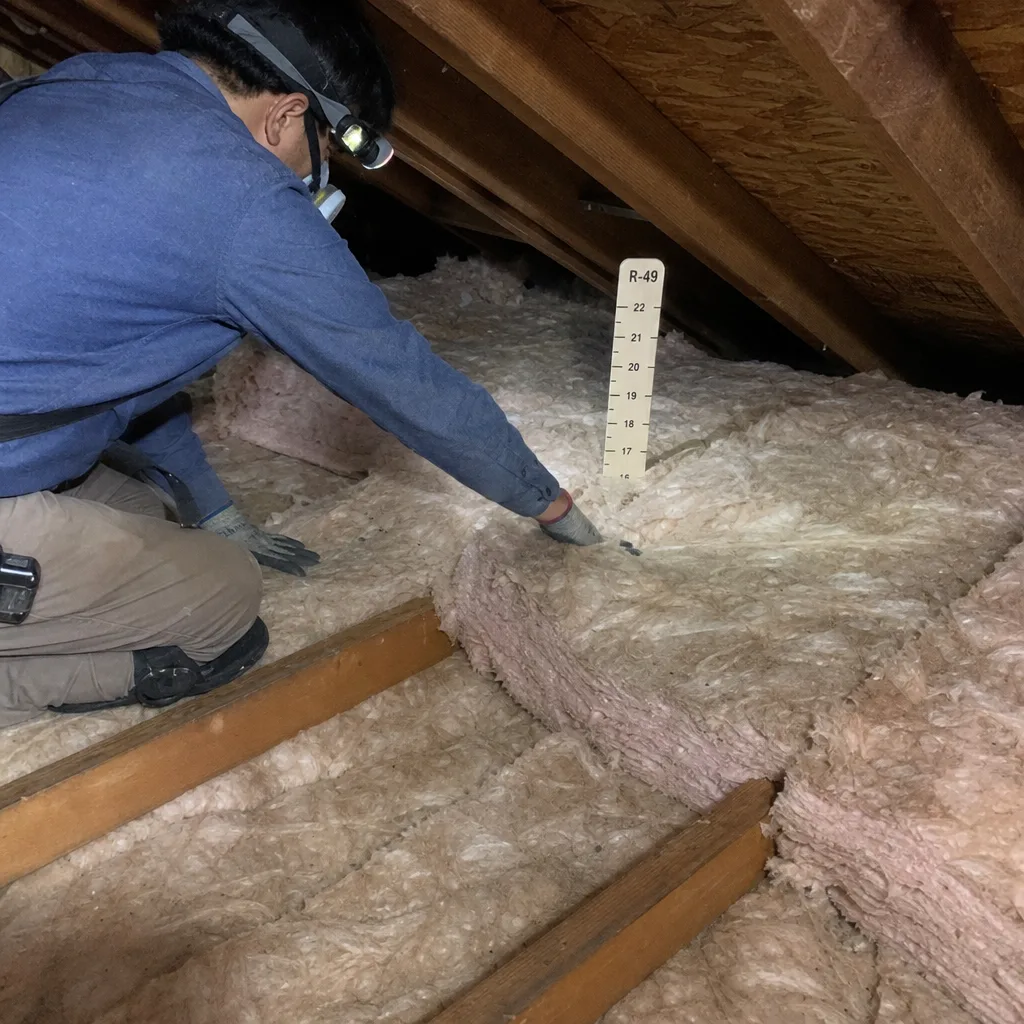
If you’re weighing radiant barrier installation for your Cupertino home, the most useful next step is a site visit that produces a written price – not a ballpark range from a website. Attic conditions in Cupertino vary enough that the difference between a clean install and one that requires prep work can be $600 to $1,200, and that’s not something any contractor can tell you accurately without seeing the attic.
At Envelope Insulation Co., led by Wes Okafor, we’ve completed work on more than 9,000 homes since 2016 – every one with a written price before work started and a documented record when the crew left. The estimate is free. The written price comes before any work starts, always. If we miss something, the 365-Day Done Right Promise means we come back and make it right – in writing, before we leave the first time.
Call (831) 217-8521 to schedule a site visit. A live person answers. No voicemail loop, no callback window measured in business days. Under Haven Standard: Arrive on schedule, you get a named technician and a text when they’re on the way.
Pricing reflects the Cupertino market as of 2026. Written by Wes Okafor, Owner at Envelope Insulation Co. / Topside Attic Insulation Cupertino, serving Cupertino since 2016. Free estimates available – call (831) 217-8521.
What Our Customers Say
"Two other companies quoted to blow more insulation on top of what was there. These were the only ones who said the existing material had to come out first, and explained why."
- Clifford E."Crawl space encapsulation done properly. Photographs of the vapour barrier at every seam, and the damp smell in the hallway is gone."
- Ainsley P."Fixed price, clean work, and they hauled the old material away as agreed."
- Todd M.