
Attic Baffles & Ventilation Prep in Cupertino, CA
Attic baffles – cardboard, foam, or rigid channels installed at each rafter bay near the eaves – keep a clear airflow path from your soffit vents to your ridge vent, even after blown-in or Attic Batt Insulation is added. Without them, insulation piles against the eave and blocks that airway completely, turning a well-ventilated attic into a heat trap. For Cupertino homeowners, where summer attic temperatures regularly push past 140°F and the Bay Area’s marine-influenced humidity can linger for weeks, a blocked ventilation channel is the fastest way to shorten the life of your roofing material and drive up cooling costs at the same time.
At Topside Attic Insulation Cupertino, ventilation prep is not a line item we add when a customer asks for it. It is part of every Attic Insulation in Cupertino job we complete, because blowing insulation over a poorly vented attic floor produces a worse outcome than doing nothing at all. Wes Okafor has structured every job this way since we started operating under The Haven Standard in 2016. If the ventilation channel is not clear and the baffles are not in place before insulation goes in, we do not add insulation – and we will tell you exactly why in writing before any work begins.
Call (831) 217-8521 to schedule a ventilation assessment. A written price is ready before anyone lifts a tool – no estimates over the phone with a number that changes at the door.
When You Need Attic Baffles and Ventilation Prep
Some of these signs show up on an energy bill. Others only become visible once someone climbs into the attic with a flashlight. All of them are worth addressing before insulation touches the attic floor.
- Your attic insulation was installed before 2005. Older blown-in or batt jobs in Cupertino neighborhoods like Monta Vista and Garden Gate routinely predate the current baffle-and-seal workflow. The insulation often sits flush against the eave blocking, with no channel left for air to move through the rafter bays at all.
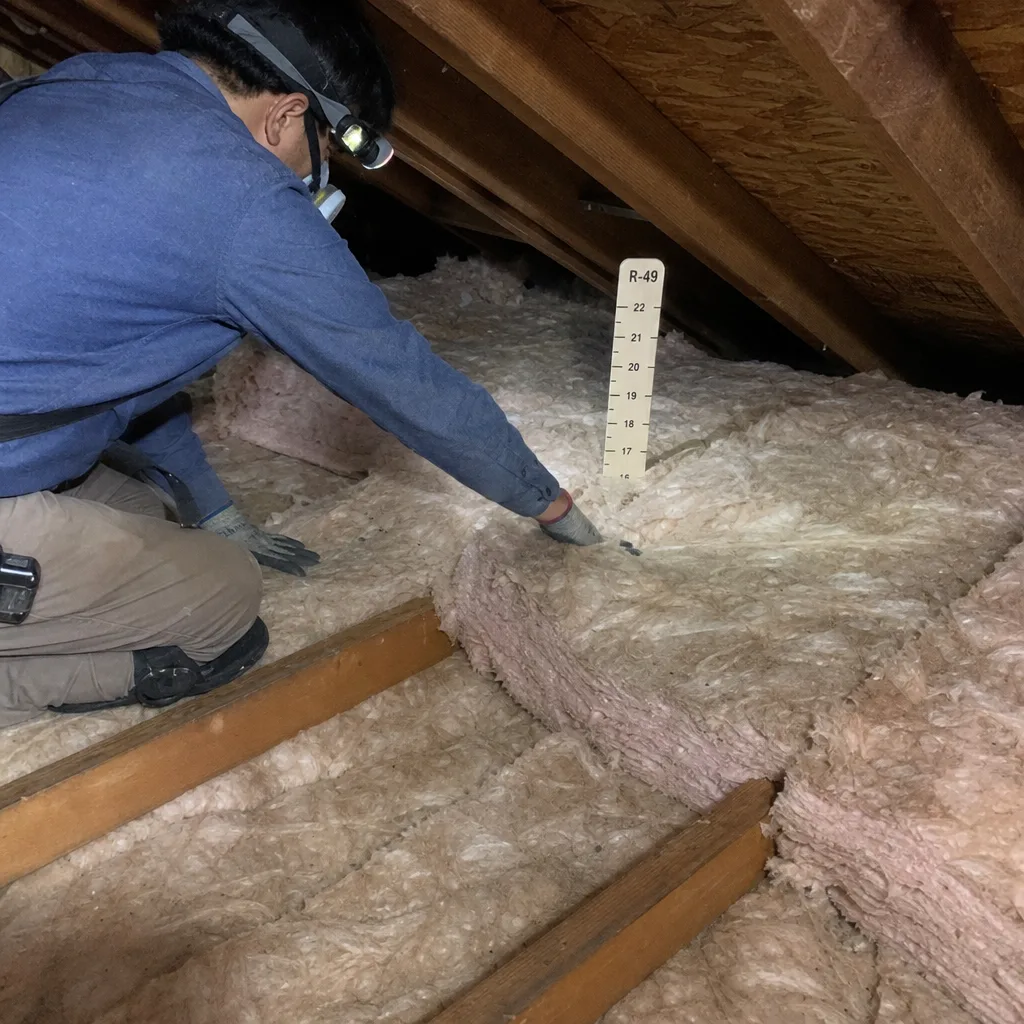
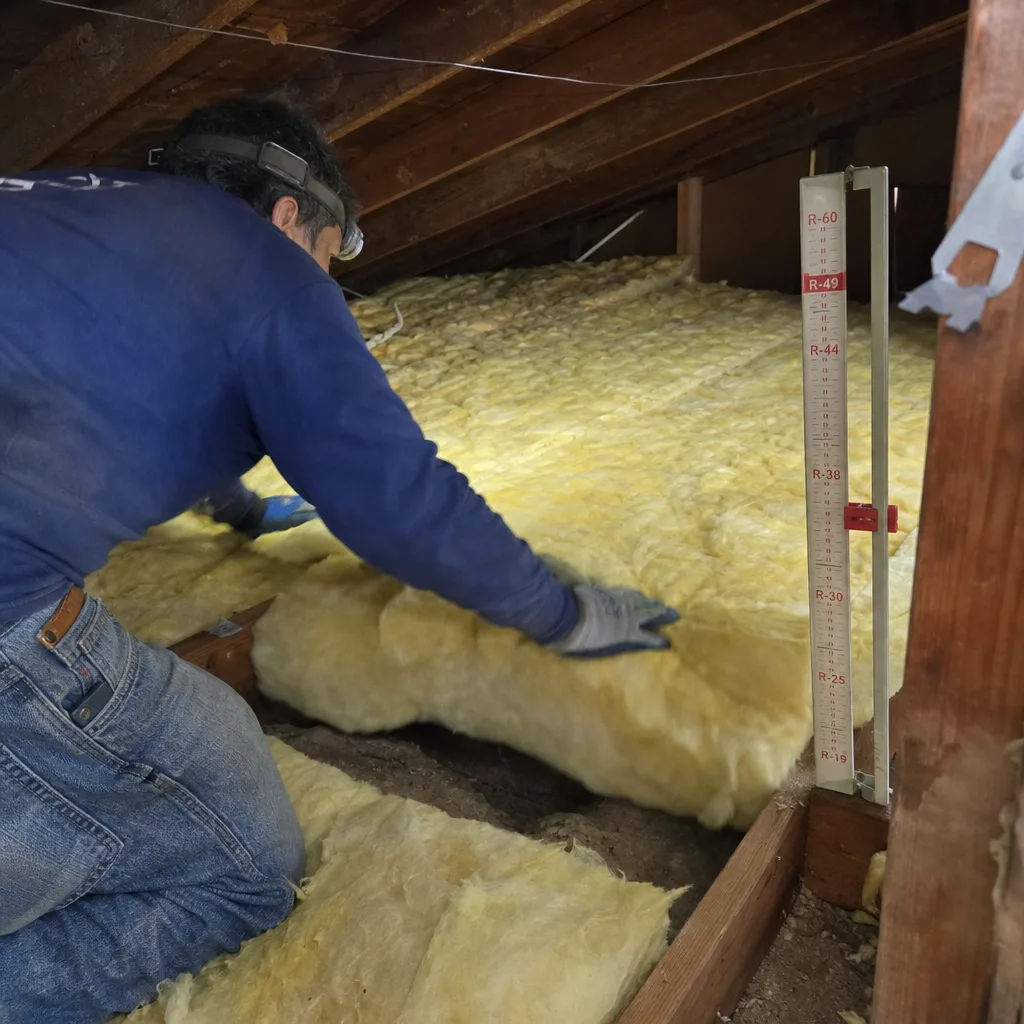
- You’re adding insulation depth and the existing R-value is below R-38. California’s Title 24 currently targets R-38 to R-60 for attic floors in Climate Zone 4, which covers most of Cupertino. Bringing depth up to code without setting baffles first buries the eave opening under the new material.
- Rooms near the roofline run noticeably hotter in summer. The upper floors of homes in the Rancho Rinconada and Homestead High School corridor of Cupertino frequently show a 6-to-10 degree temperature delta between first and second floors during July and August. Blocked rafter bays are one of the more common causes – hot air stalls rather than cycling out through the ridge.
- You can see daylight at the ridge vent but not at the soffit. A ridge vent without a functioning intake at the soffits creates negative pressure that can pull conditioned air out of the living space rather than drawing cooler outside air up through the attic. Baffles establish the intake channel that makes ridge-and-soffit ventilation work as a system.
- There is visible moisture, staining, or mold near the eave on the roof deck. Cupertino’s coastal-edged climate means condensation can accumulate in poorly vented rafter bays between November and March. Moisture staining near the fascia or on the underside of sheathing is a reliable indicator that warm, humid air is pooling at the eave rather than moving out.
- Your home is undergoing re-roofing. A re-roof is the easiest time to assess and replace baffles because rafter bays are accessible from above. Coordinating with your roofing contractor before the new decking goes down prevents a second mobilization later.
Our Attic Baffles and Ventilation Prep Process
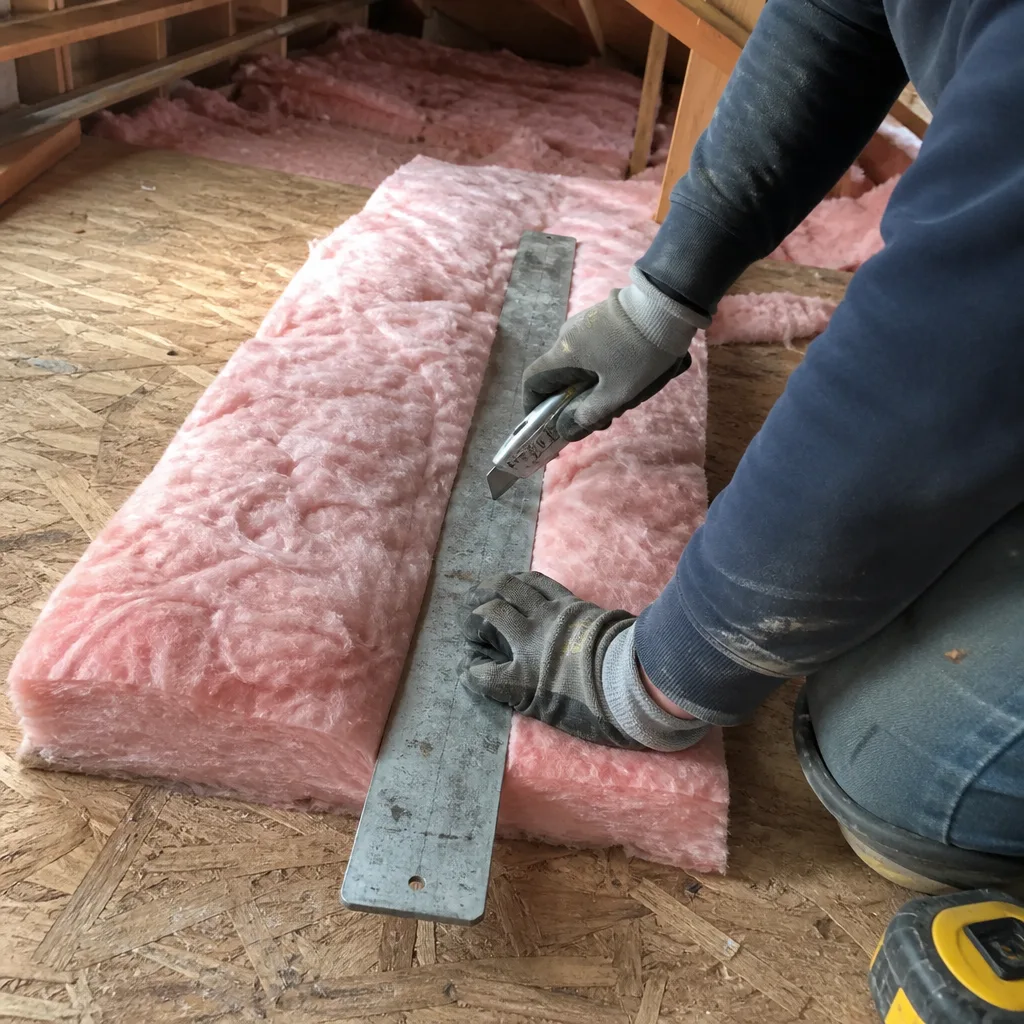
Every step below happens in sequence. We do not compress or skip steps to finish faster, because the order is the reason the outcome holds up under the 365-Day Done Right Promise.
- Written scope and flat price, before entry. Under Haven Standard Clause 1, you receive a written price and a written scope of work before we open the attic hatch. The document names the materials we will use, the area to be treated, and what the finished installation will look like. No work begins without your signature on that document.
- Attic inspection and ventilation mapping. We walk the attic and note every rafter bay – how many are present, which are open at the soffit, which are blocked by existing insulation, and whether the ridge vent or gable vents are functioning. In Cupertino homes built in the 1960s and 1970s, which make up a large share of the housing stock in the Monta Vista and Fairgrove neighborhoods, it is common to find gable vents that were never connected to a working intake at all. That finding goes into the written record before we quote any additional work.
- Existing insulation cleared at the eave bays. Where insulation is blocking the eave, we pull it back far enough to expose the rafter cavity down to the top plate. In homes where rodent activity or moisture damage is present – something we see periodically in older properties near Stevens Creek – we document the condition with photos before disturbing the material. Those photos are part of the Documented Photo Record delivered when we leave.
- Baffle installation at each rafter bay. We set a baffle – typically a rigid foam or AccuVent-style polypropylene channel – at every rafter bay along the eave perimeter. The baffle runs from the soffit vent opening up past the top plate, maintaining a minimum 1-inch clear airway between the top of the insulation and the underside of the roof deck. Where bays are irregular due to hip-roof geometry – common in the single-story ranches along Linda Vista Drive – we cut baffles to fit rather than leaving gaps.
- Air sealing at top plates and penetrations. Baffles address ventilation. Air sealing addresses a separate but related problem: conditioned air escaping into the attic through gaps at the top plates, around recessed lights, and through plumbing and electrical penetrations. We complete this step before any insulation is added, because sealing over insulation is not an effective substitute. We use two-part spray foam or fire-rated caulk depending on the gap size and the proximity to heat sources.
- Blower-door measurement and documented record. On applicable jobs, we run a blower-door test – a pressurization reading that shows, in one number (CFM50), how much air the building envelope was losing before and after the work. For a typical 1,800 square foot Cupertino home, we regularly see readings drop from the 3,500-4,500 CFM50 range down to 1,800-2,600 CFM50 after thorough top-plate sealing. Those before-and-after numbers appear in your job record. You do not have to take our word for the improvement; the figure is there.
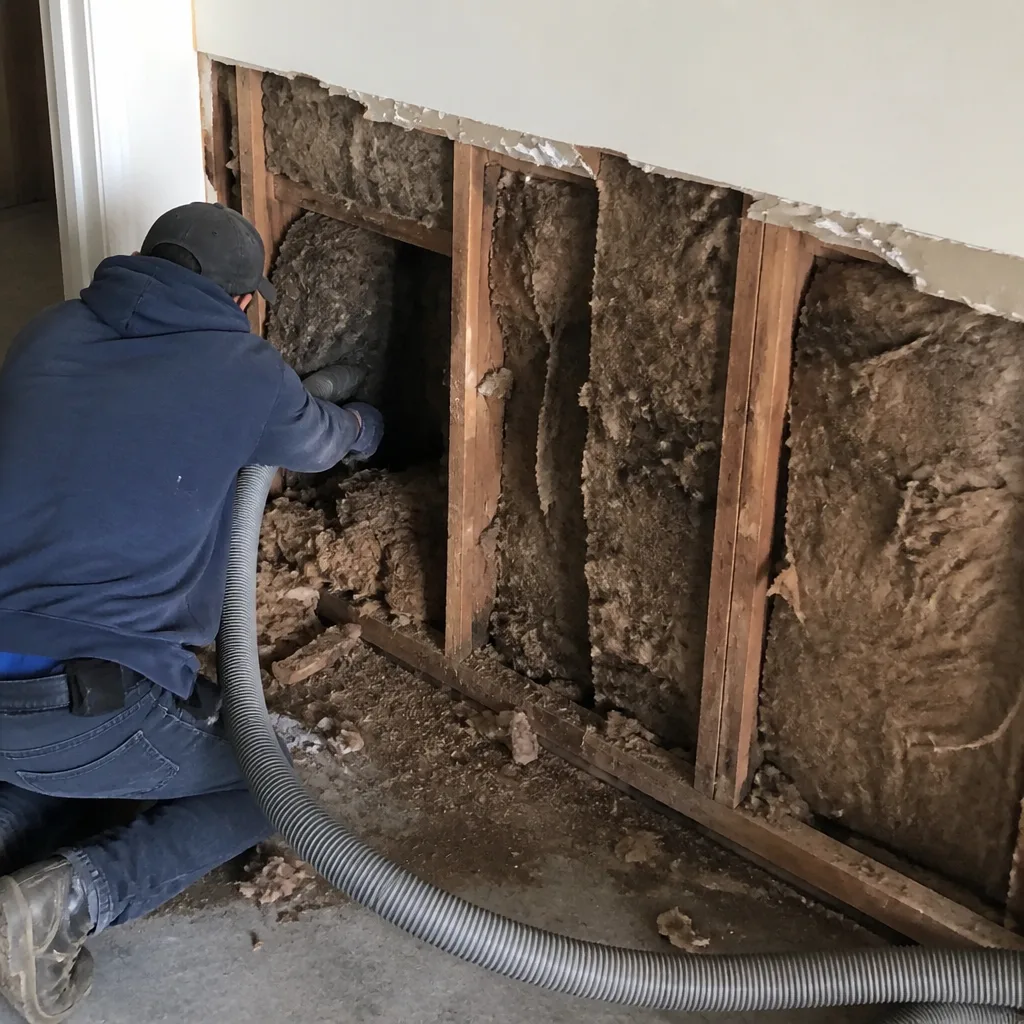 Before
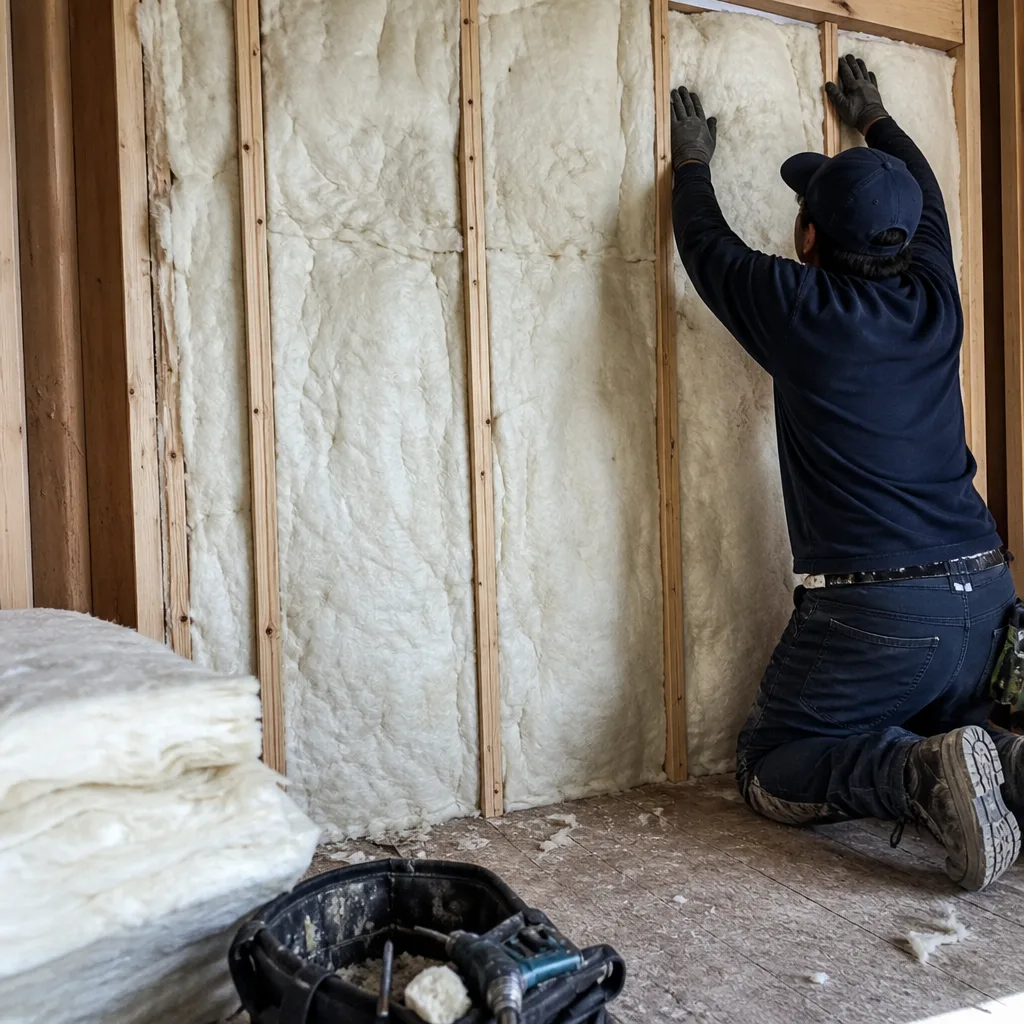 After
AfterAttic Baffles and Ventilation Prep Pricing in Cupertino
Baffle installation and ventilation prep in Cupertino typically runs between $350 and $950 when completed as a standalone service, and between $200 and $600 as part of a full Attic Insulation services job, where the mobilization cost is shared. Those ranges cover the majority of single-family homes in Cupertino – roughly 1,200 to 2,400 square feet of attic floor area with a standard gable or hip-and-ridge ventilation configuration.
What moves the number inside those ranges:
- Rafter bay count and roof geometry. A straightforward gable roof with 24-inch on-center rafters costs less to baffle than a hip roof with multiple valley and ridge intersections, where each irregular bay requires hand-cutting the channel material.
- Existing insulation condition. If blown-in insulation has settled into the eave bays and needs to be pulled back before baffles can be set, that adds labor. In homes in the Rancho Rinconada area that have not had attic work since the 1980s, this is the rule rather than the exception.
- Degree of air sealing needed. Homes with a high density of recessed can lights – a common feature in Cupertino homes remodeled between 2000 and 2015 – require more time at the top-plate sealing step. Each can penetration needs to be addressed individually, and an attic with 20 recessed lights takes meaningfully longer than one with four.
- Attic access and working height. Low-slope roofs common in mid-century ranch homes limit working clearance and slow every step. Attics below 30 inches of clear height carry a modest labor premium to reflect that reality.
The written price you receive before work starts is a flat price, not a range. The scope document spells out exactly what is included so there is nothing ambiguous about what you are paying for. If you have a written estimate from another contractor, bring it in – we offer a Free Second Opinion on any written estimate and will read it with you line by line.
Our full home service line also includes crawl space encapsulation, radiant barrier installation, and home energy audits, all priced and documented the same way. For the specific scope of attic insulation work in Cupertino, the parent service page covers materials, R-value requirements, and the full pricing structure in detail.
FAQs – Attic Baffles and Ventilation Prep
What is an attic baffle and do I actually need one?
An attic baffle is a rigid channel – usually foam or polypropylene – installed in each rafter bay near the eave to hold open a clear airway between your soffit vent and the main attic space. You need baffles if your attic has soffit vents and any depth of blown-in or batt insulation, because insulation will naturally fill and block the eave opening over time. Without that clear channel, outside air cannot enter at the soffit, the ridge vent has no intake to draw from, and the attic functions as a sealed heat box rather than a ventilated assembly. In Cupertino, where summer roof-surface temperatures exceed 150°F on south-facing slopes, a non-ventilated attic measurably shortens the life of composition shingles and increases cooling load in the occupied space below. Call (831) 217-8521 for a written assessment that identifies exactly which bays need attention on your specific roof configuration.
Can baffles be installed without removing existing insulation?
In most cases, no – not if the existing insulation has already migrated into the eave bays. The baffle needs to run from the soffit opening up past the top plate, and if blown-in insulation occupies that space, it has to be cleared first before the channel can be set flush against the rafter and stapled. We document the existing condition with photos before we move anything. If pulling back the insulation reveals damage, moisture staining, or rodent material, you see that in the photo record before we discuss any additional scope. The written price covers the full labor sequence so there are no mid-job surprises.
How do attic baffles and air sealing work together?
They address two different problems that are often present at the same time. Baffles manage ventilation – they keep a physical airway open so the attic can cycle air out through the ridge. Air sealing addresses infiltration – it closes the gaps at top plates, around recessed lights, and through framing penetrations where conditioned air escapes from the living space into the attic. Both steps need to be done before insulation is added, and in the right order: seal the penetrations first, then set the baffles, then install insulation over both. Doing it in the reverse order – insulating first, then trying to seal – does not produce the same performance result, and the blower-door reading after the job will show it. On applicable Cupertino jobs, we run that test before and after so the performance change is a documented number, not a claim.
Does Cupertino require a permit for baffle installation or attic ventilation work?
Baffle installation alone, performed as maintenance or as part of insulation prep without altering the roof structure, generally does not require a permit under the City of Cupertino’s building code. Adding insulation that brings your home to Title 24 compliance is also typically permit-exempt for existing single-family residences. However, if the scope includes modifying or adding vent openings in the roof deck or soffits – cutting new soffit vents, adding a power attic ventilator, or installing a new ridge vent where none existed – a permit from the Cupertino Building Division is typically required. We identify the full scope in writing before work starts, and if a permit is needed for anything in that scope, we tell you before we price it. Call (831) 217-8521 if you are unsure where your project falls; we can walk through the scope with you before you commit to anything.
Why Cupertino Homes Benefit From Getting This Right the First Time
Cupertino’s housing stock is a particular mix: post-war ranches from the 1950s and 1960s, tract homes built through the 1970s and 1980s in neighborhoods like Fairgrove and Seven Springs, and a significant number of homes remodeled or re-roofed in the 2000s and 2010s with new insulation blown in over old framing without a ventilation review first. The result is that a large share of the homes we see in Cupertino have working ridge vents and non-functional soffit intakes – a combination that is arguably worse than no mechanical ventilation at all, because the ridge vent creates a pressure differential that pulls conditioned air out of the living space rather than drawing cool air up from the eave.
The fix is not expensive relative to what it prevents. A properly baffled and ventilated attic, combined with thorough top-plate air sealing, reduces cooling demand on the HVAC system, extends roofing material life, and removes the moisture accumulation pathway that leads to sheathing damage and mold in the rafter bays. The materials we use – sourced from manufacturers including CertainTeed and Rockwool, with no proprietary product lock-in – are selected for the specific conditions of each job, not defaulted to whatever is on the truck.
Wes Okafor has overseen ventilation prep work across more than 9,000 homes sealed and insulated since 2016, every one with a written price before work started and a photo record when the crew left. That volume means we have encountered the irregular hip geometries in Monta Vista, the dense-pack situations in older Garden Gate homes, and the access challenges in the low-slope ranches on the west side of De Anza Boulevard. The process holds up across all of them because it is built around documentation and sequence rather than speed.
If you are approaching this as part of a larger attic insulation project, the process, materials, and pricing for the full scope are covered on the Attic Insulation in Cupertino page. Ventilation prep is part of that scope – not an add-on.
Schedule Your Ventilation Assessment in Cupertino
A written price and a written scope are ready before any work begins – that is how every job we take on is structured, without exception. If your attic in Cupertino has not had a ventilation review since the last time insulation was added, or if you are planning How Much Does Attic Insulation Cost? (2026 Price Guide) - Cupertino, CA and to bring the R-value up to current Title 24 requirements and want to be certain the eave channels are clear first, call (831) 217-8521 to schedule an assessment. There is no estimate-over-the-phone pricing that changes when we arrive, and no work starts until you have reviewed and signed the written scope. The 365-Day Done Right Promise applies to every job we complete: if it is not right, we make it right.
Written by Wes Okafor, Owner at Topside Attic Insulation Cupertino, serving Cupertino since 2016.