
Icynene Radiant Barrier Installation: The Cupertino Owner’s Guide
We stock and install Icynene-compatible radiant barrier systems for attics across Cupertino, with most residential jobs running between $2,800 and $4,600 installed. Same-day installation is available when we have your roof geometry and attic access confirmed by phone. Most Cupertino homeowners discover their radiant barrier is failing when upstairs rooms won’t cool below 78°F even with the AC running flat out, or when they spot the original foil layer flaking apart in the attic after a hot Santa Clara County summer.
Which Icynene Models This Applies To
Icynene does not manufacture a standalone radiant barrier product. What we are installing is a radiant barrier assembly - typically a perforated foil layer or foil-faced rigid board - paired with Icynene spray foam insulation systems, most commonly the Icynene LD-C-50 open-cell or Icynene MD-R-200 closed-cell formulations used in Cupertino attics. The compatibility question is not about an Icynene part number; it is about whether your existing foam substrate can accept a mechanically fastened or adhesive-applied radiant barrier without compromising the foam’s thermal boundary.
We verify this on site. The crew checks your foam’s density and whether it was sprayed to a uniform depth - Icynene open-cell needs a minimum 5.5 inches in a Cupertino attic to hit R-38, and a radiant barrier installed over shallow or uneven foam creates thermal bridging at the thin spots. We also confirm the attic ventilation strategy: Icynene’s own installation guidelines specify that radiant barriers in vented attics must be perforated to allow moisture drive, and we have seen non-perforated foil trap condensation against foam in older Cupertino ranch homes near Rancho Rinconada where the original gable vents were never upgraded.
OEM versus aftermarket: there is no Icynene-branded radiant barrier. We source foil products from Reflectix and other manufacturers rated for foam-contact application, with emissivity ratings of 0.03 to 0.05. The aftermarket equivalent we carry is a double-sided, perforated aluminum product with a tear strength of 30 pounds per inch - the spec that matters if your attic has exposed nail points or ductwork that will snag a lighter material during installation.
Signs Your Icynene Radiant Barrier Installation Is Failing
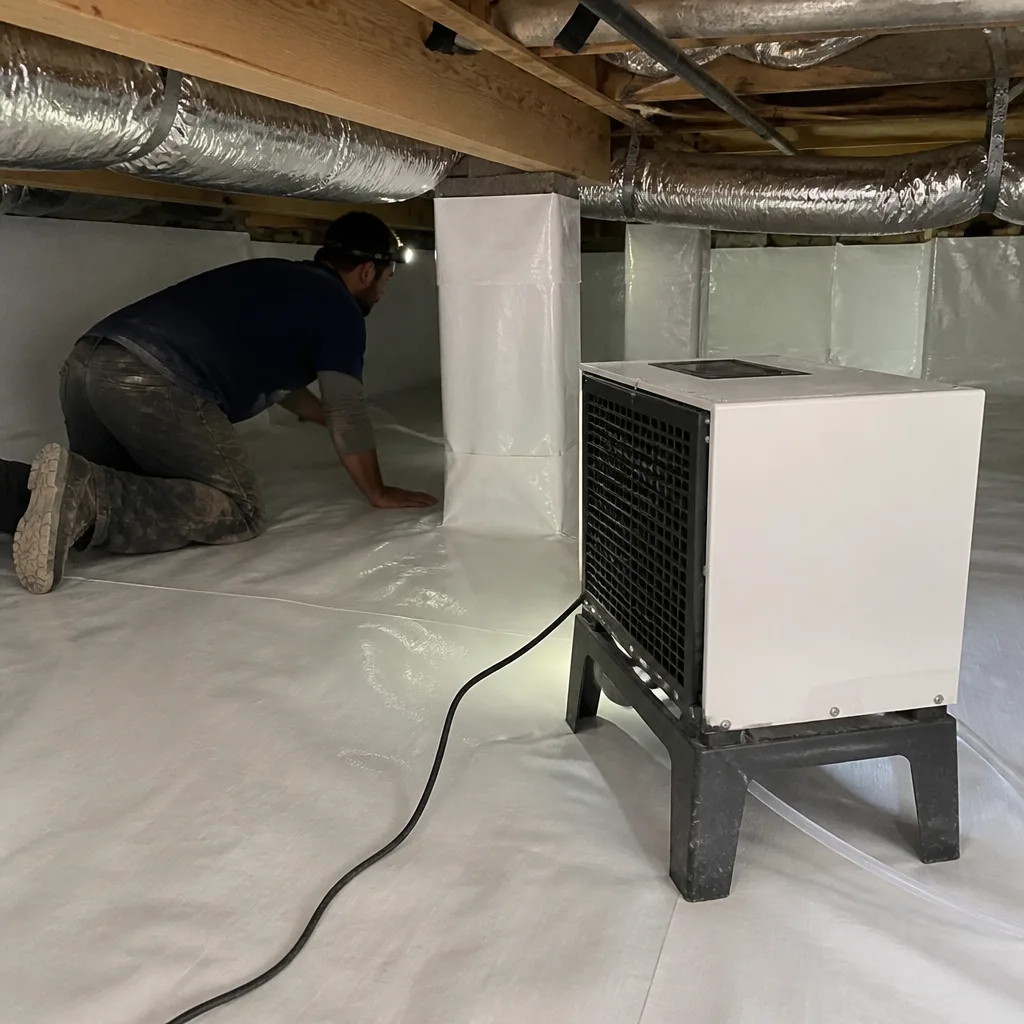
- Upstairs rooms stay hot past 9 PM. The radiant barrier’s job is to reflect solar gain back toward the roof deck before it radiates into the attic. When the foil oxidizes or pulls away from the fastening points, that reflectivity drops from 95% to below 70%, and the thermal mass of your roof assembly keeps dumping heat into the living space long after sunset. We measure this with an infrared camera; the ceiling plane will show a 8-12°F temperature delta from the center of rooms to the perimeter where the barrier failed first.
- Foil visible from the attic hatch is dusty, brittle, or torn. Cupertino’s dry summers and occasional winter moisture events harden the polymer scrim in cheaper radiant barriers. Once the scrim cracks, the aluminum layer delaminates in sheets. We have found this in homes near the Cupertino foothills where attic temperatures hit 140°F regularly - the material simply was not rated for that thermal cycling.
- Your summer electric bill jumped 20% or more year-over-year with no rate change. A failed radiant barrier forces your AC to run longer to overcome radiant heat gain. We compare your usage against degree-day data; if the load does not track with cooling demand, the envelope is the suspect. In a 2023 job on a 1978 split-level near McClellan Ranch, the homeowner’s July usage was 847 kWh versus 612 kWh two years prior - the barrier had detached across 60% of the roof deck.
- You feel a “hot spot” walking across upstairs ceilings on summer afternoons. This is localized failure, usually where the radiant barrier was cut around a duct chase or electrical penetration and never sealed back. The bare foam or drywall radiates directly. We map these with a thermal imager and find them most often above bathrooms, where vent stacks and fan housings interrupt the barrier continuity.
- The original installer used a spray adhesive that has crystallized. This is a materials failure you can sometimes smell - a sharp, chemical odor in the attic on hot days. Early-generation spray adhesives for radiant barriers degraded under sustained heat. We remove the failed material entirely before reinstalling; leaving crystallized adhesive residue prevents proper bonding of the new barrier.
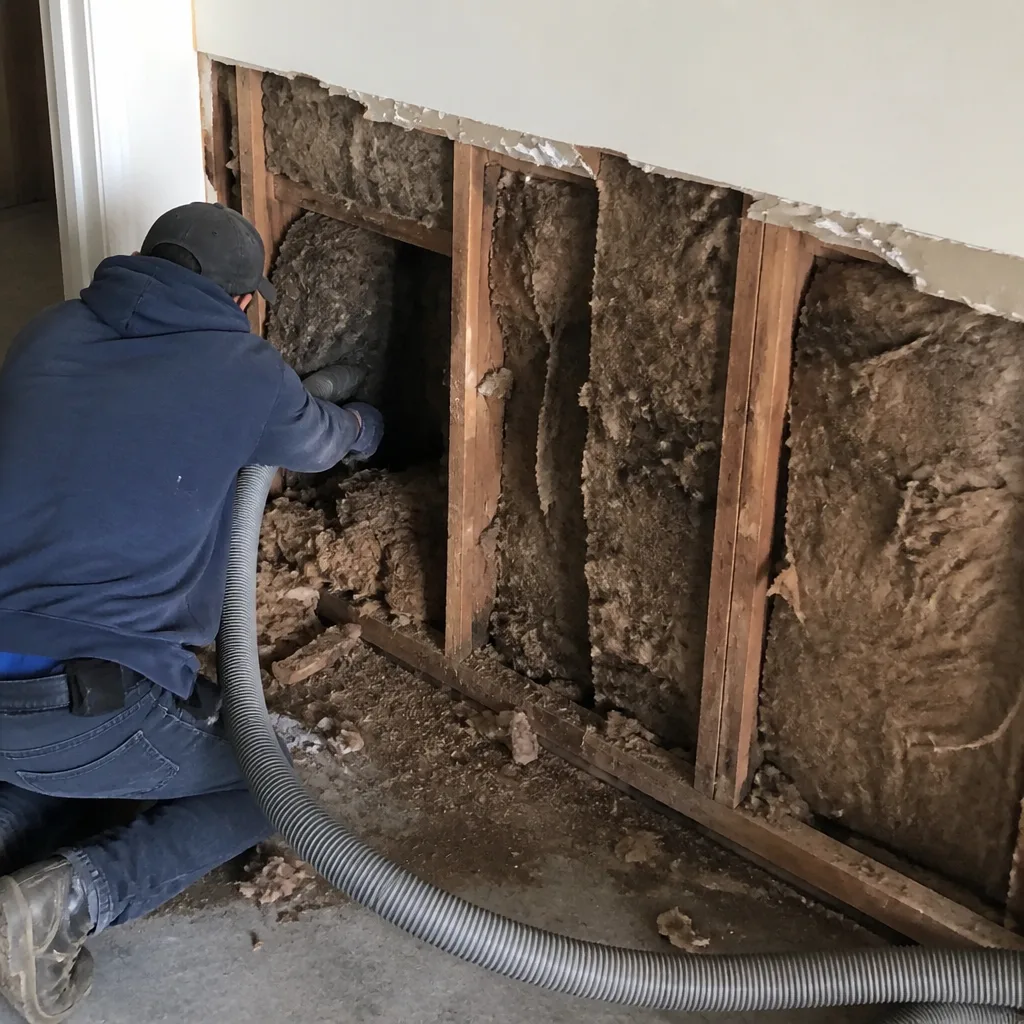 Before
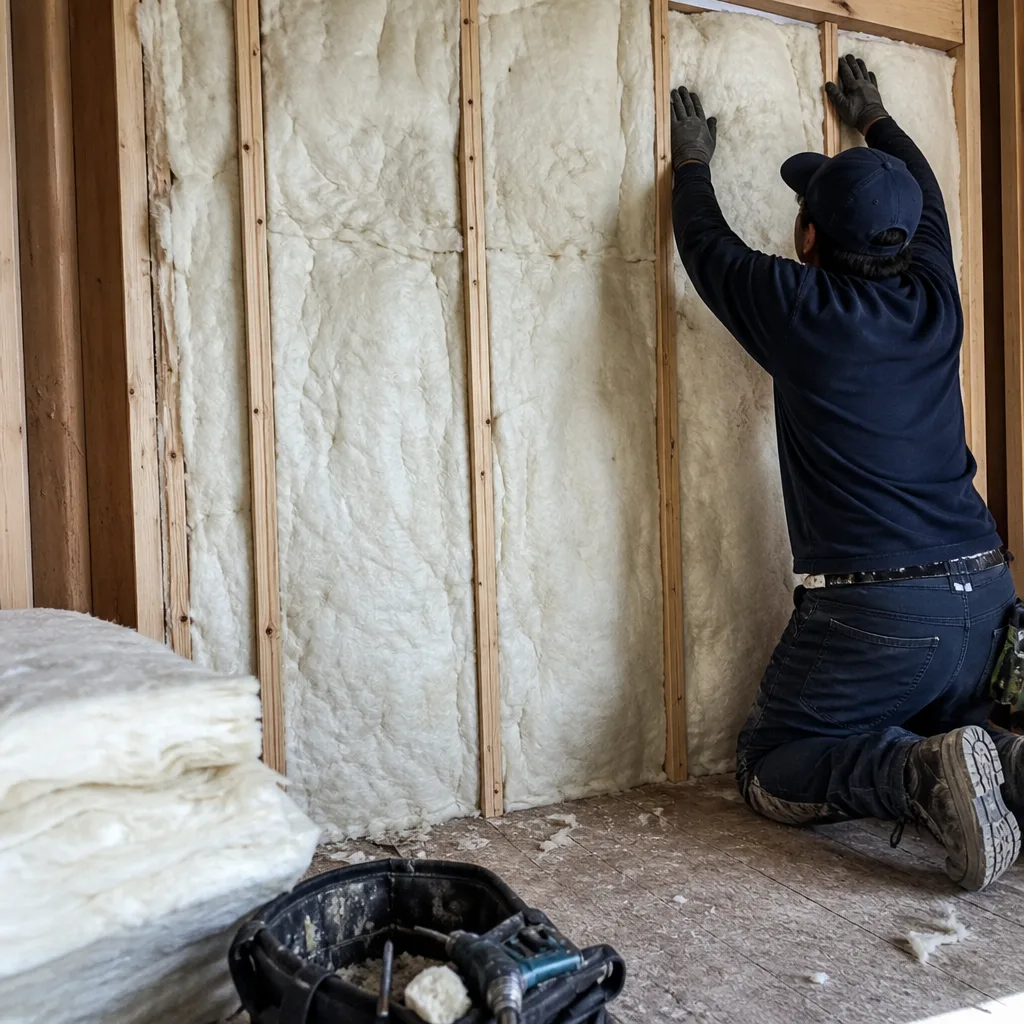 After
AfterReplacement Cost & What’s Included
Most Icynene-compatible radiant barrier replacements in Cupertino run $2,800 to $4,600 for a typical 1,800-2,400 square foot attic. The range depends on three factors: how much failed material must be removed, whether the existing Icynene foam needs repair before the new barrier goes down, and roof pitch - steeper pitches above 8:12 add labor time for safe access.
| Component | Price Range |
|---|---|
| Perforated radiant barrier material (sq ft) | $1.80 - $2.40 |
| Removal of failed barrier (if present) | $400 - $900 |
| Foam substrate repair (localized) | $350 - $750 |
| Installation labor and mechanical fastening | $1,200 - $2,100 |
| Post-install blower-door test (if air sealing included) | $295 |
Every job gets a Written Price Before Any Work Starts - Haven Standard Clause 1 - and the price on the page is the price you pay. We do not upsell foam replacement unless the substrate is genuinely compromised; we will show you the photo evidence. Work is covered by our 365-Day Done Right Promise, and you receive a Documented Photo Record of the completed installation, including any before-and-after blower-door numbers if air sealing was part of the scope.
DIY or Call Us?
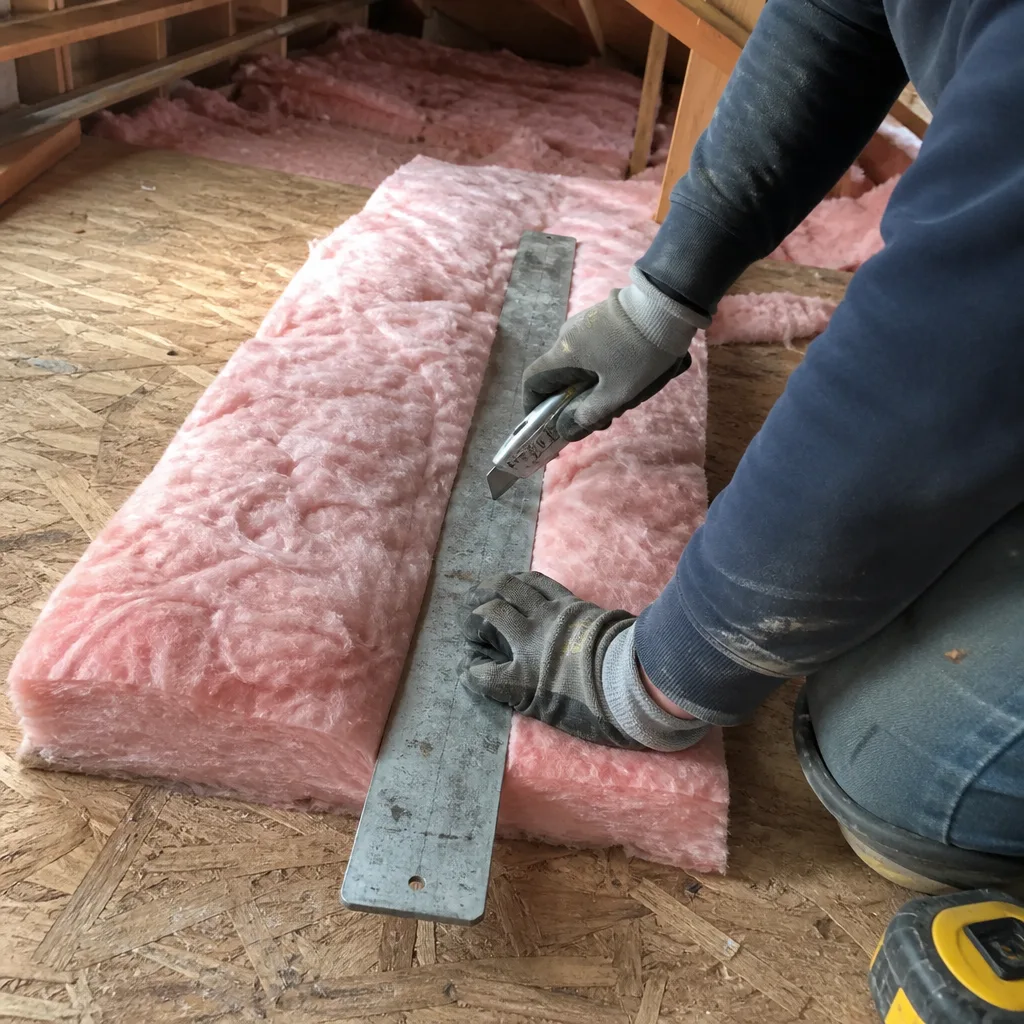
There is nothing here that will sever a finger or electrocute you, which makes radiant barrier more tempting as a DIY project than garage door springs or electrical panel work. But there are two places DIY goes wrong in Cupertino attics, and we see the results.
First, working on a sloped roof deck in 130°F heat is genuinely dangerous. Dehydration and balance judgment degrade fast. Second, and more commonly, homeowners install non-perforated barrier over Icynene foam in a vented attic, trapping moisture against the foam surface. Icynene open-cell is vapor-permeable, but it is not designed to stay wet. We have removed DIY installations where the foam had begun to discolor and lose adhesion at the rafter bays - a $2,400 repair that started as a $600 weekend project.
What you can safely check: from the attic hatch, photograph the existing barrier’s condition and note any brand markings or perforation pattern. Text us the photos at (831) 217-8521 and we will tell you whether it matches a product we can source, or whether the whole assembly needs reassessment. Seal the leaks first. Insulation covers problems; it does not fix them. If your attic floor is still leaking air at the top plates and can lights, a new radiant barrier is a shiny bandage.
FAQs
A properly installed perforated aluminum radiant barrier should last 20 to 25 years in Cupertino, though attic temperatures above 140°F accelerate oxidation at the fastening points. We have seen 10-year failures in unvented attics where the barrier was not rated for the sustained heat load. Call (831) 217-8521 for an exact quote - estimates are free.
Localized re-fastening or patching is possible if the remaining material is still flexible and the emissivity rating is intact, but partial repairs rarely match the original reflectivity and create seams that catch dust. We typically recommend full replacement once 30% or more of the surface has failed. Call (831) 217-8521 for an exact quote - estimates are free.
Most residential radiant barrier replacements take one full day for a crew of two, or two days if removal of failed material and foam repair is required. We schedule arrival between 8 and 9 AM and text when the technician is en route. Call (831) 217-8521 for an exact quote - estimates are free.
We carry perforated foil radiant barrier rated for foam-contact installation on every attic truck, along with the mechanical fastening hardware and compatible adhesives for Icynene substrates. Same-day installation is available for most Cupertino addresses when we confirm attic access and roof geometry by phone. Call (831) 217-8521 for an exact quote - estimates are free.
Topside Attic Insulation Cupertino is an independent service provider, not affiliated with Icynene. We source materials from Icynene, Reflectix, and other manufacturers based on what the specific job requires.
Written by Wes Okafor, Owner, Topside Attic Insulation Cupertino at Topside Attic Insulation Cupertino, serving Cupertino and nearby areas.