
Johns Manville Radiant Barrier Installation: The Cupertino Owner’s Guide
Johns Manville radiant barrier installation in Cupertino typically runs $2,800-$4,600 for a 1,500-2,500 square foot attic, including material, labor, and the air-sealing prep work that makes it perform. Most homes we see in Cupertino - especially the Eichler-influenced builds near Rancho Rinconada and the 1970s-1980s tract homes off Stevens Creek Boulevard - have attics that hit 140°F in July, and a properly installed radiant barrier can drop that surface temperature by 20-35 degrees. We stock Johns Manville AP Foil-Faced and reflective insulation products, and we can usually inspect and quote same-day if you call (831) 217-8521 before noon.
Most Cupertino homeowners figure out something’s wrong when their upstairs bedrooms won’t cool below 78°F even with the AC running flat out, or when they notice the original radiant barrier has gone dull, torn, or been disturbed by prior work. Sometimes it’s a pest issue - roof rats in the foothills neighborhoods love to nest against loose foil - or a contractor who blew insulation right over the barrier, killing its reflectivity.
Which Johns Manville Models This Applies To
Johns Manville makes several radiant barrier and reflective insulation products, and the right match depends on what was originally installed and what your attic geometry allows. The AP Foil-Faced line - AP Foil-Faced Polyiso, specifically the 1-inch and 2-inch thicknesses - is the most common retrofit we see in Cupertino, especially in homes with limited clearance where you need R-6 to R-13 in a thin profile. The reflective side faces the attic air space; get that orientation wrong and you’ve paid for a shiny vapor barrier that does almost nothing for radiant heat.
JM also produces a double-sided reflective insulation, sometimes sold in rolls for draped-over-rafter applications, and a breathable radiant barrier membrane designed for attic floor installation. To identify what you have, look for the printed JM logo and product code on the foil facing - usually in the corner of a panel or every 24 inches on rolled goods. The product code starts with “AP-” for the polyiso boards or “RB-” for the membrane line.
We’re an independent insulation contractor, not affiliated with Johns Manville, so we have no obligation to push one SKU over another. If your original JM product is discontinued - the RB-2000 series was phased out around 2019 - we can match performance with current stock or an equivalent from Reflectix, another brand we carry. The key spec to match is the emissivity rating: 0.03 or lower on the reflective face, which means 97% of radiant heat gets reflected rather than absorbed.
Signs Your Johns Manville Radiant Barrier Installation Is Failing
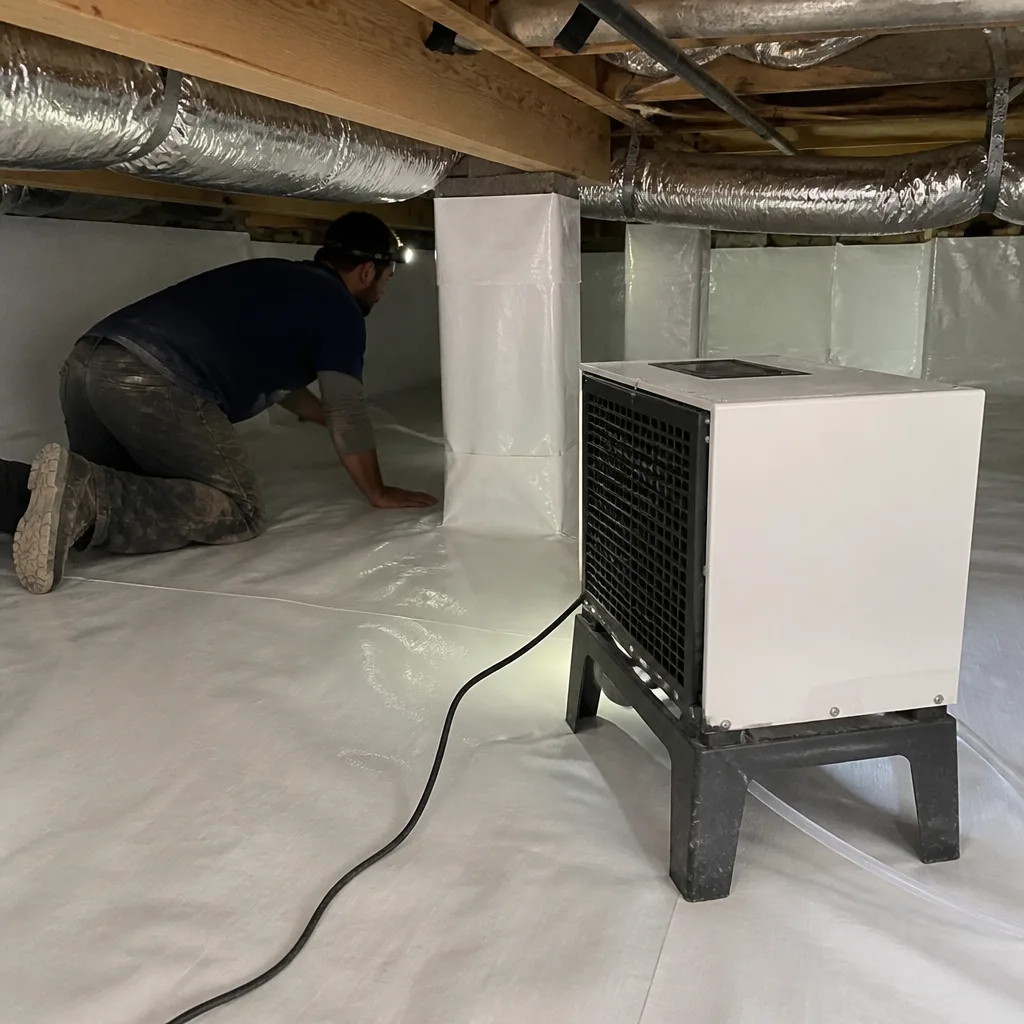
- Dull or oxidized foil facing. The reflective surface has degraded from attic heat and humidity, especially in Cupertino’s older homes where bathroom vents dump moist air into the attic space. Once emissivity climbs above 0.10, the barrier loses most of its effectiveness - but it still looks like foil to the untrained eye.
- Tears, punctures, or rodent damage. Roof rats and squirrels in the Cupertino foothills shred radiant barrier membrane for nesting material. We find this most often in homes backing up to open space near Monta Vista and the eastern ridge lines, where the original installer didn’t seal entry points.
- Insulation blown or laid over the reflective surface. This is the classic “buried barrier” problem. A later contractor added blown-in cellulose or fiberglass on top of a draped radiant barrier, eliminating the required air gap. The foil can’t reflect heat if it’s in direct contact with another material.
- Hot spots on your ceiling with infrared camera verification. We use thermal imaging on every assessment in Cupertino. A failed or missing radiant barrier shows up as a 10-20 degree temperature differential across the drywall, usually worst above west-facing rooms that catch afternoon sun.
- Increased cooling bills with no equipment change. If your PG&E summer bills have crept up 15-30% and your AC unit was serviced recently, the envelope is the likely culprit. We’ve documented this pattern in dozens of Cupertino homes where the radiant barrier was installed in the 2000s and has since degraded or been compromised.
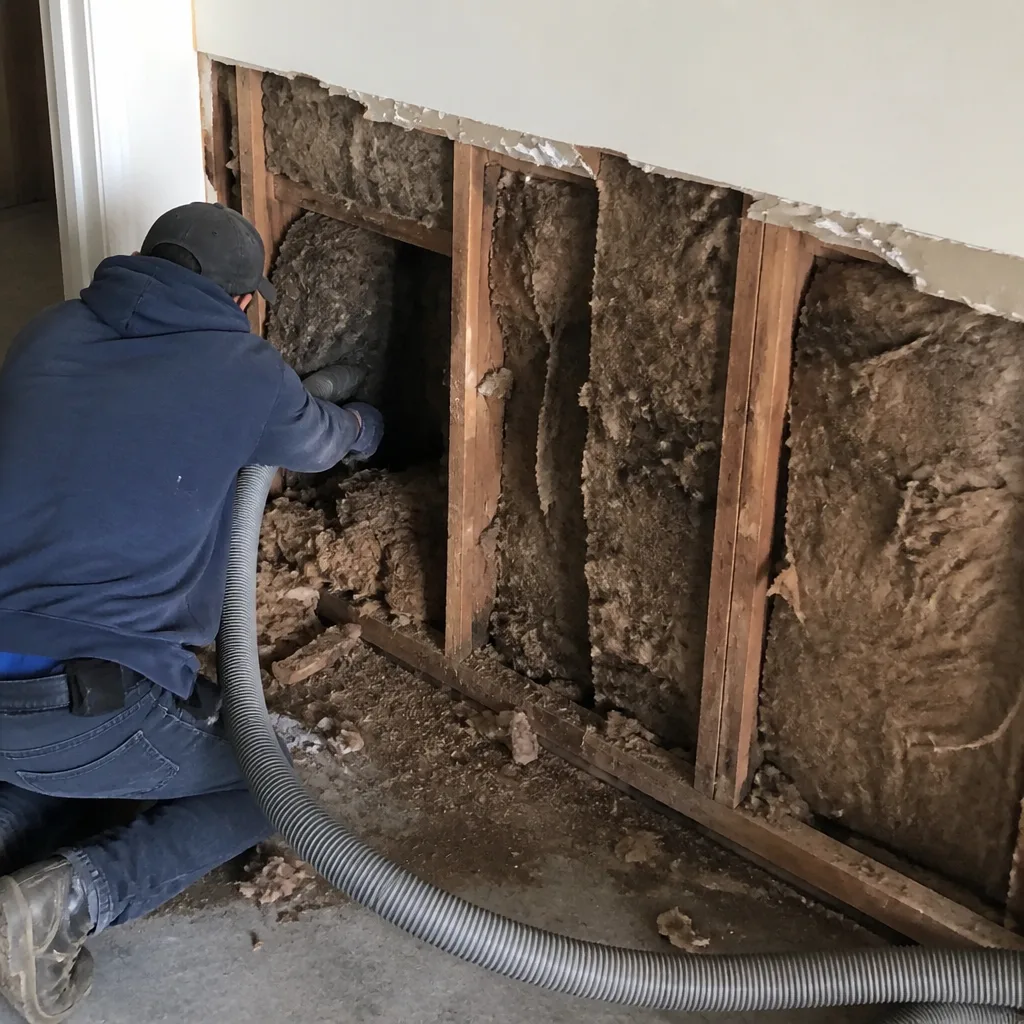 Before
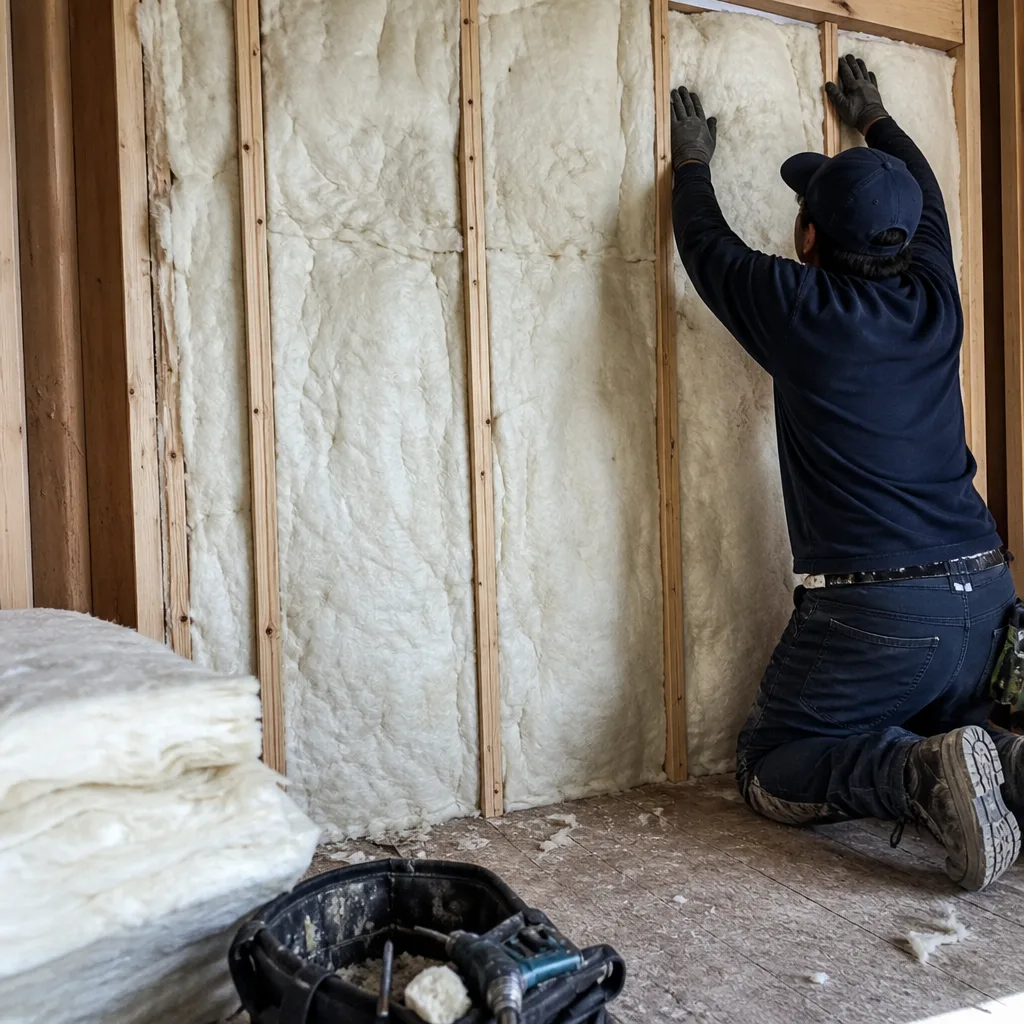 After
AfterReplacement Cost & What’s Included
Most Johns Manville radiant barrier replacements in Cupertino fall between $2,800 and $4,600 for a complete attic, with the final price driven by three factors: attic square footage, accessibility (truss spacing, ductwork in the way), and whether we need to remove degraded existing material first. A partial repair - one section torn by rodents, for instance - might run $800-$1,400.
| Component | Price Range |
|---|---|
| JM AP Foil-Faced material (per sq ft installed) | $1.85-$2.40 |
| JM breathable radiant barrier membrane (per sq ft) | $1.20-$1.75 |
| Removal of degraded existing barrier | $0.45-$0.80/sq ft |
| Attic air sealing (top plates, can lights, penetrations) | $650-$1,200 |
| Rodent entry sealing (if needed) | $400-$900 |
Every job starts with a written price before any work begins - that’s Haven Standard Clause 1 - and includes our Documented Photo Record. On full replacements, we run a blower-door test before and after: a pressurization reading that shows, in one number, how much air your building envelope was losing. We’ve seen Cupertino homes drop from 3,800 CFM50 to 2,100 after proper air sealing and radiant barrier installation. The 365-Day Done Right Promise applies to all completed work.
DIY or Call Us?
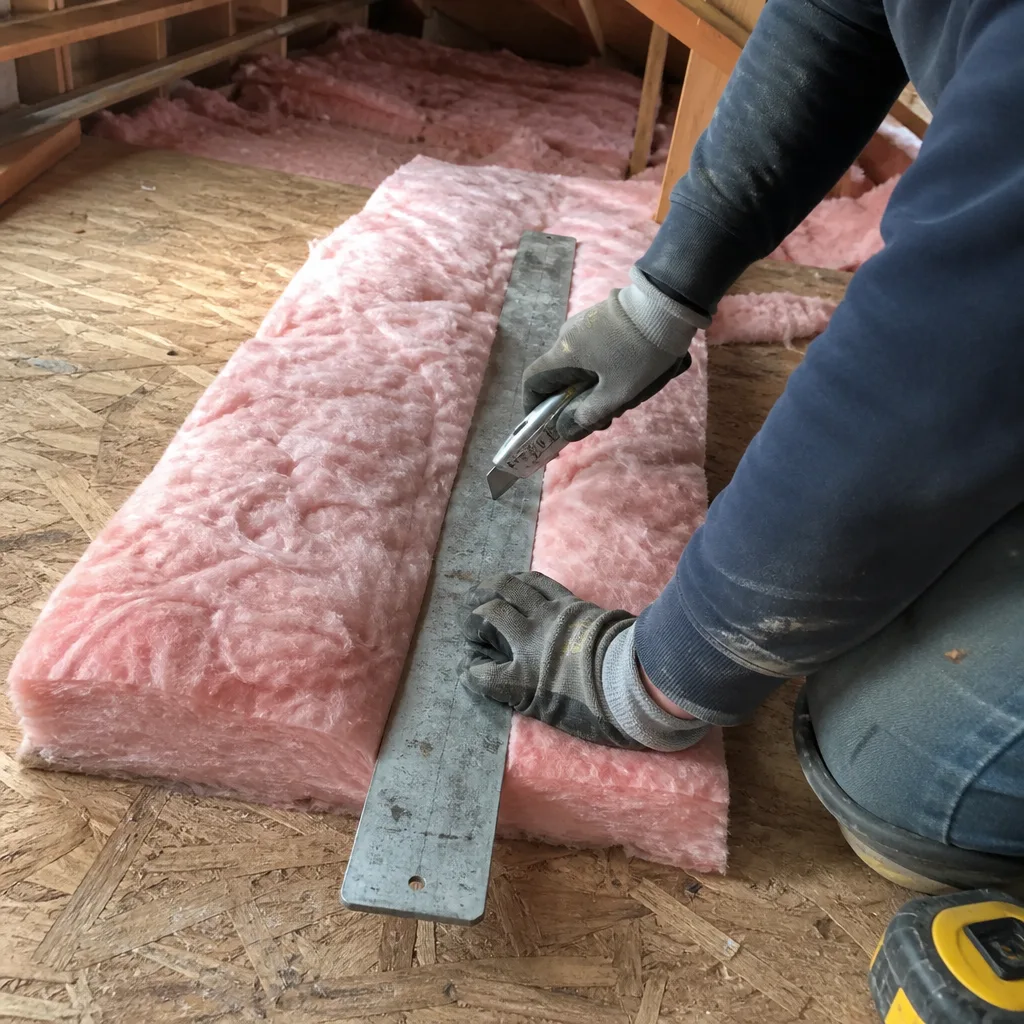
There’s no high-tension danger with radiant barrier like there is with garage door springs, but there are still ways to waste money and create problems. A homeowner can safely check the attic hatch for a product label, photograph the existing material, and verify whether bathroom vents are ducted outside (a common Cupertino issue in 1960s-1970s builds). What you shouldn’t do: crawl across ceiling joists if you’re not comfortable with height and balance, disturb vermiculite insulation that might contain asbestos, or install new barrier without sealing air leaks first.
Seal the leaks first. Insulation covers problems; it does not fix them. We’ve found attics in Cupertino where the homeowner stapled new radiant barrier over a sieve of unsealed top plates and can light housings - the foil looked great, but conditioned air was still pouring into the attic at hundreds of cubic feet per minute. If you want it done once and documented, call (831) 217-8521. Estimates are free, and we bring a written price to every appointment.
FAQs
JM’s foil-faced products are rated for 20+ years in normal attic conditions, but Cupertino’s combination of hot summers and occasional winter moisture intrusion from poorly flashed tile roofs can cut that to 12-15 years if the attic isn’t properly vented. The breathable membrane line tends to degrade faster if roof rats get access - we’ve replaced 8-year-old installations in the foothills neighborhoods because of nesting damage, not material failure. Call (831) 217-8521 and we’ll assess what’s actually going on in your attic.
Small punctures in foil-faced board can be patched with foil tape rated for high temperatures, but tears in the membrane or widespread oxidation mean replacement. The real question is whether the original installation included proper air sealing - if not, repairing the barrier without addressing the leaks is putting a bandage on the wrong problem. We offer free second opinions on any written estimate, so bring us a competitor’s quote and we’ll read it with you.
A typical Cupertino attic - 1,200-2,000 square feet - takes one day for removal and replacement, or two days if we need to complete air sealing and run blower-door verification. Larger homes in the Monta Vista hills with complex rooflines might stretch to three days. We don’t leave until the documented record is complete: photos, written scope, and performance numbers where applicable.
We stock JM AP Foil-Faced board and the current reflective membrane line on our trucks, along with Reflectix equivalents for same-day flexibility. For less common thicknesses or large jobs over 3,500 square feet, we can have material within 24-48 hours from regional distribution. Same-day installation is available most weeks if you call before noon - a live person answers 24/7, no voicemail loops.
Written by Wes Okafor, Owner, Topside Attic Insulation Cupertino at Topside Attic Insulation Cupertino, serving Cupertino and nearby areas.